


Create a Vintage Polaroid Effect In Photoshop
I love anything graphic design that has that vintage grunge kind of look. This tutorial will show you how to create a stunning vintage polaroid effect in Photoshop. It's fairly simple to make and can be used in many different types of projects.
What you'll need
This tutorial will be completed using mostly filters and fills, but we will need a couple of photos to complete the look.
The first is the tractor image we'll fill in the polaroid with, if you have an image you'd like to substitute, by all means use that.
Also you will need some grunge textures to complete the vintage photo effect.
Onwards, to the tutorial
- Start by creating a new document in photoshop to the specs you like, I used 500px by 500px.
- Grab the gradient tool (shortcut 'G' on the keyboard), set gradient type to radial gradient. Double click the edit gradient thumbnail to bring up the gradient editor.
- Within the gradient editor set the first color stop to a nice brown (I used #6e5f3a) and set the second color stop to a darker brown (I used #171613). Click OK.
- With the gradient tool still selected click somewhere in the middle and drag out to a corner, until you have a nice brown radial gradient.
- We are going to add more texture and interest to our background. Click Filter > Texture > Texturizer. Choose canvas for the texture, 61% for the scaling, 2 for the relief, and top left for the light.
- Open up the cardboard texture you downloaded earlier. Grab the move tool (shortcut 'v' on the keyboard). Click and drag the cardboard texture onto your vintage polaroid document. When you release the mouse button it will drop the cardboard texture on the top layer. Rename that layer 'Grunge 1'.
- Hit CTRL+T to bring up the free transform tool and resize your grunge1 layer to something smaller that just covers your document, hit 'enter'.
- Change the layer mode to multiply and the opacity to 65%.
- Place the paper grunge texture on the top layer, just like the steps above, name this layer 'Grunge 2'. Hit 'ctrl, t' and resize it. Change the layer mode to multiply and the opacity to 50%. That should do it for our background, it should look something like the image below.
- Create a new layer, name in 'Polaroid Border'
- Grab the rectangle marquee tool (shortcut 'm' on the keyboard) and drag out a rectangle in the center of the document at the size you want your polaroid to be.
- Set the foreground color to white (#ffffff) and the background color to #bbbbbb.
- Click filter->render->clouds. This will fill our selection with grayish clouds.
- Add some noise. Click filter->noise->add noise. Change the amount to 1.3%, the distribution to gaussian and make sure monocromatic is checked. Click OK.
- One last filter to help with the look. Click filter->brush strokes->crosshatch. Change the sliders to as follows: stroke length 9, sharpness 6, strength 1. Click OK
- Let's add some of that vintage brown color back into the polaroid. Click image->adjustments->hue/saturation. Change the settings to: Hue 33, Saturation 30, Brightness +32.
- Double click to the right of the layer name ('Polaroid Border') to bring up the layer styles window. Click to add a drop shadow and change the distance to 4 and the size to 4. Keep everything else the same.
- Within the same layer styles window click to add a stroke. Change the width to 1px, and the fill type to pattern and choose the pattern shown below. This will give is a nice tattered edge.
- Create a new layer at the top and name it 'Polaroid BG'.
- Grab the marquee tool and select a rectangle within the polaroid border like below.
- Set your background color to black and hit 'ctrl, backspace' on the keyboard to fill your selection with black.
- Open up the tractor photo you downloaded in the beginning of this tutorial and drag it onto the top layer of your vintage polaroid document. Call this layer 'Tractor'.
- Hit 'ctrl, t' to bring up the free transform tool again and resize the tractor photo to about the same size as the black fill, leave a little overlap on each side. Like below.
- Now select the 'Polaroid BG' layer by holding down 'ctrl' and clicking on the image thumbnail on the layer.
- Click shift, ctrl, i to select the inverse. Click back to the 'Tractor' layer and click ctrl, x to cut out the pixels that are past the border.
- Double click to the right of the 'Tractor' layer name to bring up the layer styles box once again. Click to add an inner shadow. Change the opacity to 57%, the distance to 2px, the size to 3px and the noise to 10%.
- Within the layer style window also add a stroke just like the one on the 'Polaroid Border' layer. 1px, and the same pattern.
- OK, we are getting there, now we need to desaturate our photo a little bit to keep with our vintage theme. Click image->adjustments->hue/saturation. Change the hue to 32, the saturation to 30 and the brightness to -7.
- Highlight the three polaroid layers by clicking on 'Tractor' holding down shift and clicking on 'Polaroid Border'. Now right click anywhere along the three highlighted layer and choose Link Layers.
- Bring up the free transform tool (ctrl, t) and rotate the image to the right a little. To rotate the image hover your curser over the top right corner until you get the double arrow with the arch then click and drag.
- The polaroid effect looks awesome already, I just added a couple more finishing touches. First let's add two more pictures behind that one. Click and drag your three highlighted layers to the new layer icon at the bottom of the layers palette.
- Click and drag the copied three polaroid layers below the originals. Right click anywhere along the three copied and highlighted layers. In the options that appear, click Merge Layers.
- 'Hit 'ctrl, t' on the 'Tractor copy' layer and rotate it to the left.
- Click image->adjustments->levels and drag the black slider and the midtone slider to the right to darken the background polaroid slightly to give it some depth.
- Repeat the above steps to add a third polaroid at the bottom. Until you have something that looks like this.
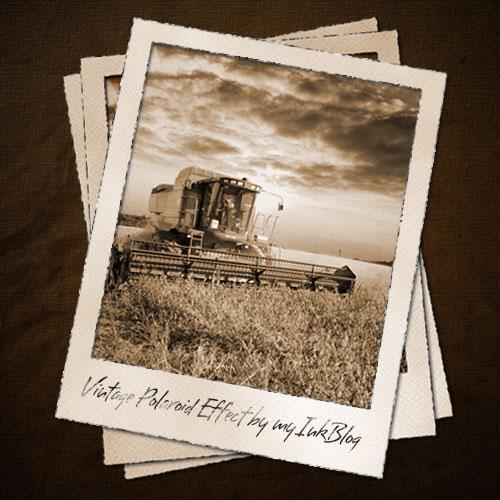
- If you'd like to add some text to the bottom, that's a nice touch as well. I used a font called brisa alternates, but any sort of handwritten font should do the trick. I also converted the text to a smart object. Added a layer mask, and used a grunge brush to brush out some of the text to have it fit in with the rest of the image. Here's my final image.


I hope you enjoyed this polaroid effect Photoshop tutorial as much as I did creating it! Let me know what you think, if you have any suggestions, or come up with an interesting variation. Drop me a comment below.
This tutorial was originally made Andrew Houle of myInkBlog.com. However this website does not exist anymore or does not contain the tutorial anymore, so I thought it would be a good idea to preserve it on PSDDude.
What's Next?
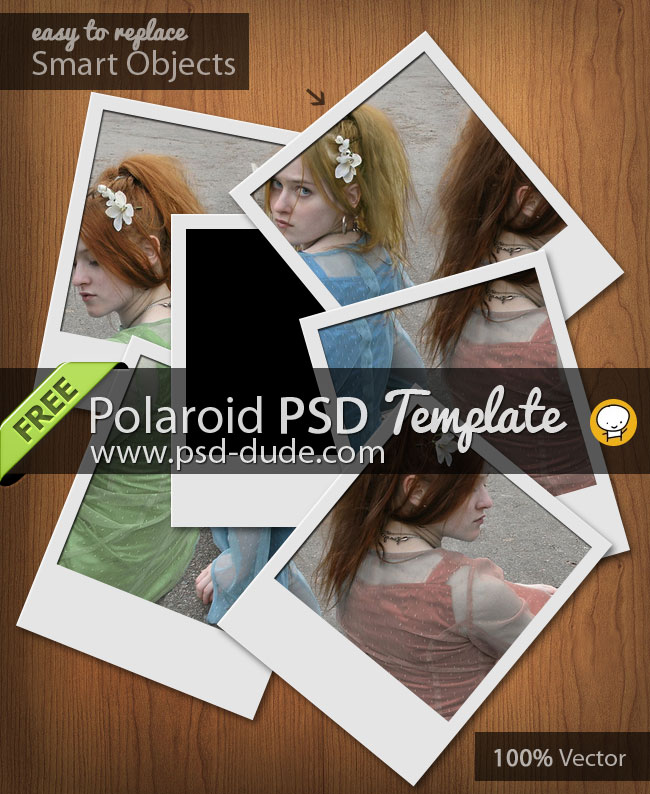
Check out this free PSD Photoshop template:
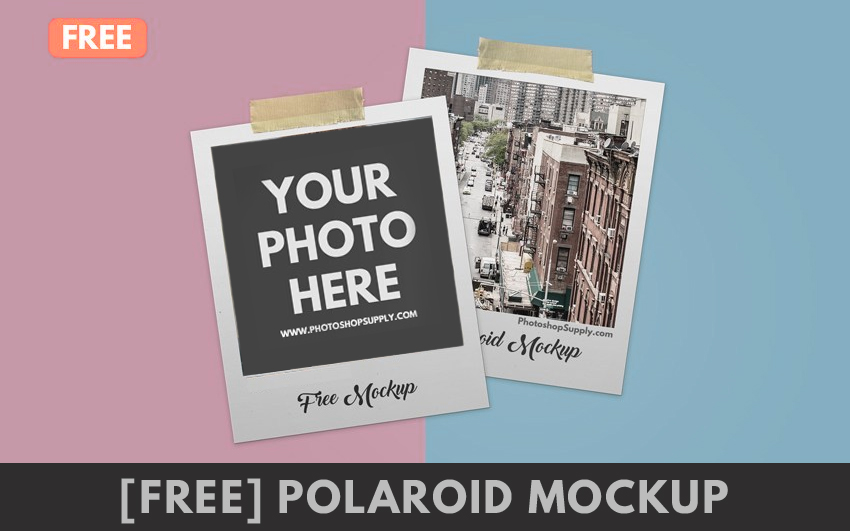
Or this awesome Photoshop polaroid mockup:
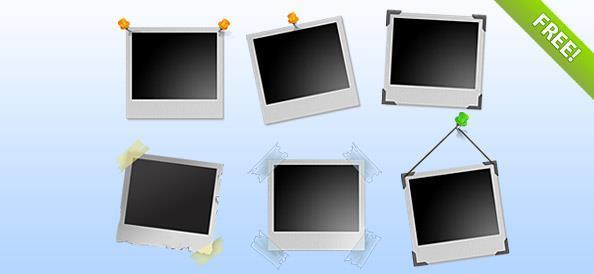
Want Even More Polaroid Effect Photoshop Templates?
This is a list of free Photoshop polaroid templates and mockups you can download for free:
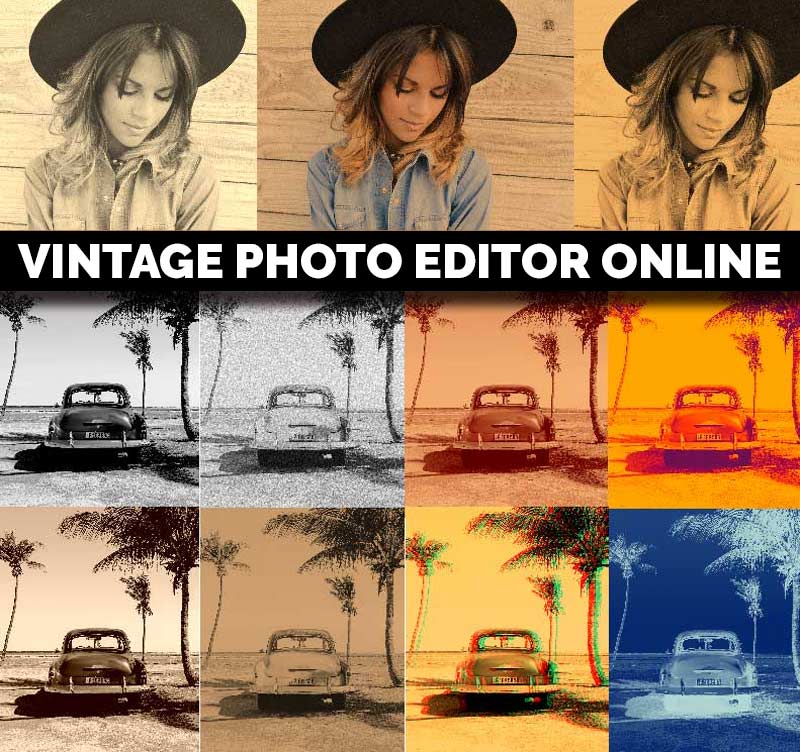
Vintage Photo Editor Online
So, if you don't have Photoshop, you can make old photo effects with MockoFun online photo editor quite easily. Check out the article about the vintage photo editor if you want to make old retro images.
If you are looking for other cool photo effects, check out this list of online photo effects that you can use for your pictures.
MockoFun is probably the best free photo editor with more than 50 non-destructive photo filters, photo overlays and photo effects.
Frame Photo Online [FREE]
If you don't have Photoshop, you can try MockoFun online photo editor which is a free Photoshop alternative. MockoFun is a great tool for cool photo editor online. It has lots of cool features that you can use for free.
Make your pictures more creative in just a few easy steps! You don’t need advanced photo editing skills to frame a photo online.
A photo in itself is a work of art, but a framed photo can look even more impressive.
TUTORIAL: So, if you want to learn how to frame photo online check out this quick tutorial. It's really simple to add frame to photo online. You can do it in 3 simple steps without advanced photo editing skills.
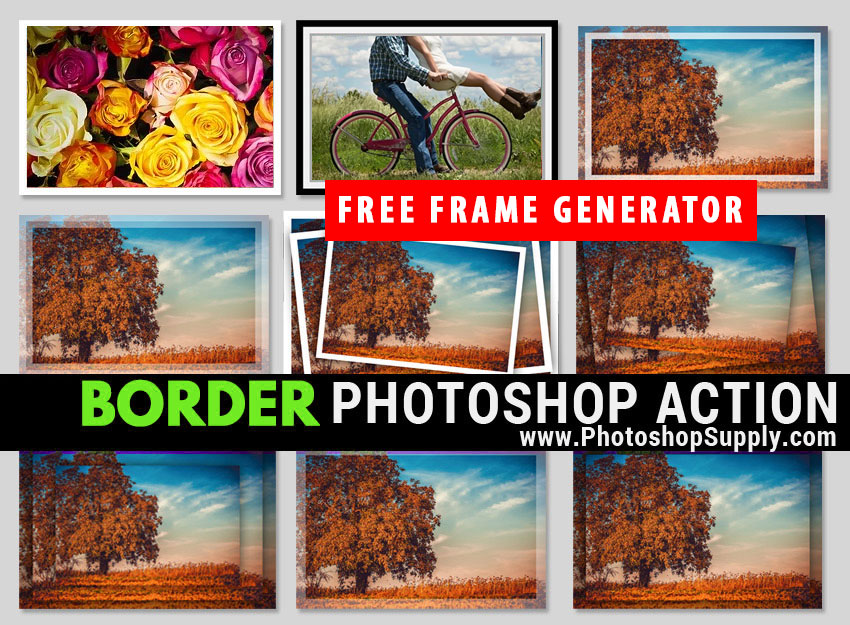
How to Add Border in Photoshop | FREE ACTION
If you want to learn how to add border in Photoshop check out this quick tutorial for beginners.
BONUS: you get a free Photoshop frame action that includes 9 actions for framing photos.

No comment(s) for "Polaroid Effect Photoshop"