


In this tutorial I will show you how to create a long shadow effect in Photoshop that you can use to create your own flat icons and other flat design elements.
First use the Rounded Rectangle Tool to create a flat icon; use the color #f3b63c for the rectangle shape. Call this Icon Shape layer.
Convert the Icon Shape layer into a smart object
Now I will add an image for the icon and place it in the center of the rectangle. You can use a flat icon or you can use a simple custom shape ; I decided to use a clock icon from this free set of flat icons . You can also pick one of these amazing flat icons , it is up to you.
Call this layer Icon Image and convert it into a smart object like you did with the rectangle shape.
Now duplicate the Icon Image 40 times; use the CTRL+J to make the process much faster.
Move the layer Icon image copy 40 like shown in the image.
To create the long shadow effect we have to distribute layers so that we have an equal space between the layers. For that you have to select all the layers from Icon image to Icon image copy 40. To make multiple continuous selection of layers click on the first layer, keep the SHIFT key pressed and click on the last layer.
Pick the Move Tool and click on the Distribute Vertical Centers and Distribute Horizontal Centers like shown in the preview image.
With the same layers selected go to Layer>Arrange menu and choose Reverse.
Select the icon image copy layer and add it a Color Overlay using black color. Copy the layer style of these layer. Select all the layers except the icon image layer and Paste Layer Styles.
Duplicate the icon shape layer. Select all the layers from icon image copy to icon image copy 40, right click and convert them into clipping mask
Select all the layers from icon image copy to icon image copy 40 and also the icon shape copy layer and create a new group called Long Shadow. Reduce the opacity of this group to 50%
So here is the result for the flat icon with long shadow design. You can easily edit replace the two smart objects: icon image and icon shape and you can create your own flat icons.
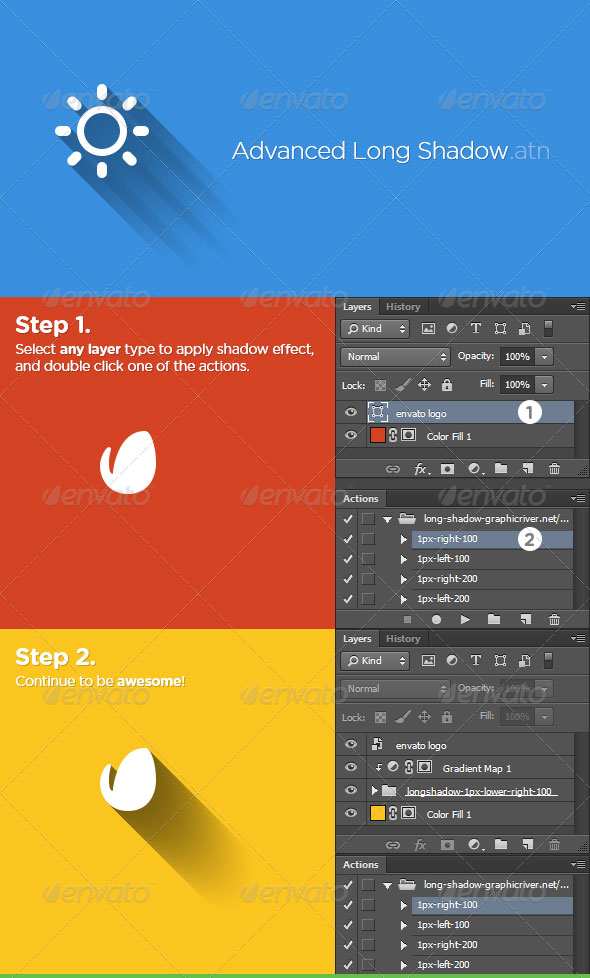
If you want to obtain more proffesional results with different shadow directions you can try one of these Long Shadow Creator Photoshop actions.
Photoshop Long Shadow Creators
ou might also like this collection of Photoshop long shadow actions that will help you create the same effect but more customizable in terms of size, opacity, direction.

2 comment(s) for "Long Shadow Flat Icon Photoshop Tutorial"