


Stock Images :
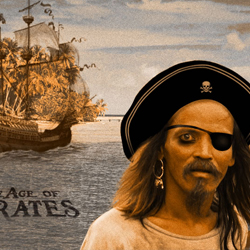
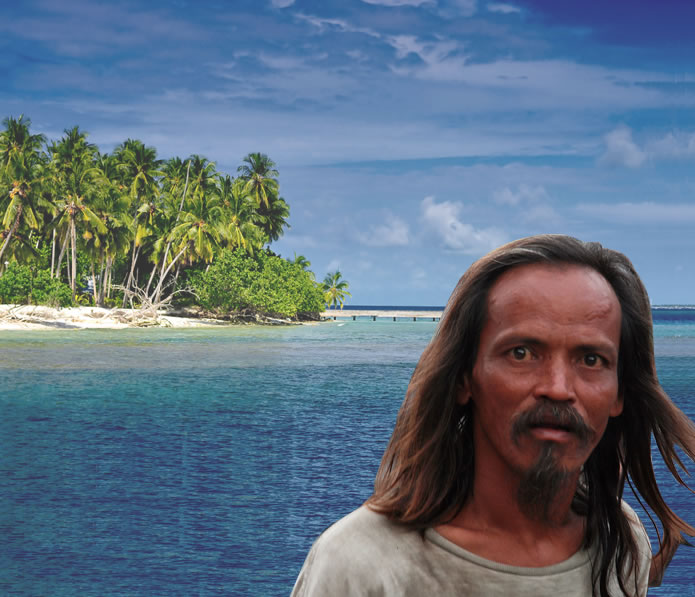
Preview of The Final Image
Step 1 - The Background
Open a new document
with the size 700 / 600 pixels. I am not sure if this is going to be the final size
of the image. Sometimes I like to crop the image to improve it! As you can probably
suspect I am writing the tutorial while I am working in photoshop because it is
easier for me to remember everythig that I do .
So copy the
Sea Landscape
large size and scale it to 70% (edit –
transform – scale). Name this layer Sea Landscape and change the opacity to
80%.
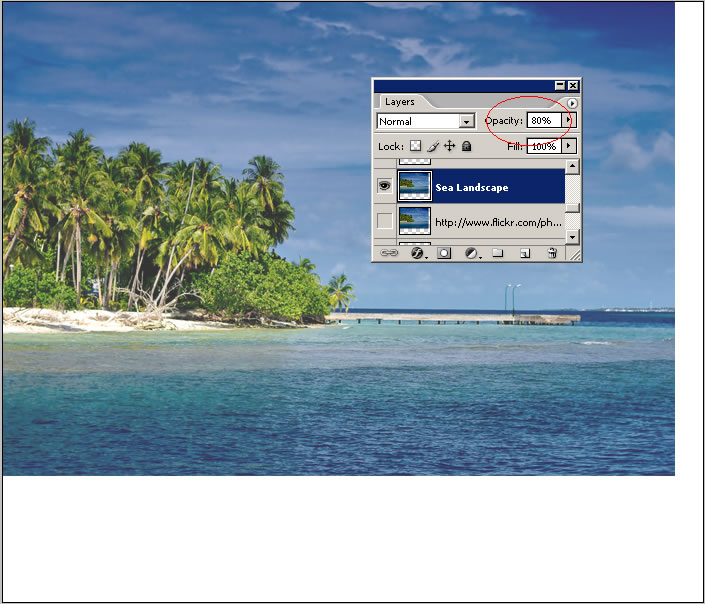
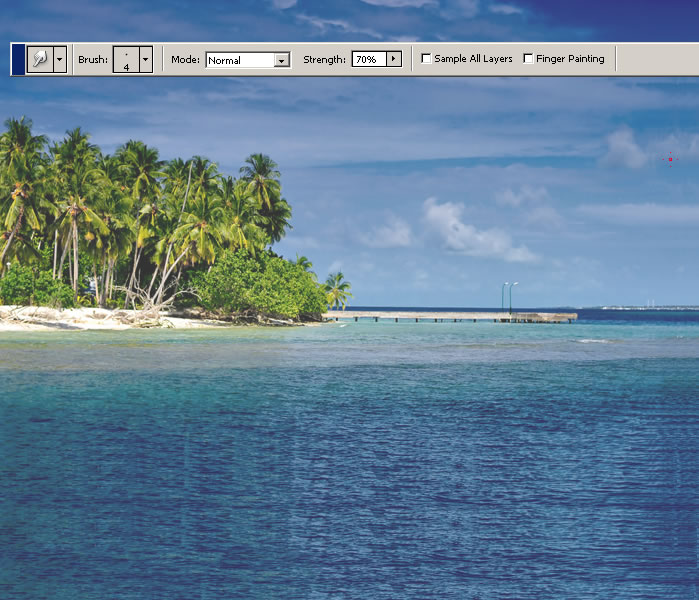
Step 2 – Fix The Background
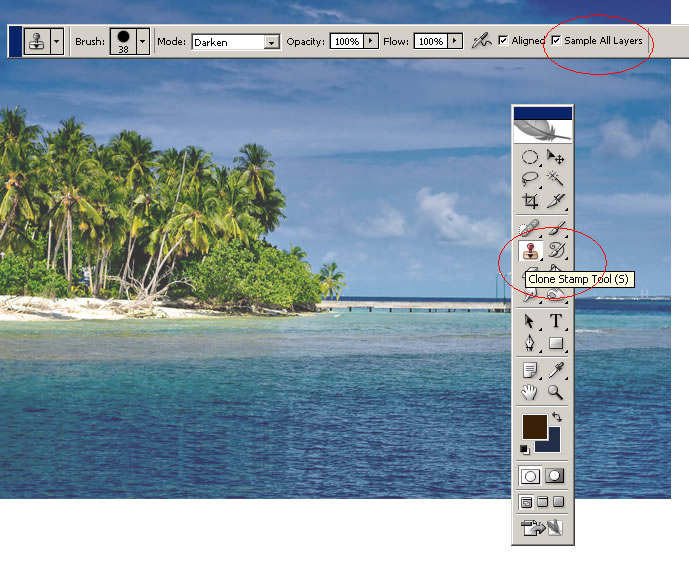
As you can see in the image above there are white areas that need to be filled. For that I think the best tool is the Clone Stamp Tool. Create a new layer and call it Background Extension. With the Clone Stamp Tool try to fill the empty area vertical and horizontal. Make sure to have Sample All Layers checked so you clone the images from the other layer Background Layer.
After you have covered all the empty space it is time to merge the two layers : Background Layer and Background Extension Layer. As you can probably see the cloning process is not perfect so with the Smudge Tool try to fix the clouds with circular moves.
Step 3 – Bring the Pirate Man into the Scene
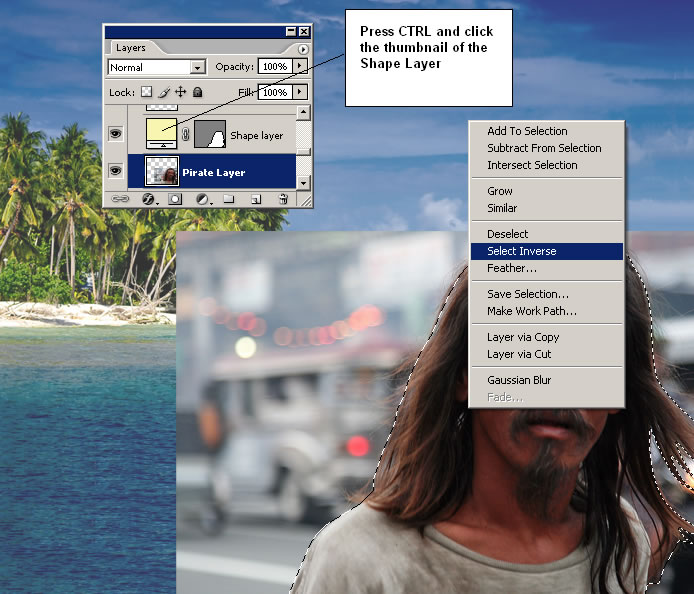
Copy the Man Photo from Flickr into your scene. Scale the image to 55% and call this layer Pirate Layer. I will put all the layers that belong to the pirate photo manipulation, in a new group. Place the pirate in the right corner of the image. Now with the Pen Tool trace the man contour. We have to remove de background. For the shape a new layer was created…call it Shape Layer. Change the opacity to 0% while you are tracing the contour to see the man image.

Now press CTRL and click the Shape Layer Thumbnail. A selection was made. Take now the Magic Wand Tool and right click in the selection. Make sure to work in Pirate Layer. Choose Select Inverse and press Delete.
With the same method delete other parts of the backgroud(hair area). You can use also the Eraser Tool to do that.
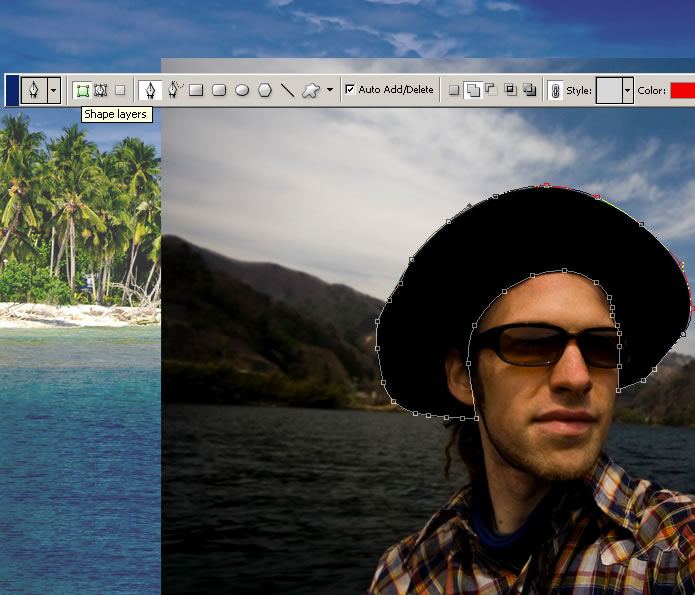
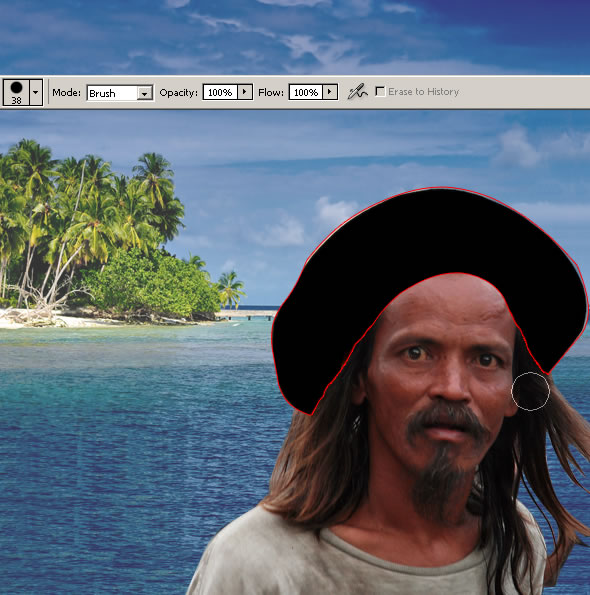
Step 4 – Add the Hat
Copy the Pirate Hat photo into your psd file. Scale it to obtain similar sizes (equal face sizes).
Now take the same Pen Tool and draw the shape of the hat. As shown in the previous step we will delete the background.
I have selected the shape, choose select inverse and delete the background. As you can see in the image below I have added a red stroke to the Hat Layer because I will have to delete with the Eraser Tool parts from the hat to blend with the pirate. The red line helps me to see better where is one layer and where is the other. When I will finish the retouch I will remove the Stroke option.
Step 5 – Fix the Hair
I have to fix the hair now to blend the hat with the rest of the image. Because I will not use hair brushes the best method to fix hair problems is to use the Smudge Tool.
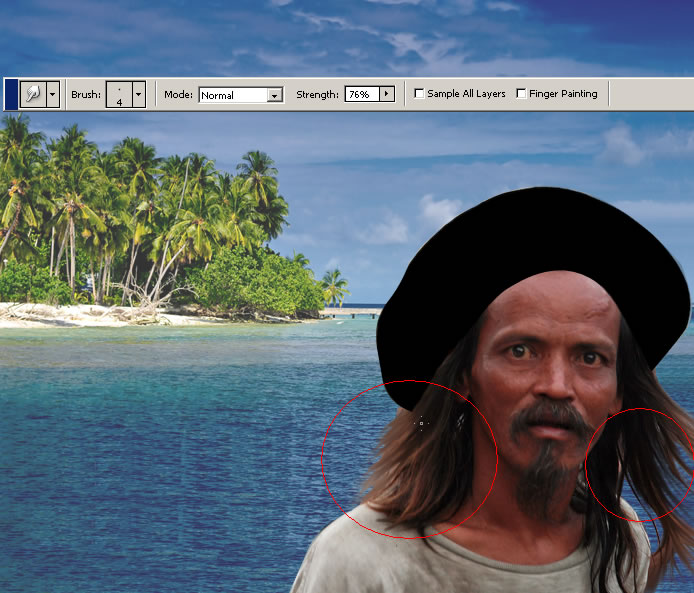
To look more real I have copied to parts of the hair from left and right. Call this layer Extra Hair Layer. Place the Extra Hair Layer above Pirate Hat Layer. I have colored the hair with red 50% Colr Overlay to see exactly the shape of the hair extension. Use also the Smudge Tool make the hair look real.
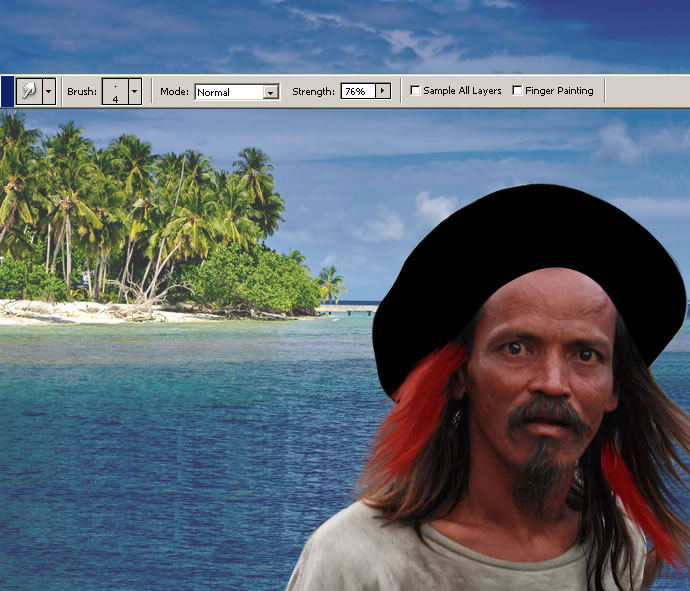
Remove Color Overlay.
Step 6 –Change the Hat into a Pirate Hat
It is really simple to transform the hat into a pirate hat. Just add some items and this is it!
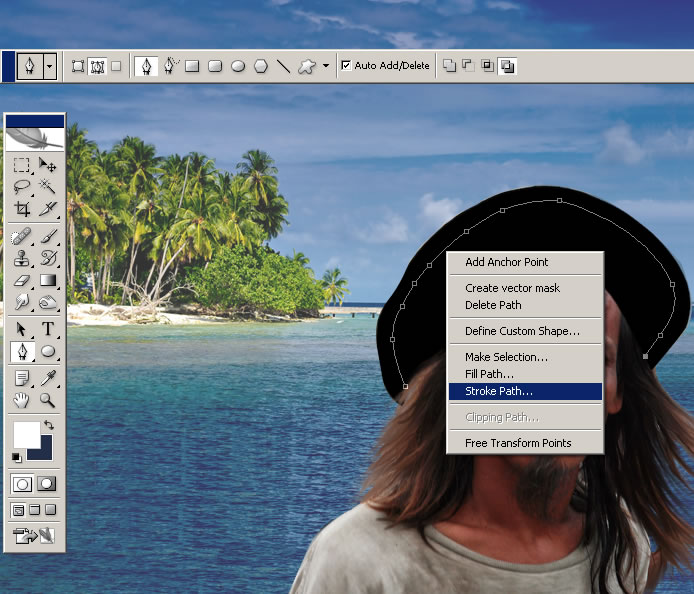
Let’s start by adding a white line. With the Pen Tool, check Paths and draw a line along the exterior edge of the hat.
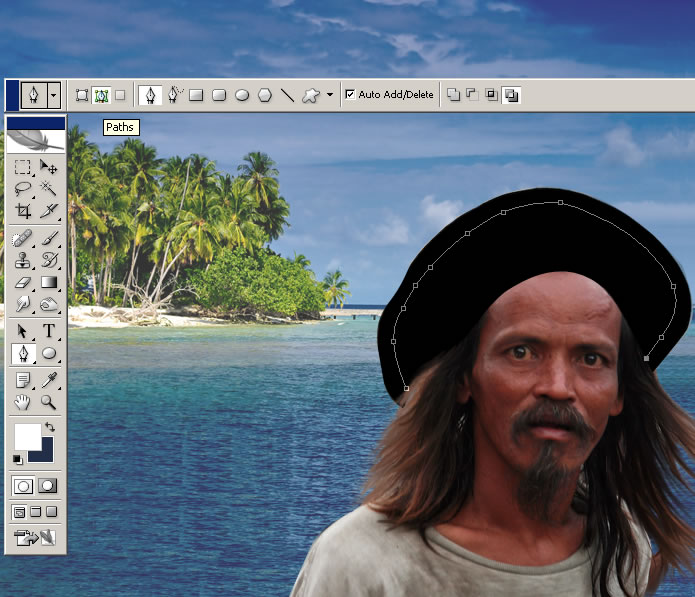
Than select the Brush Tool and make sure you have brush size 3 and color white.
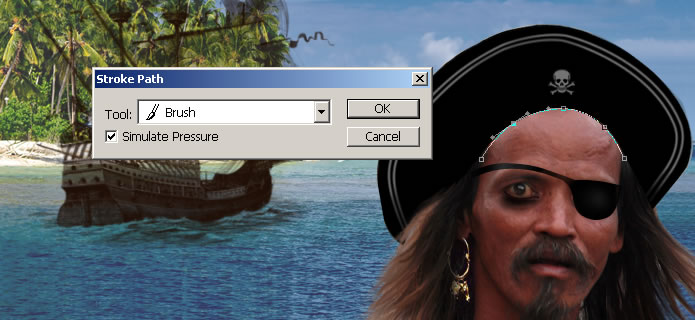
Create a new layer and call it White Lines. Select the Pen Tool again and right click on the path and choose Stroke Path.. like in the image:
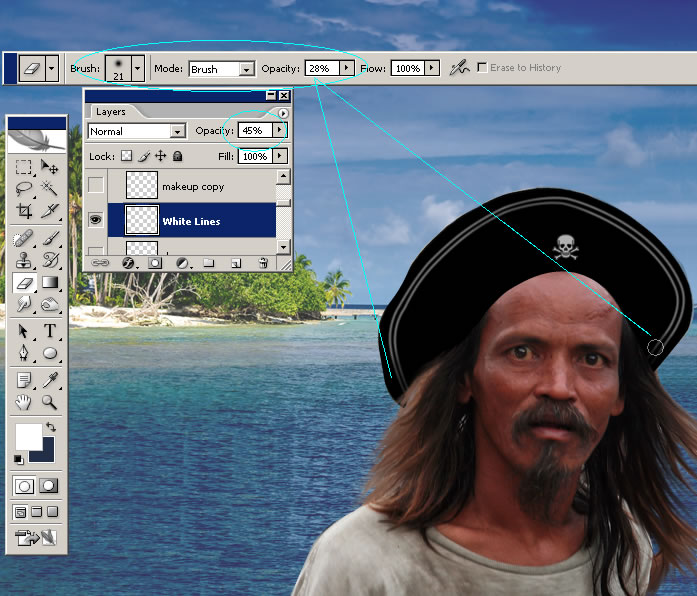
Now go to Edit – Transform – Scale and make the path a little bigger. The idea is to obtain to white lines. You can easily use the Conver Point Tool to adjust the shape of that second line. After you obtain a nice paralel line choose Stroke Path again. Now press Delete and the path is gone. Now change the opacity of this layer to 45 %.
With the Eraser Toolopacity 28 % smoothly delete the parts of the lines to obtain shadows.
The second item that you I need to add is the Skull and the hat is ready.
Step 7 – Pirate Earring and Eye Patch
To complete the pirate look I will add an Old golden earring and an eye patch.
Resize the earrings to 40% and delete the right sided one. Than use Edit – Transform – Skew to give it the right perspective.
Change the opacity of the Old Golden Earring to Lighten 100%.
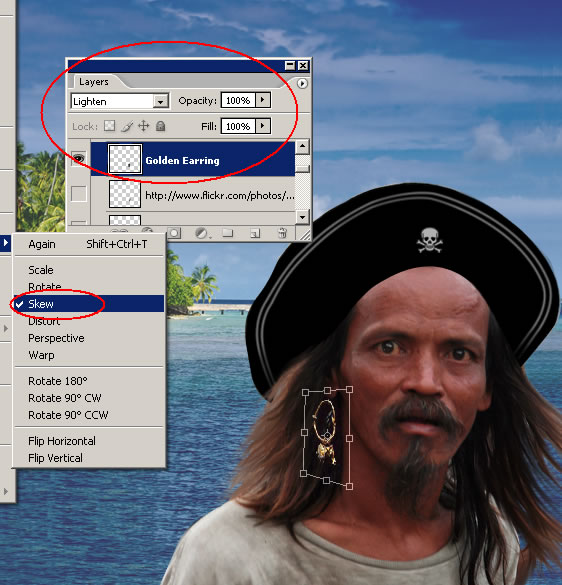
Use the Eraser Toolopacity 30% to add shadow and to give the impression that is really his earring.
Ok now let’s deal with the eye patch. With the Pen Tool simply draw the eye patch, color black.
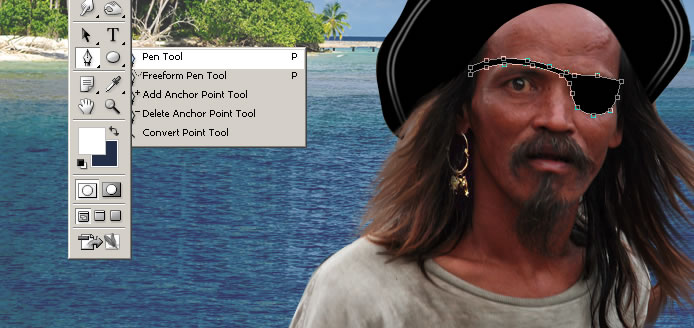
Rasterize the shape and with the Dodge Tool, shadowsexpossure 20% lighten parts of the eye patch again to look real.
I will now add a little black makeup to the eye. Use the Brush Tool, different opacities and sizes. Use also the Filter – Blur – Gaussian Blur . In final add a little black line with the Pen Tool, Paths.
Step 8 – Add the Pirate Ship
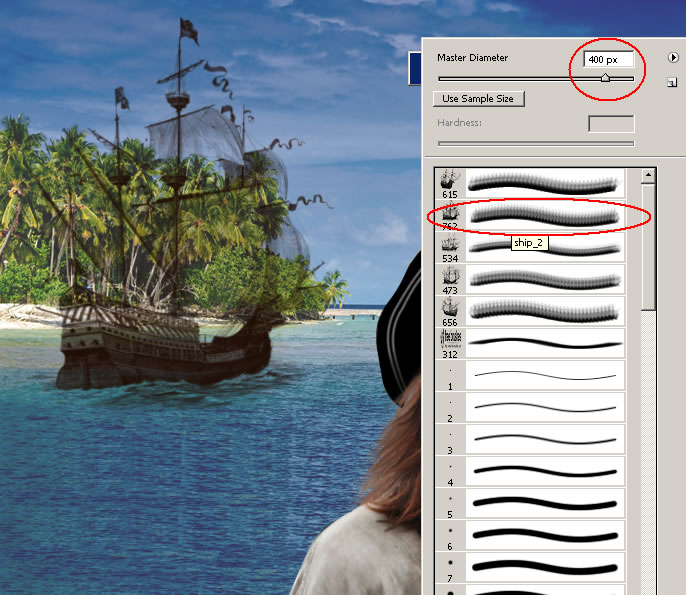
To complete the image add the pirate boat. You can of course find another ship if you don’t like this one. So go to this link Warships Brushes and download the brushes. Create a new layer and call it Ship Layer.
Set the Foreground Color #241005. Take the Brush Tool, load the Warship Brushes and use ship_2size 400 px .
Note: I have forgotten something that is really important . The pirate image looks a little fake where the hat meets the forehead. I have to create a shadow area (for further information read about illumination and ambient occlusion ) .
So with the Pen Tool (choose Paths) create a line along the hat edge. The foreground color is #241005. Select the Brush Tool and make the following settings:

Create a new layer and place it right below the Hat Layer. Select the Pen Tool again and right click the path line. Choose Stroke Path and press delete. Change the opacity of this layer to 55%
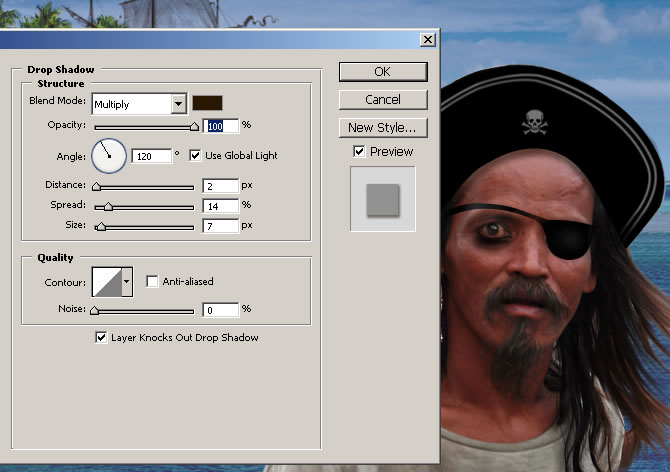
The last thing you have to do is to add Drop Shadow to this line
Step 9 – Add the Old Look
To complete this image I will create two layers that will act like filters. So the first layer is a rectanglecolor # de9e60. Go to Filter – Noise – Add Noise and do the following settings:
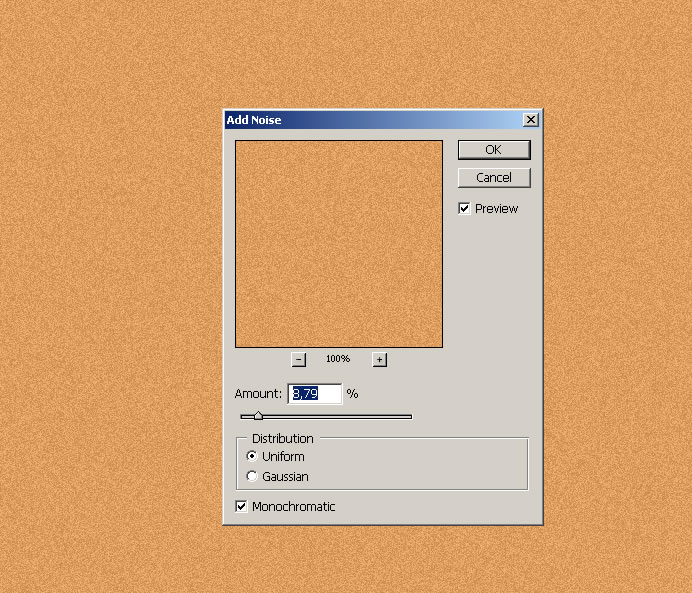
Change the Blending Mode of this layer to Overlay 100%.
Above this layer create another rectangle this time the color is # e97e15. Change the Blending Mode of this second layer to Hue 100%.
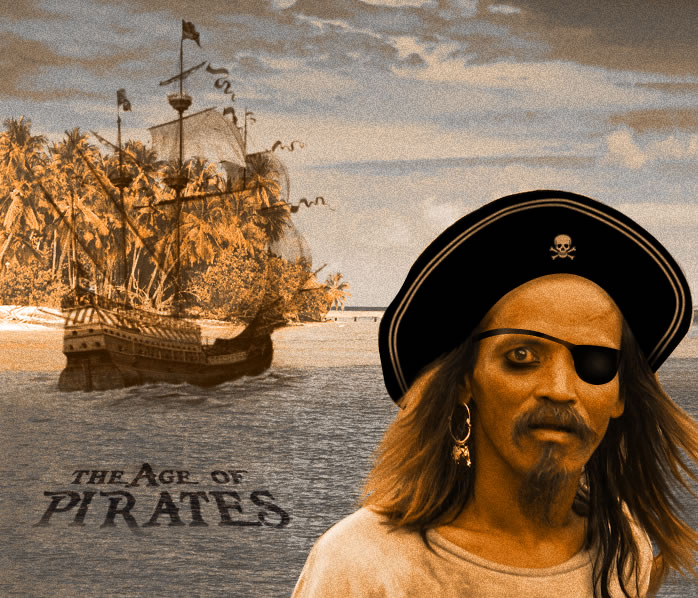
The final image should now look like this:

12 comment(s) for "How to Create a Pirate Image Manipulation"
reply
Thank you for telling me, now it is fixed! reply
reply
other than that is GREAT reply