


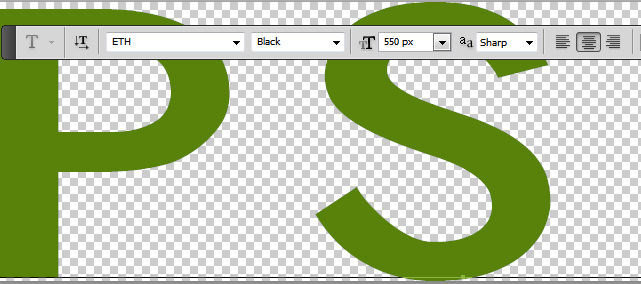
We'll start with a text layer; so write something using a font that you like. I am using the free font type called ETH font , size 550px, type Black. Learn how to install font in Photoshop from this quick tutorial for beginners.
Use a green color tone for the text layer, #58820a and call this layer Text layer. It is important to leave a space between each letter so make sure you set the tracking for characters to 100.
Very important! Keep a copy of the text layer in a new PSD file because we will need it later on.
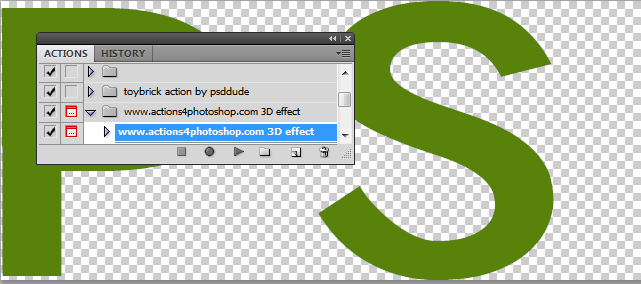
To create the 3D effect we'll use this 3D Photoshop action that you can download for free. Install the action in Photoshop; play the action in the new created PSD file for the 3D effect smart object, and wait for the result.
After the action ended we have to make some small adjustments. Delete the Shadow Group. Inside the initial object group you have a layer called "top"; simply open the layer style window and remove the Bevel/Emboss and also set the Color Overlay opacity to 45%
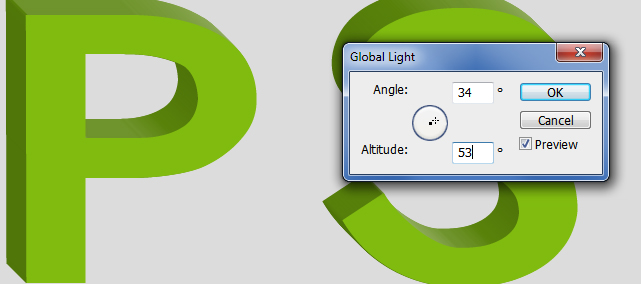
Another thing is to adjust the lighting; for that you have to go to Layer Menu>Layer Style and choose Global Light like shown in the image.
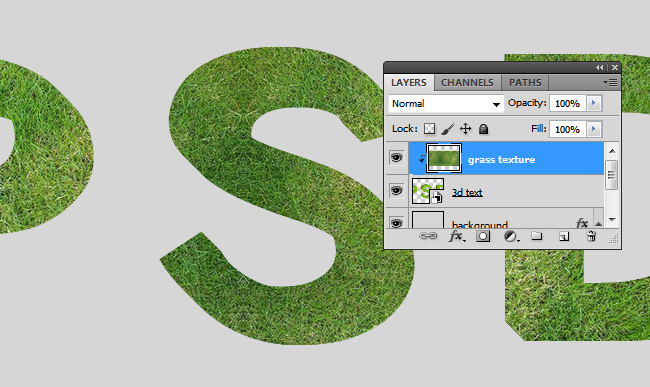
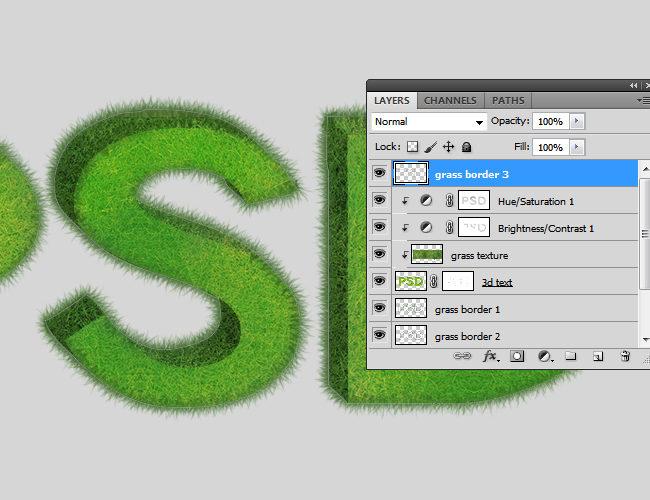
Now you can either merge all the visible layers and groups except the "background layer" or you can turn them into a smart object. Call the resulted layer/smart object, 3D text. Now we'll texturize the 3D text using a grass texture that you like. Simply copy the texture right above the 3D text and convert the texture layer into a clipping mask with a right click on the layer.
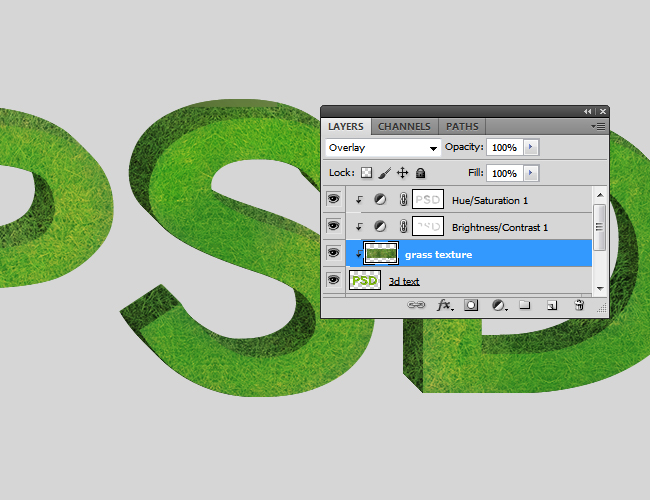
Set the blend mode of the Grass Texture layer to Soft Light or Overlay. You can also use a Brightness/Constrast and Hue/Saturation adjustment layers to obtain a good contrast, color tone, etc. You can combine more than one texture.
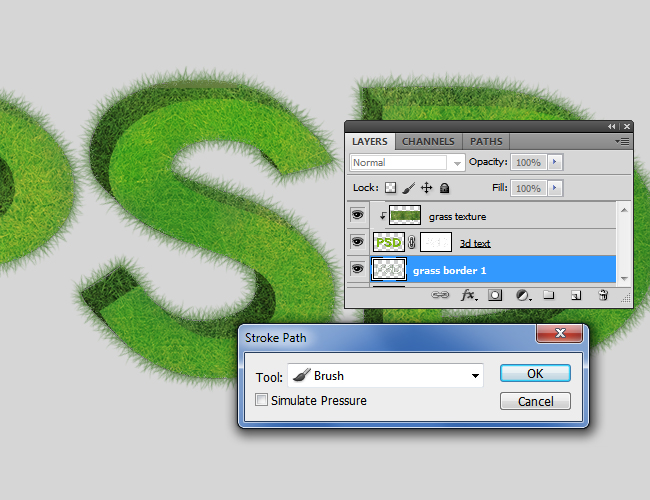
Create a new layer behind the 3D text and call it Grass Border. Make a quick selection using the 3D text (keep the CTRL key pressed and click on the layer thumbnail). Use this selection to create work path .
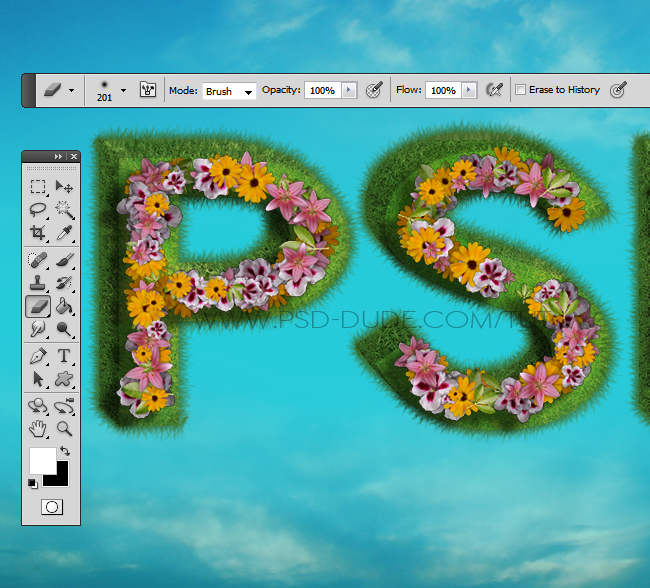
Choose a grass brush, set the foreground color to a tone of green from the grass texture. Use the Eyedropper Tool to pick the right color. Make sure you are in Grass Border layer and stroke path using the grass brush.
You can add as many Grass Border layers you want. Simply pick another green color tone, change the brush size and repeat the stroke path process. At the end you have to delete the work path. Go to Paths tab, right click on the path and choose Delete Path.
Now let's go to the other PSD file, the one with the Text layer copy that we made in the beginning of this tutorial. I will now use a very cool Photoshop plugin called SuperSpray that every Photoshop fan must have. This is a premium plugin that you have to buy but I assure you it is worth every penny. You can decide to make the same effect by hand but it will take you some time to do it.
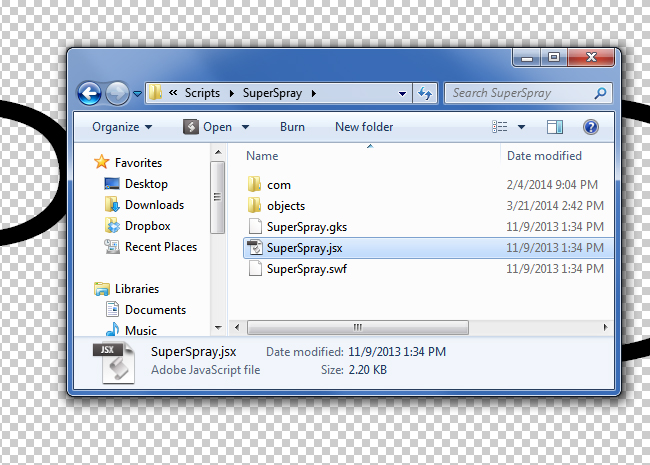
First I will tell you how to install the plugin. In order to use this plugin, simply copy the SuperSpray folder inside your Adobe>Presets>Scripts folder. Inside the SuperSpray folder you have other folders and files that are equally important as we'll see later on.
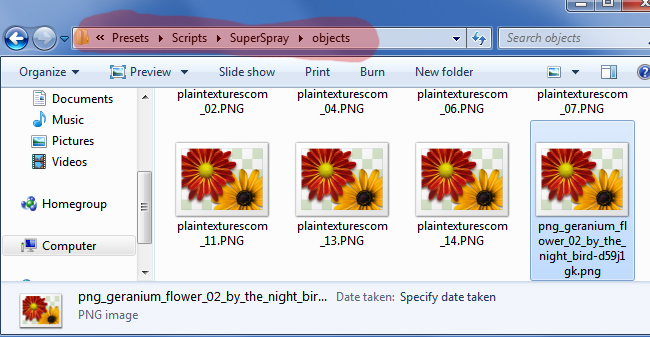
So the script acually covers ONLY the black pixels from an image with 100% opacity level with PNG cutout images. The plugin comes included with a few PNG images but you can also add any object you want which is really cool. So let's add a new PNG file. Save this geranium flower PNG on your computer into the Adobe>Presets>Scripts>SuperSpray>Objects folder and the object will appear in the preview of the plugin.
Before you open the plugin make sure you are in the right PSD file. Make sure that your text has ETH font type, size 550px, type Regular instead of black, that means it is a thiner font.
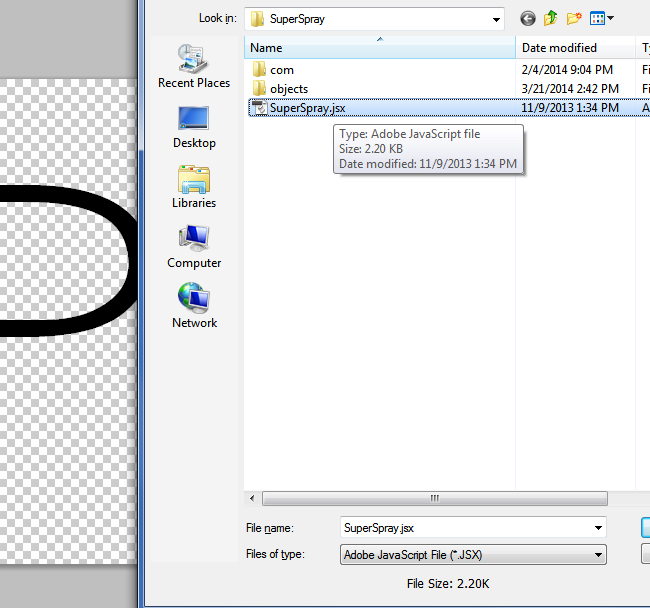
Go to Photoshop and from the File Menu, go to Scripts and choose Browse. Access the SuperSpray folder and inside you will find a file called SuperSpray.jsx that you have to select to open it.
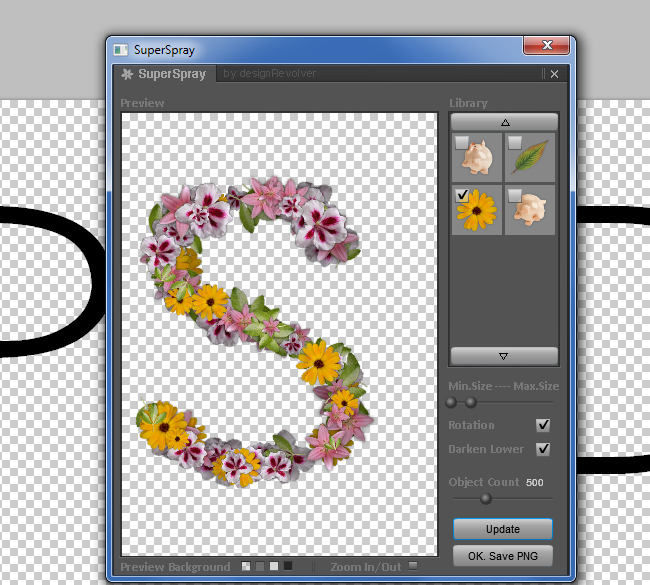
A preview window should appear where you get to choose the PNG images from the library and also you can make other settings. I will lower the Min Size but you can make any changes you want. Click the Update buttom until you obtain an image that you like. Than press the OK Save PNG button and save the image on your computer.
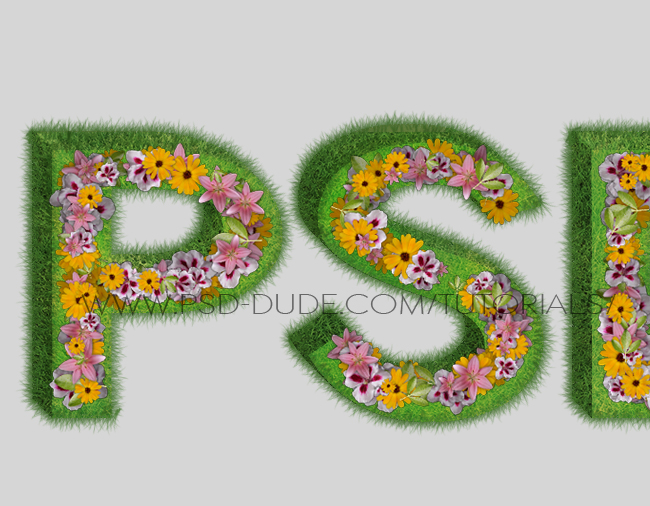
Go to File Menu and choose Place; pick the PNG file that we just created and press the Place button. The image will be placed in Photoshop as a smart object so I rasterized it. Right click and choose Rasterize Layer. You might have to resize it and make the image smaller to fit with the 3D grass text. Call this layer Floral Text.
 /tutorials/resources/clouds-photoshop-brushes.aspx
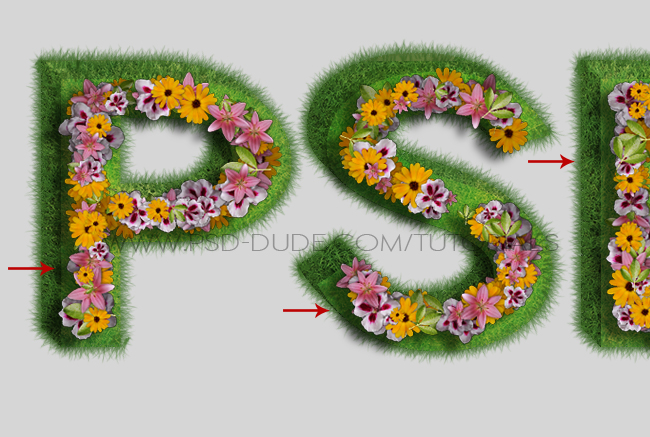
You can increase the contrast of the Floral Text by adding a Brightness/Contrast adjustment layer.

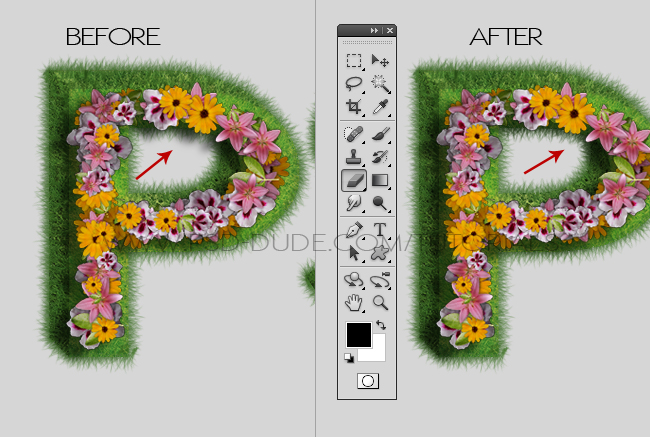
Now we'll create a cast shadow effect for the Floral Text layer. Usually we'll have used the Drop Shadow layer style but in this case we have to duplicate the layer and turn the initial layer into shadow. Call the initial layer Shadow and add a Color Overlay using black. Move this layer left and down like shown in the image. Reduce the opacity of the layer to 60% and also add a soft blur using the Gaussian Blur filter.
Use the Eraser Tool to delete the parts that exceed the grass text. Because our text will have a sky as background, there is not shadow cast on air so you have to remove it.
Time to add the sky background. First you have to fill the Background Layer with this color #26cbda and also create a new layer called Sky Clouds. Copy this Sky Texture in the new created layer. Set the opacity to 65% and use the Eraser Tool with a soft round brush to remove part of the clouds.
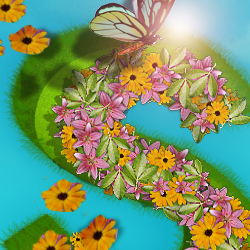
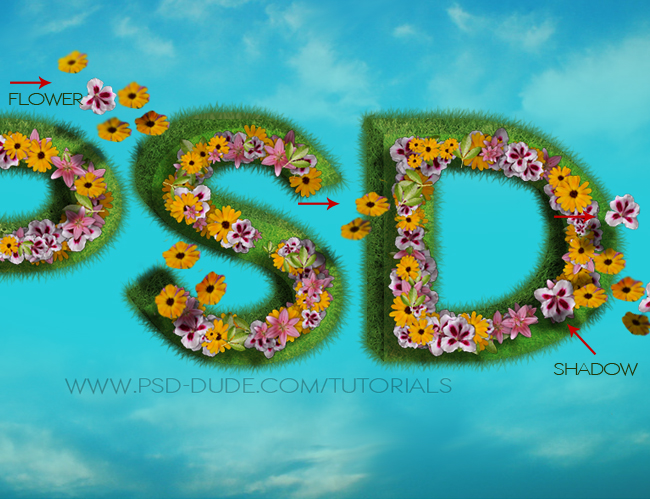
We are amost at the end of this tutorial. The rest is simply customization taht you can make using any other elements that you like. For example you can add flowers flying in the air like shown in the image. Use the same flowers you used for the floral text. Don't forget to also add a shadow layer to create a realistic effect. Make sure you follow the same lighting rules. If the first shadow is to the bottom-left, the other shadow must be the same.
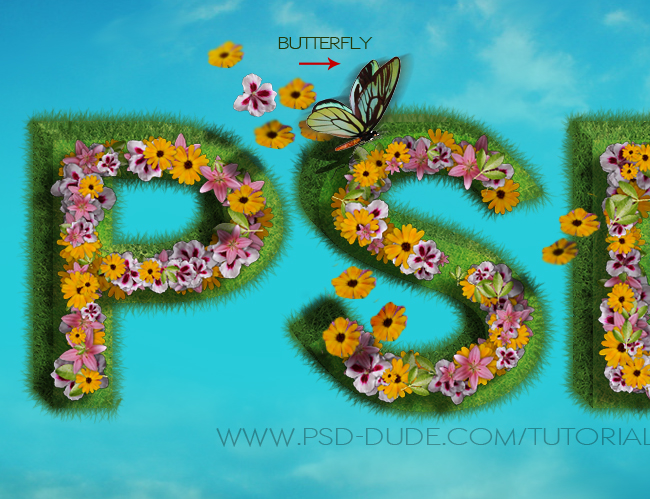
You can also add butterflies or even birds, animals, people. It is up to your imagination.
In a new layer you can add more clouds using one of these clouds brushes ; use a light color for the clouds and set a lower opacity level. You can even use the Gaussian Blur to soften the clouds.
Another detail that I added is a sun flare effect; learn how to create lens flare in Photoshop or you can use one of this already made optical flares textures.

or the final touches you can add a Photo filter adjustment layer to make all the color tones from all the stock images used blend in better. Use also the high pass filter to sharpen the image and make the details pop out. A Brightness/Contrast adjustment might help you obtain a better contrast/brightness balance.
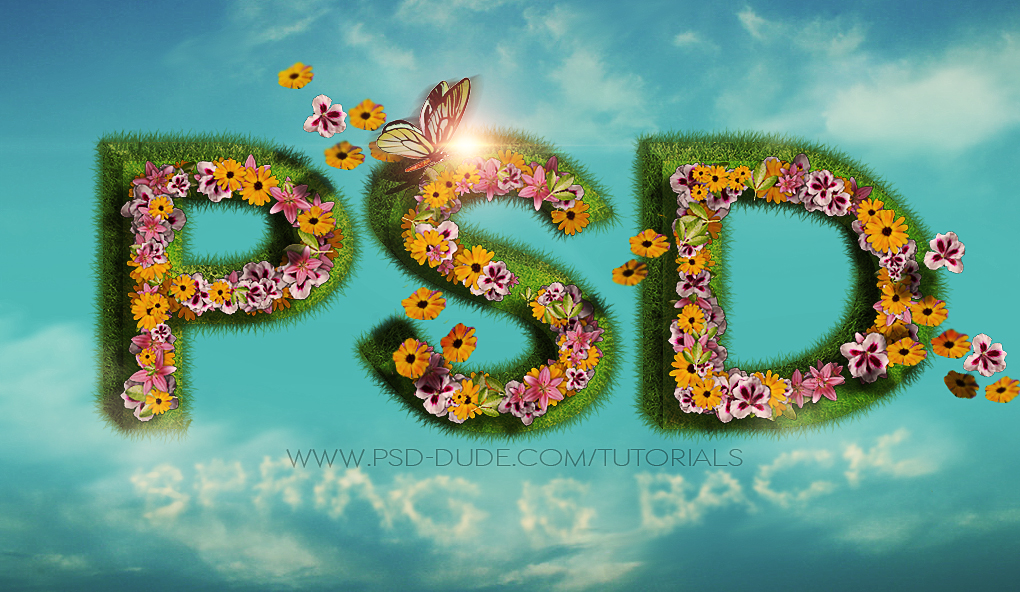
So here is the result for the floral nature inspired text effect, made in Photoshop, perfect for the lovely spring and summer months. You can use this technique to create other interesting effects. Instead of text you can combine text and shapes. You can create spring and summer posters; this effect is also great for the upcoming Easter holiday.

6 comment(s) for "Create a Floral Text in Photoshop with SuperSpray Plugin"
source: photoshop-master.ru
To create the clouds text I used a simple waved path and I added the text. To obtain the clouds effect I used this useful cloud shapes Photoshop creator that you can download from graphicriver.
You can also use this tutorial to learn how to create your own cloud text effect in Photoshop from scratch. reply