


Before we begin, I suggest you check out this awesome list with over 25 free Cake Fonts that you can download and use for commercial projects. Use the cake fonts online with the MocoFun text editor or install the fonts on your computer and use them in Photoshop.
For this tutorial I will use the Pacifico font but you can pick another cake font from the list.
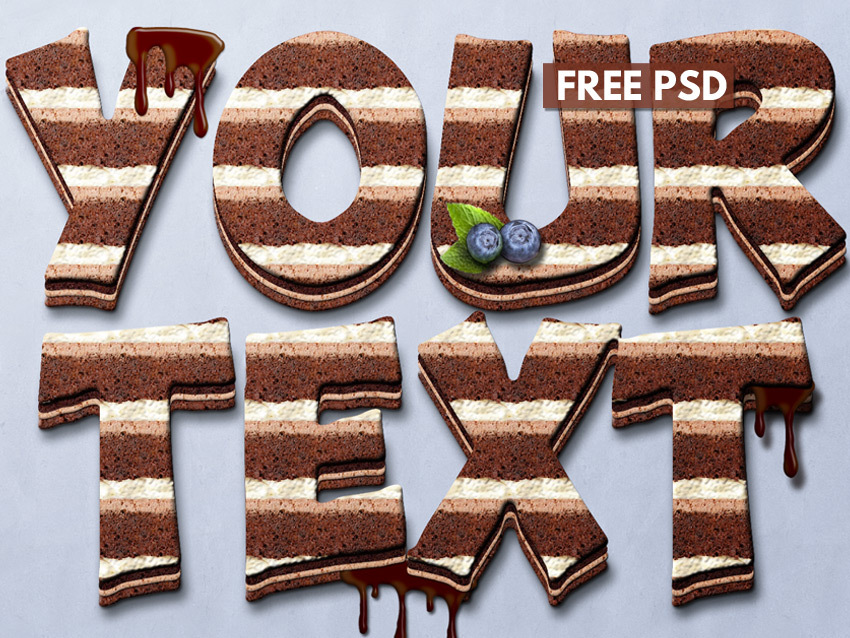
DOWNLOAD the FREE Mockup
If you want quick results you can try the PSD mockup for free.
To make this text effect, you have to download the ZIP file that includes all the cake patterns used in this tutorial.
DOWNLOAD_TUTORIAL_ASSETS(146KB)In this tutorial we'll learn how to create vector shape silhouettes in Photoshop using some simple techniques. You can save the vector silhouettes as Photoshop custom shapes as I will show you in the next steps.
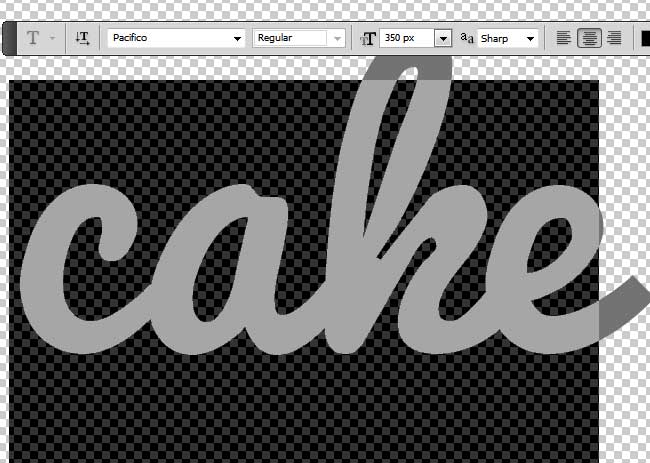
Open a new PSD file and add your text, shape, raster image tha you want to turn into cake. I will choose a text layer with font type Pacifico, a free font that you can download. Learn how you can easily install new font in Photoshop from this quick tutorial for beginners.
For this step you have to download this useful 3D action and load it in Photoshop. Make sure you have only one layer before playing the action. If you have a background layer please delete it. This action was recently updated so if you have an older version you might have to download it again.
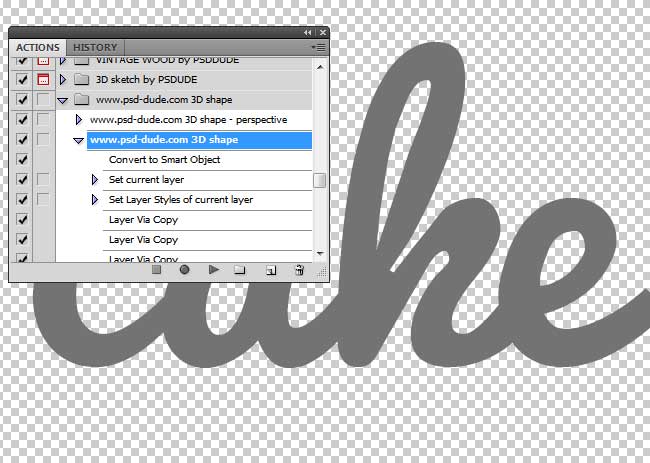
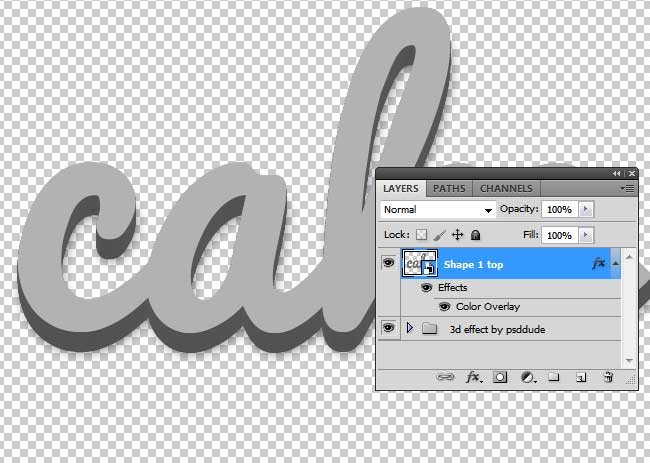
Add a Color Overlay to the text/shape layer and choose color #737373 . Pick the "www.psd-dude.com 3D shape" action which is the second action from the ATN file. Click Play button and wait for the result.
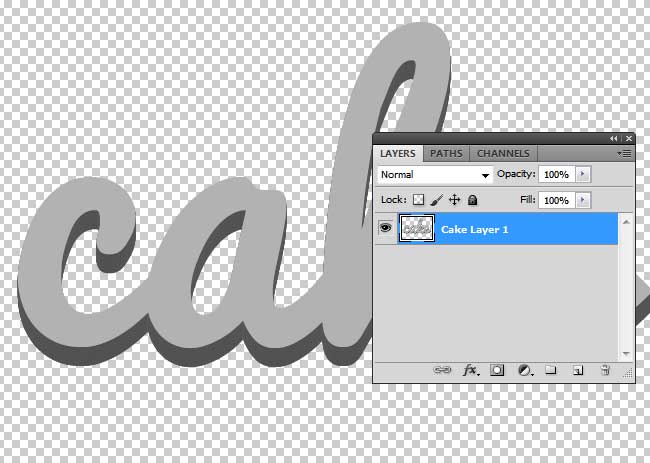
Inside the "3d effect by psddude" group you will find a layer called "shadow" that you have to delete. Select all the visible layers and merge them into one single layer, pressing CTRL+E. Rename this layer and call it Cake Layer 1.
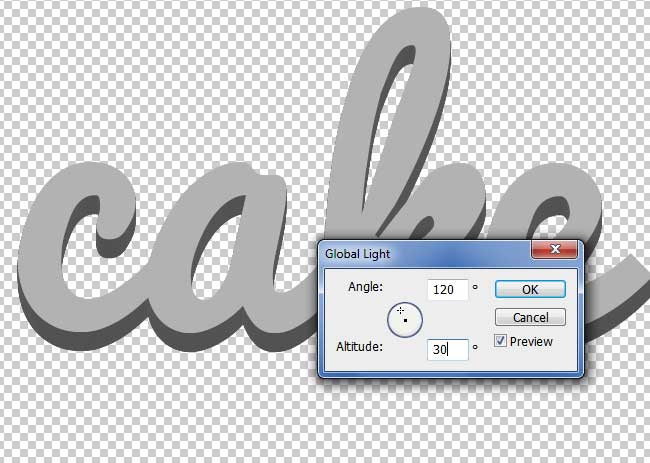
Go to Layer Menu>Layer Style and choose Global Light; make the settings shown in the preview.
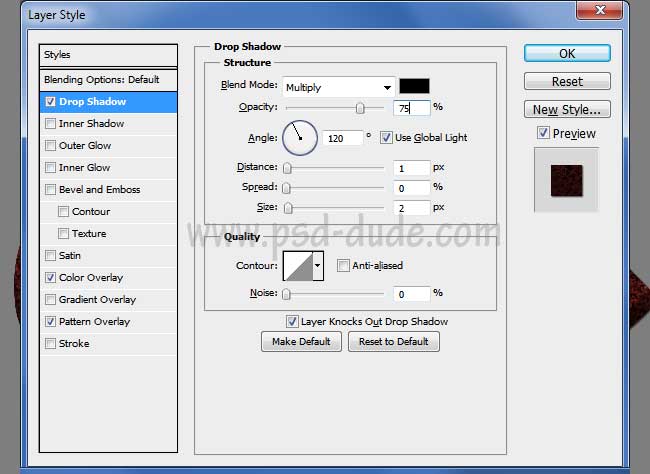
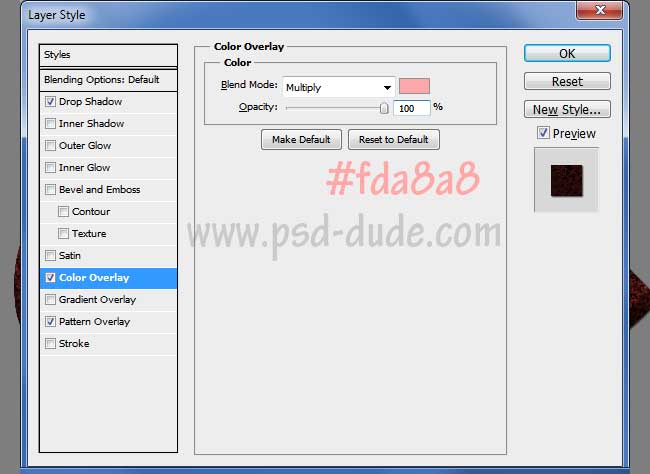
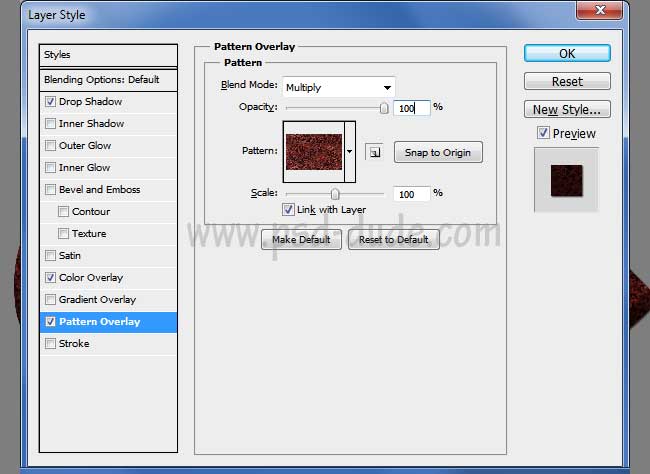
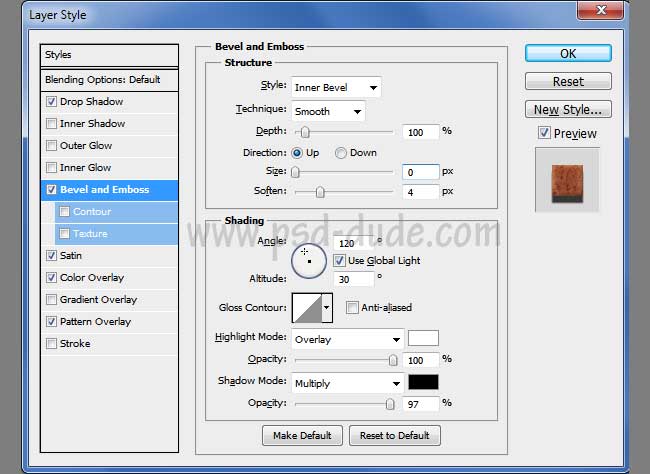
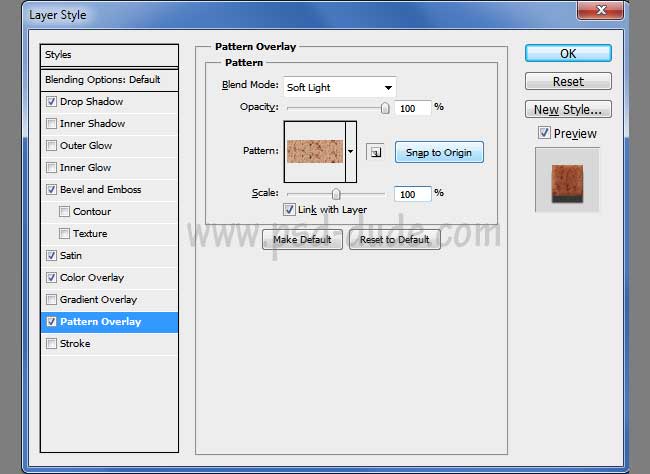
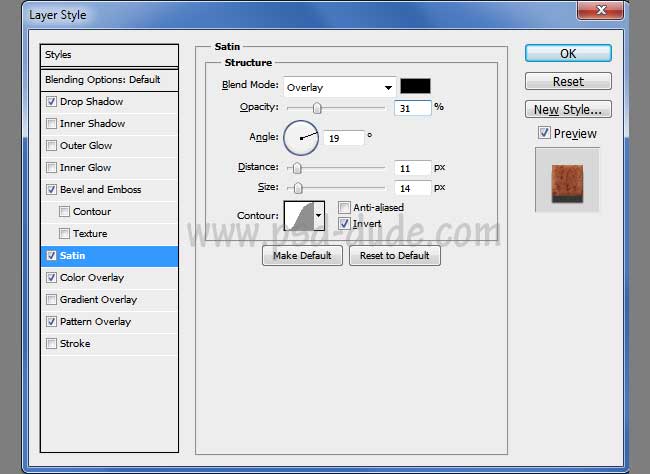
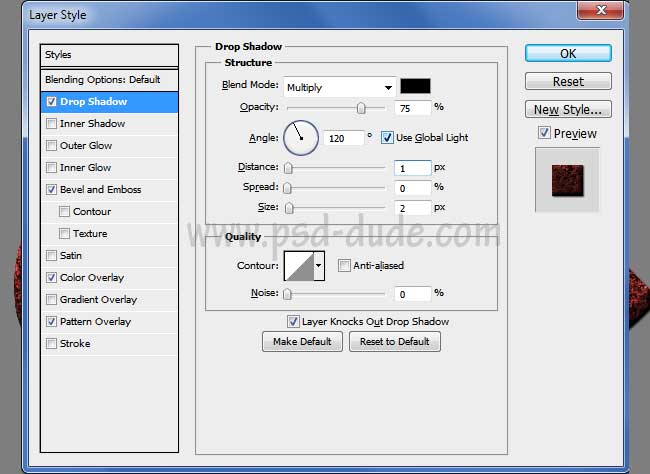
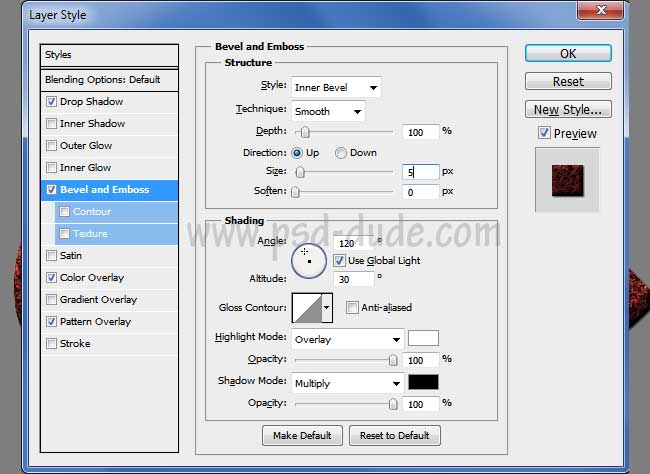
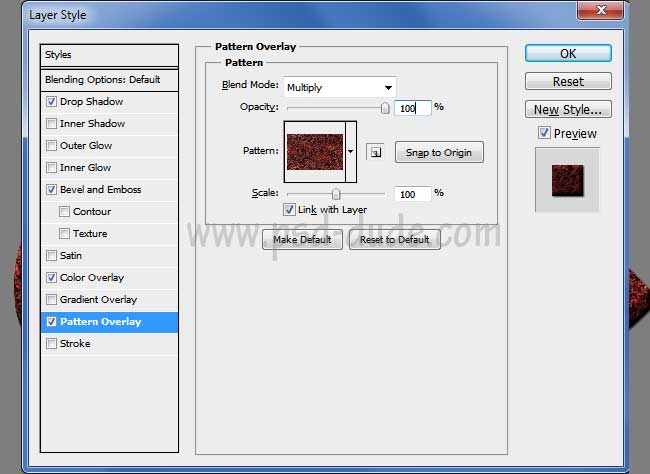
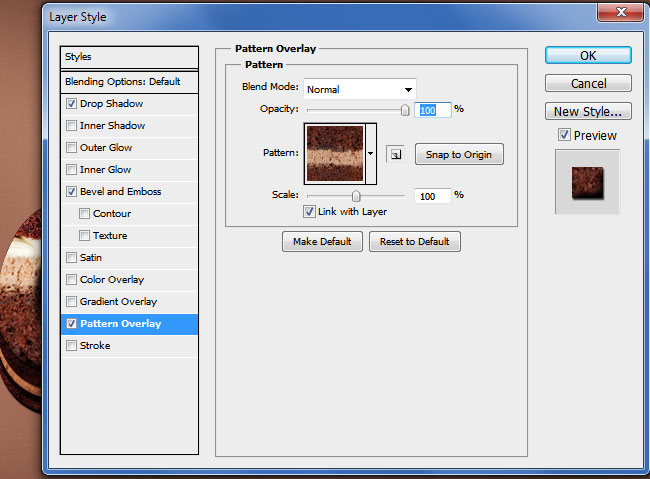
Make 2 more copies of the Cake Layer 1 and call them Cake Layer 2 and Cake Layer 3. Now all we have to do is to add a layer style for each of these 3 layers. Let's start with the top one, Cake Layer 3 by adding these styles. For the Pattern Overlay use the "cake 4" pattern from the PAT file.
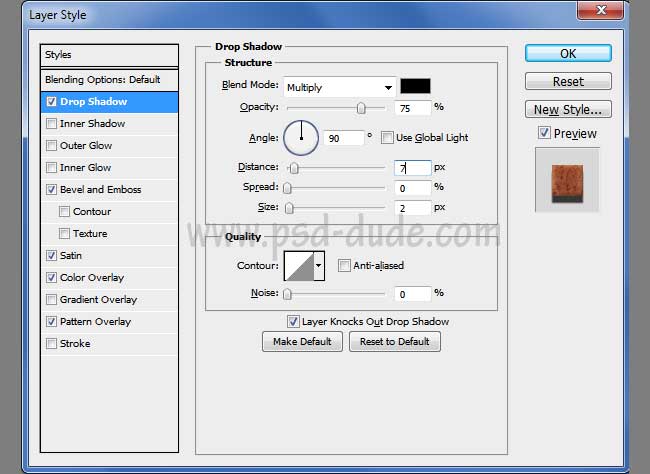
Let's go to the next layer, Cake Layer 2; first you have to move the layer 5px down. Pick the Move Tool and click the arrow down 5 times. Than add these layer styles. For the Pattern Overlay use the "cream 1" pattern from the PAT file.

Let's go to the last layer, Cake Layer 1; first you have to move the layer 5px down. Add these layer styles. Again, for the Pattern Overlay use the "cake 4" pattern from the PAT file.

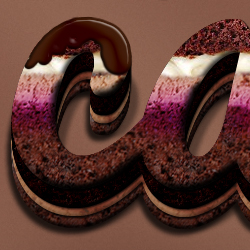
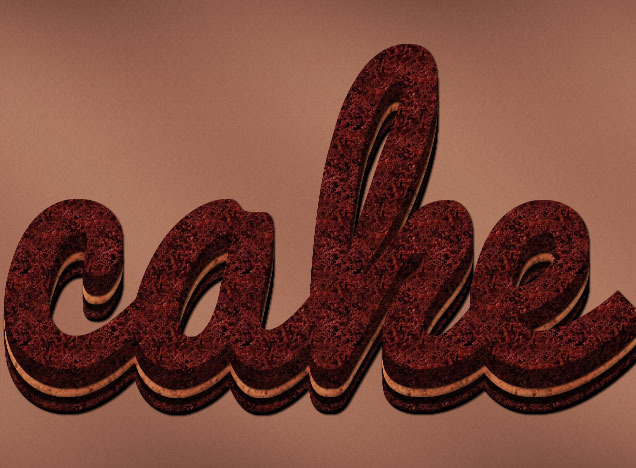
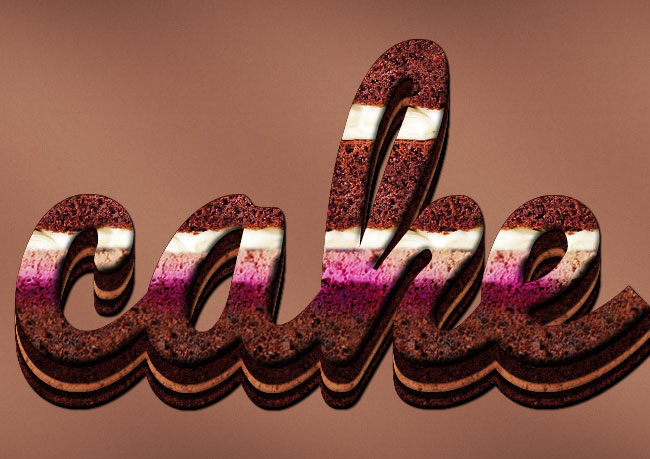
Your 3d layered cake should now look like this:
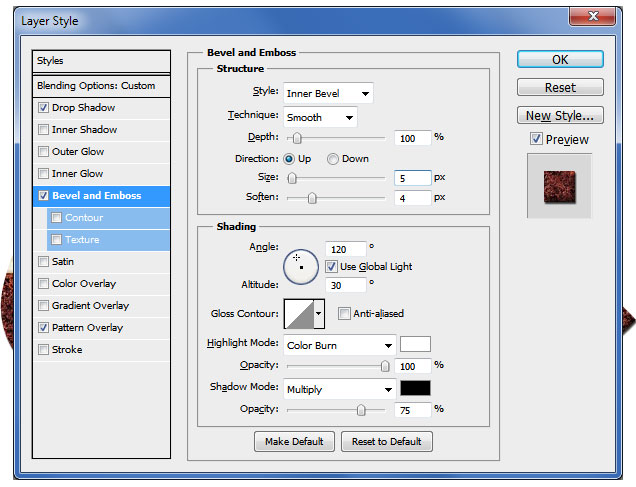
Now you have to type the same text with the same font type, size, etc in a new layer. Call this layer Cake Top 1. Add these layer styles. Use the pattern "cake 1 by psddude" for the Pattern Overlay layer style.


Duplicate the Cake Top 1 layer and call it Cake Top 2. Use the pattern "cake 2 by psddude" for the Pattern Overlay layer style.
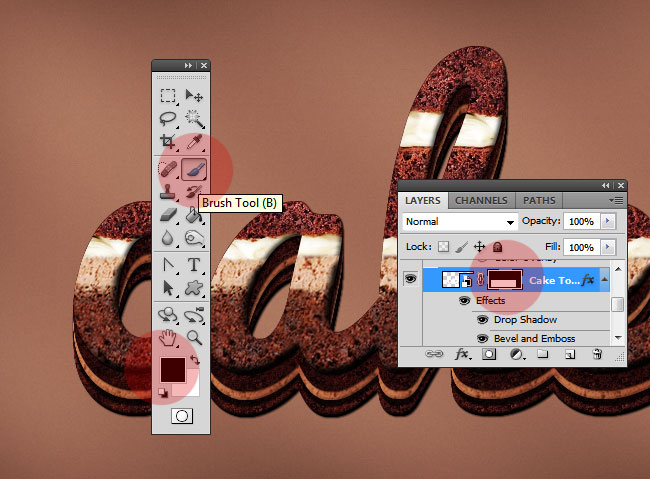
Add a layer mask to the Cake Top 2 layer and use the Brush Tool, color black to hide the upper part of the text layer. Simply paint inside the mask to hide the half top part of the text.
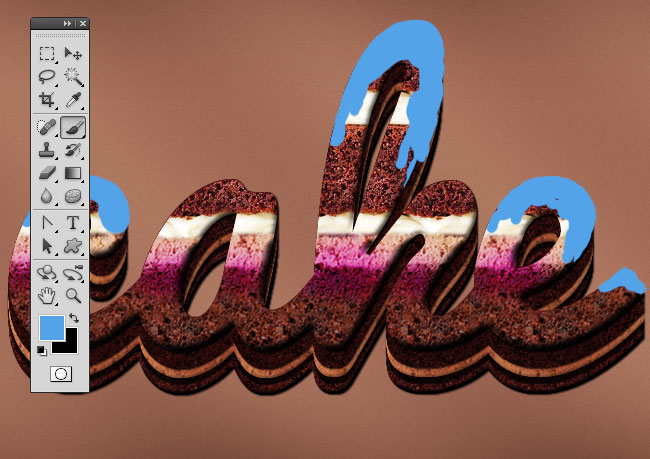
If you want you can add another layer above all the other layers and with the Brush Tool simply paint over the cream area like in the image. Choose any color you want, you can pick green to create a pistachio cream or purple to make a blueberry cake. Set the blend mode to Overlay.
The last final touch that you can add is a chocolate effect. Create a new layer and call it Chocolate. Use a hard round brush to paint some dripping chocolate shapes. You can use these drip vector or you can draw it yourself like I did.
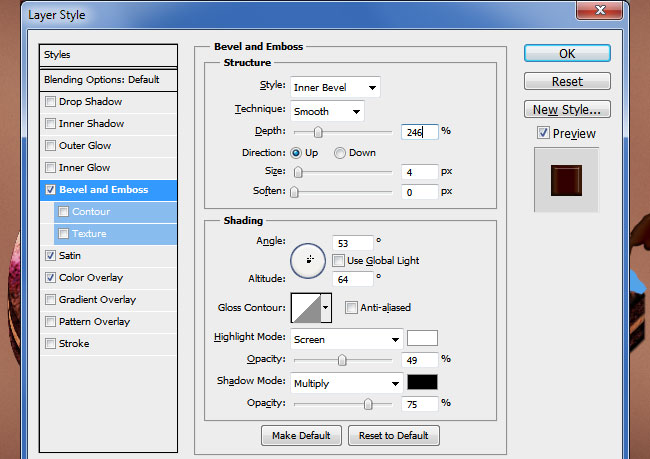
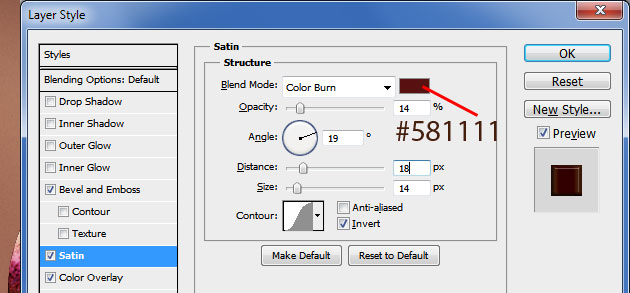
To create the chocolate effect you have to add these layer styles to the Chocolate layer: Bevel and Emboss, Color Overlay and Satin.

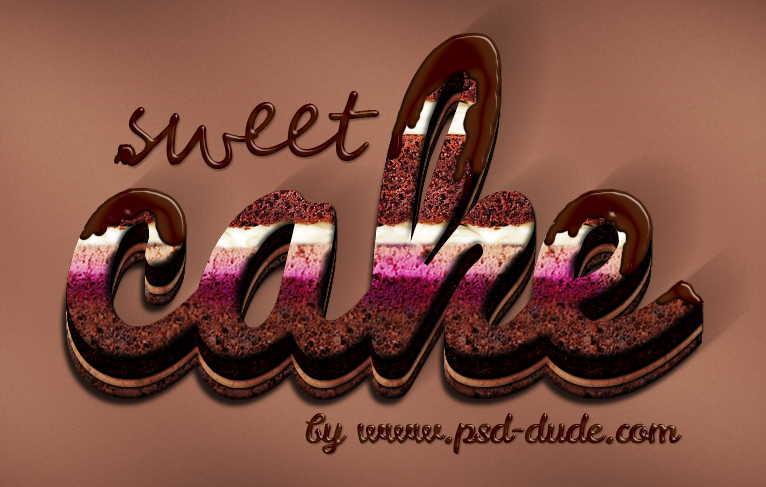
For the final touches add a shadow effect to the text. And also you can use the chocolate style to add some text. So here is the final result for our cake typography with cream and chocolate.
DOWNLOAD the FREE Mockup
If you want quick results you can try the PSD mockup for free.
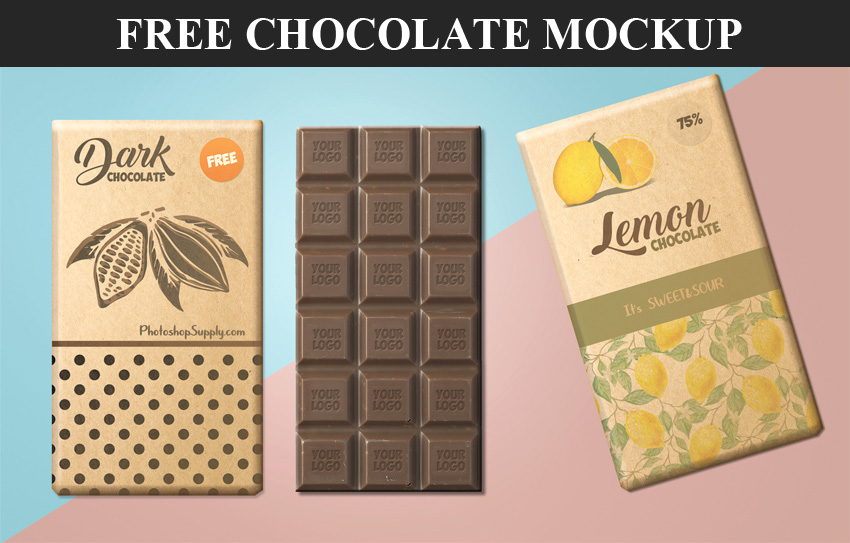
Chocolate Mockup
Design custom chocolates & personalized chocolate gifts that will wow your clients. Personalized chocolate bars for birthdays are a great way to impress your friends.

11 comment(s) for "Cream and Chocolate Cake Photoshop Text Effect"
Possible I was wrong on the way?
Respect, kotroj
https://yadi.sk/d/ILxriXR8cGKNg
reply
Move the "Cake layer 3" using the same Move Tool and the arrows (6 pixels up) and you should obtain the 3D look. reply
Greetings
Finja