


Part 2
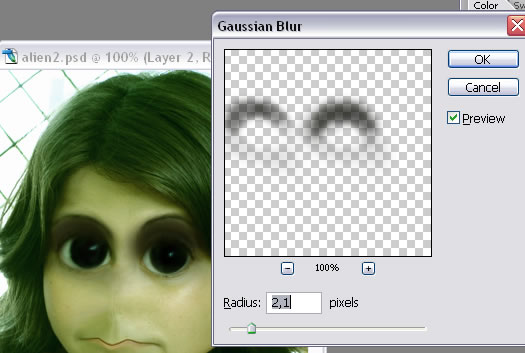
Go to Filter - Blur - Gaussian Blur and make the folowing settings:
 and also add 2 points in the nose place.
Step 4 - Modify the Hair and Skin
With the Liquify.Forward warp tool I have changed the shape of the hair. With the laso tool I took a little skin from the forehead and place it on the hair to look like a part of the hair is missing..i used Blur, Smudge, Burn Tool and opacity of the layer 76 % to look real. Now merge the 2 layers ..alien and the part of the skin.
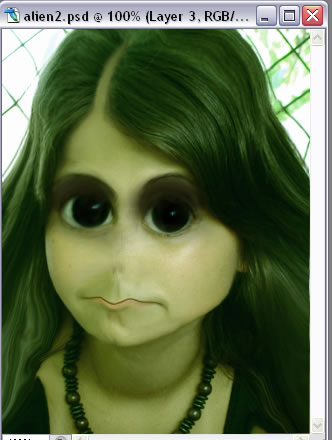
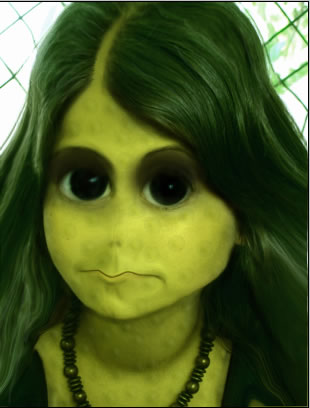
You should now have a photo like that.
Create a new layer and cover the skin with Brush tool color #e6f809.except the eyes; go to filter - blur - gaussian blur and than change the blending mode to Color, opacity 55%.
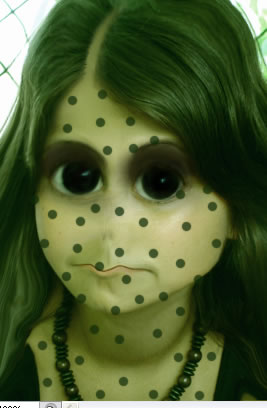
Create another layer.. lets make little circles on the skin with green Brush Tool .
Something like this:
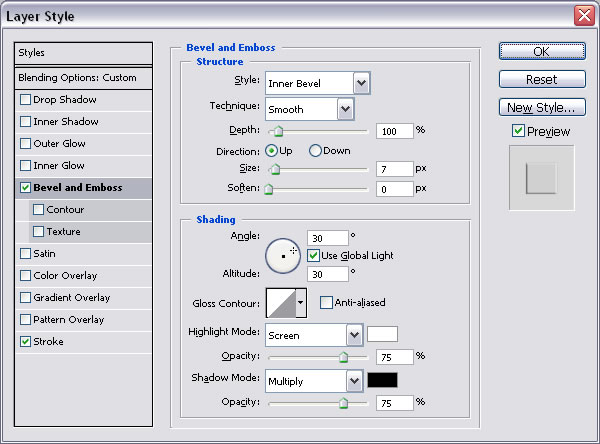
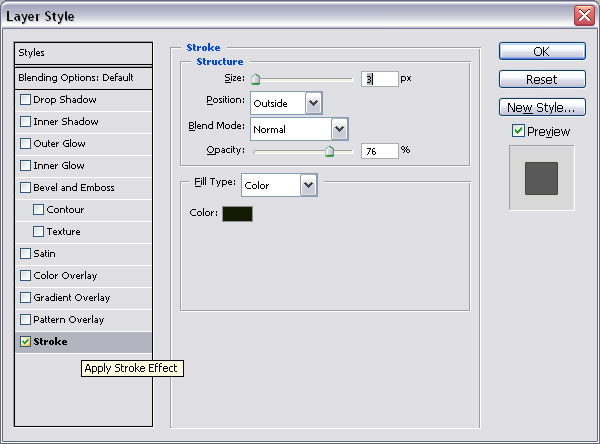
GO to Filter- Blur - Gaussian Blur (set 1,6) and also set: at the blending options of the layer Blend mode: to Overlay opacity 65% , Check Bevel and Embossed (see the picture below) and check also Stroke (size 1 px and color dark green opacity 8%)
Now I burned a little the photo of the alien ; parts of the skin, the eyes and the hair.
Go to Blending options of this photo and do the following settings:
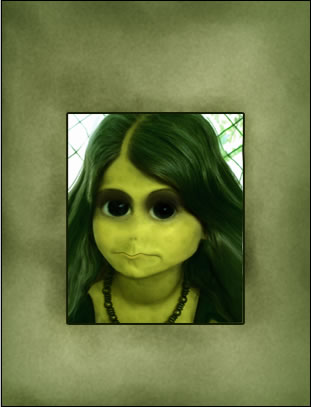
This is the result we have so far:
Step 5 - Create The Background Paper
Now, make a group(name it Alien) with all the layers and resize it to 60 %....you can ajust the size as you wish.
Make a new layer and call it Paper and put it behind the Alien Group .draw a square with color #bfcaa2.
Choose the following colors :
Foreground: d0d4a2 Background: 79814b
Go to Filter > Render > Clouds.
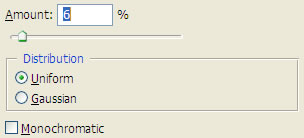
Now in the same Layer go Filter > Noise > Add Noise. and set the following settings:
Filter > Blur > Gaussian Blur. And set the following settings: radius 0,7 px
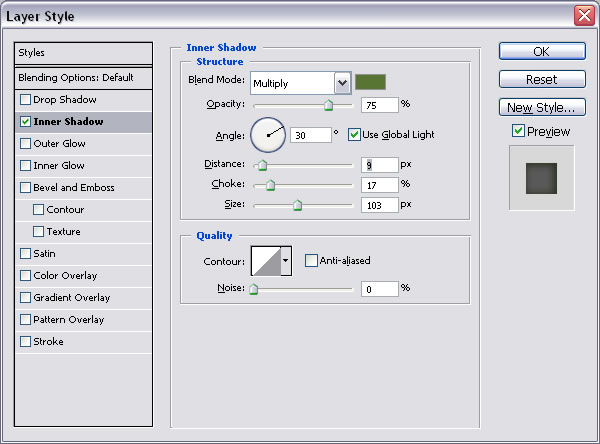
Go to Blending Options and check Inner Shadow like in the picture below:
You can burn parts of the paper for extra effect..
This is the result we have so far:
Step 6 - Write the Text

4 comment(s) for "Make an alien out of a real girl or woman in photoshop"