


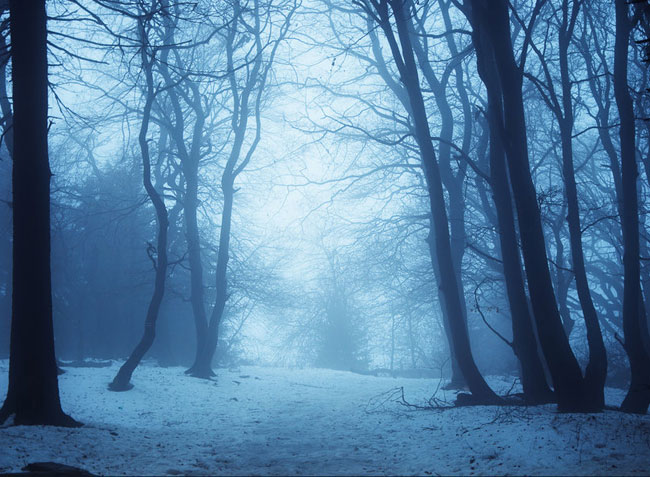
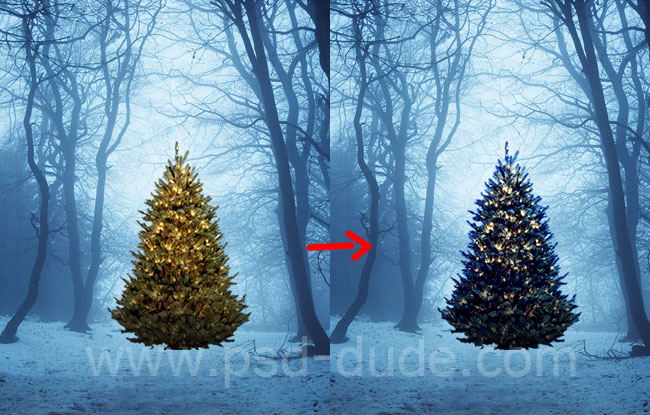
I will start with a forest premade background that I absolutely love, which is perfect for this tutorial. So copy this beautiful forest background in a new PSD file.
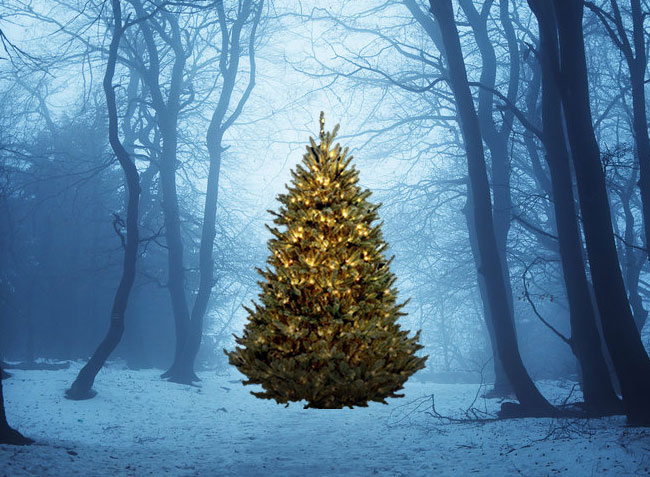
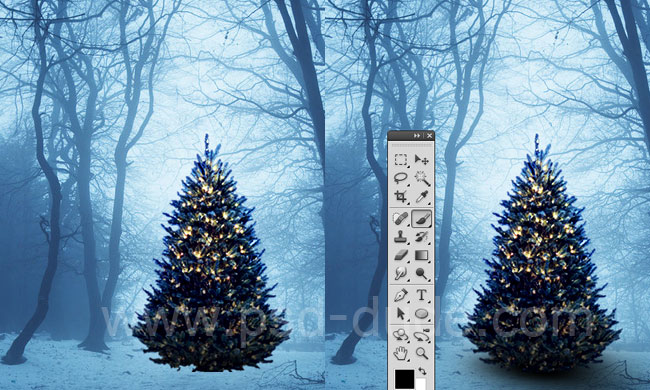
In the center of the image place this X-mas tree that is already cutout and saved as transparent PNG image.
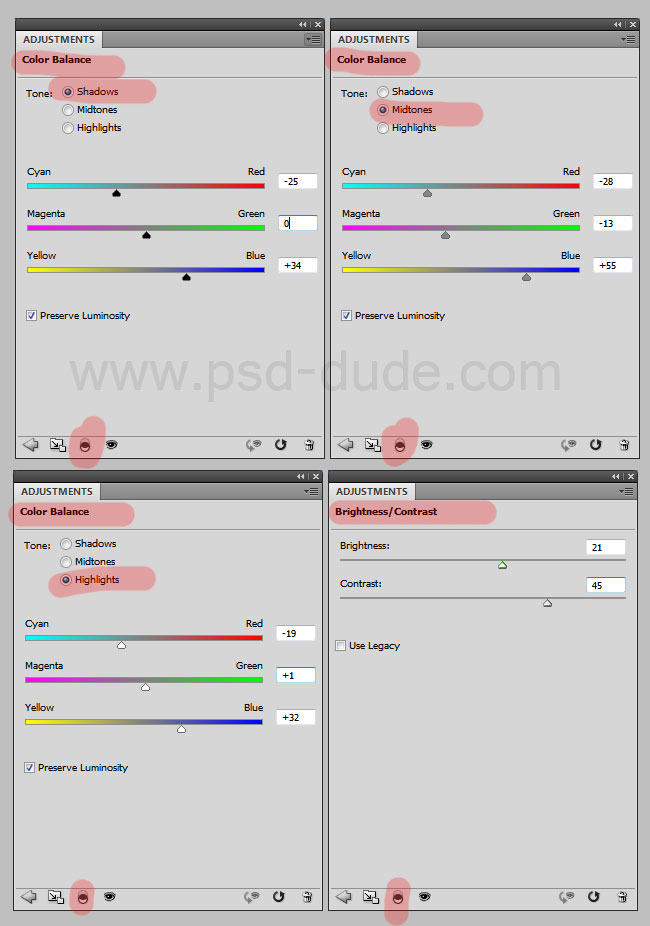
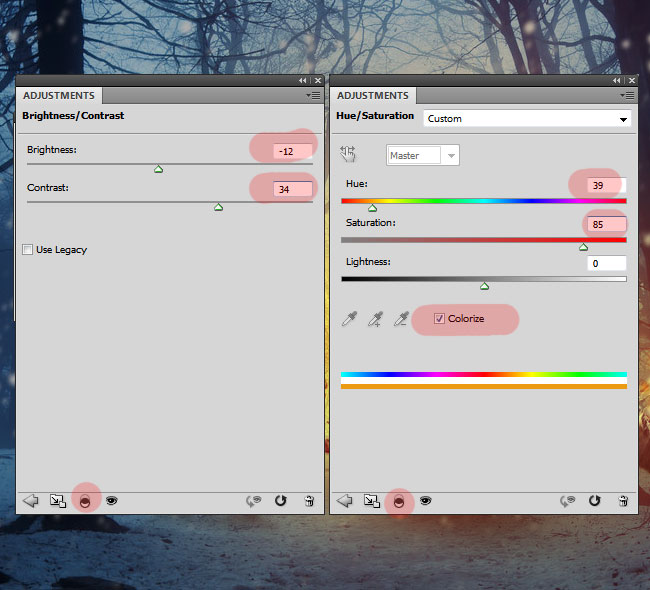
Add two adjustment layers just for the X-mas Tree Layer, mainly to change the color tones. So add a Color Balance and a Brightness/Contrast Photoshop adjustments with Clipping Mask.
Create a new layer and name it Cast Shadow Effect. Use the Brush Tool with color black and different opacity levels to paint the shadow effect like shown in the preview. Learn more about the Photoshop cast shadow techniques used by digital artists.
You can also try this Drop Shadow Photoshop action.
For this step I will use this Red Deer stock image. YOu have to remove the background and the best tool for cutout images is the Pen Tool
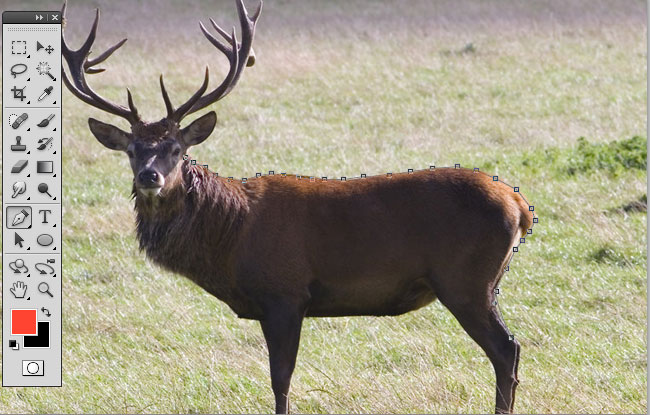
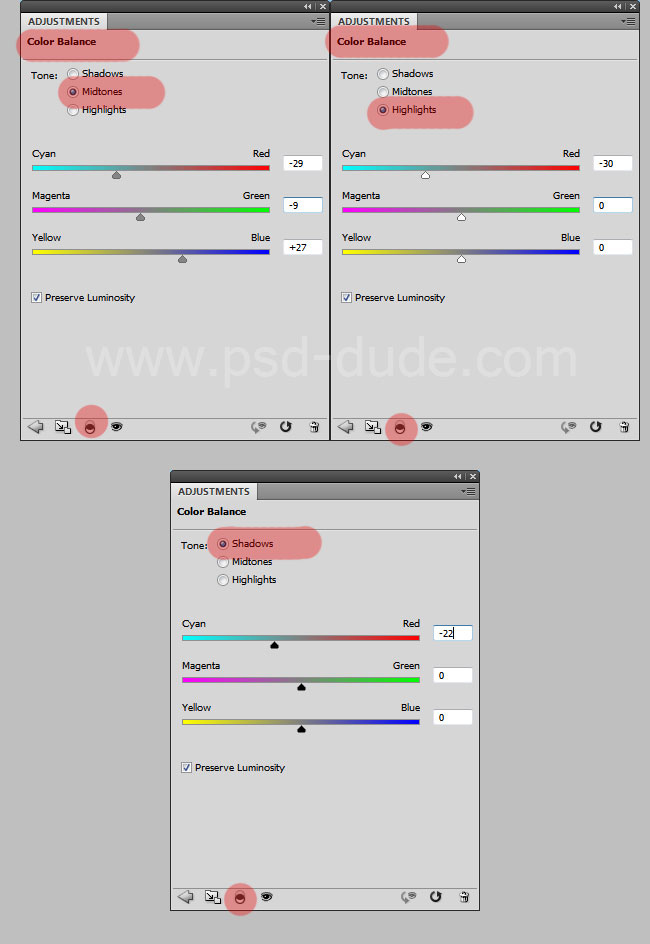
Resize the image and place it like shown in the preview. Make a duplicate of this layer and call the original Reindeer Layer and the copy Shadow Effect. First we have to adjust the color tones so for that we'll add a Color Balance adjustment layer. Make sure you create this adjustment as clipping mask only for the Reindeer Layer. Add these settings for all the 3 tones: Shadows, Midtones and Highlights.
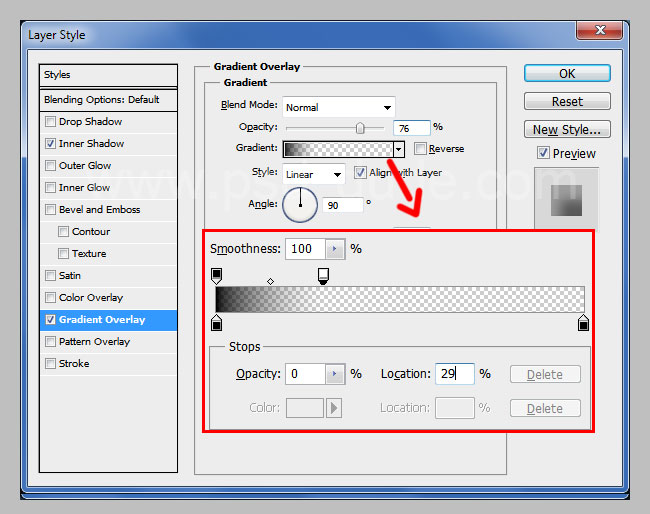
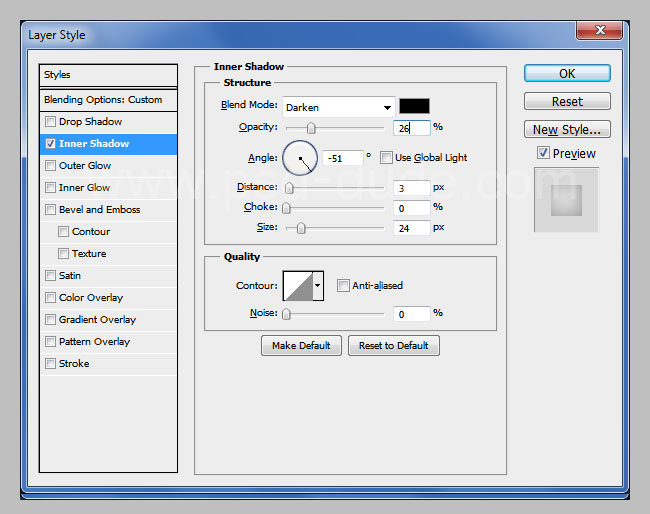
Add these layer styles to the Reindeer Layer to create some shadow and lightning effects.
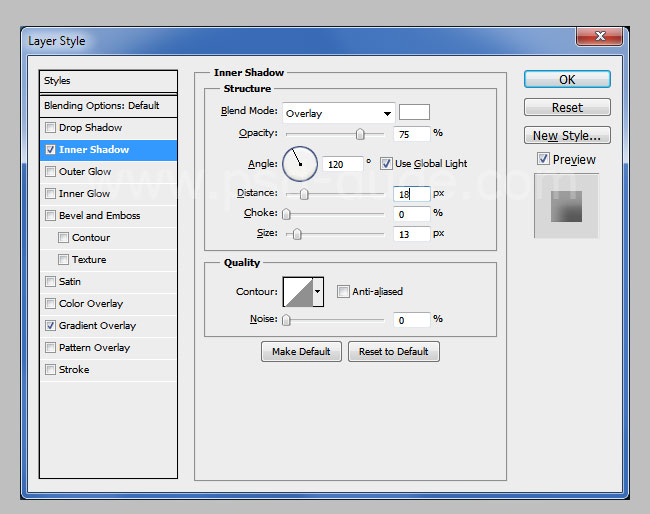
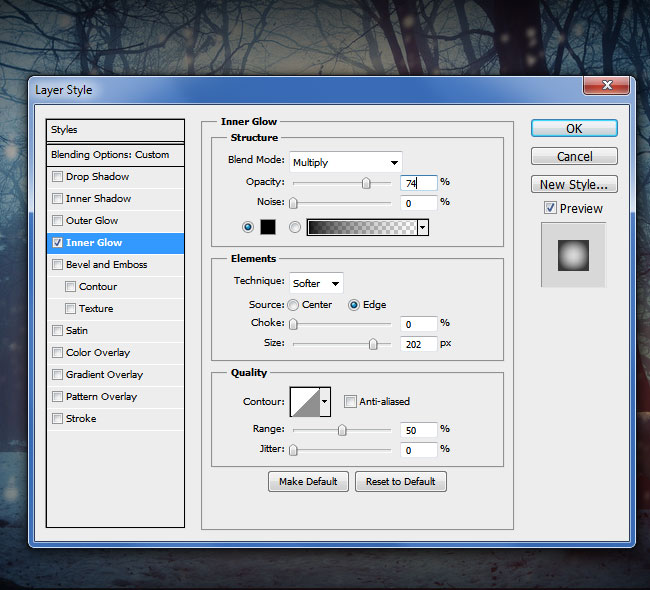
Go to the Shadow Effect Layer and reduce the Fill to 0%. Add an Inner Shadow effect like shown in the image.
Create a new layer and call it Cast Shadow Effect. Use the Brush Tool and color black with different opacity levels to paint the shadow effect like shown in the preview.
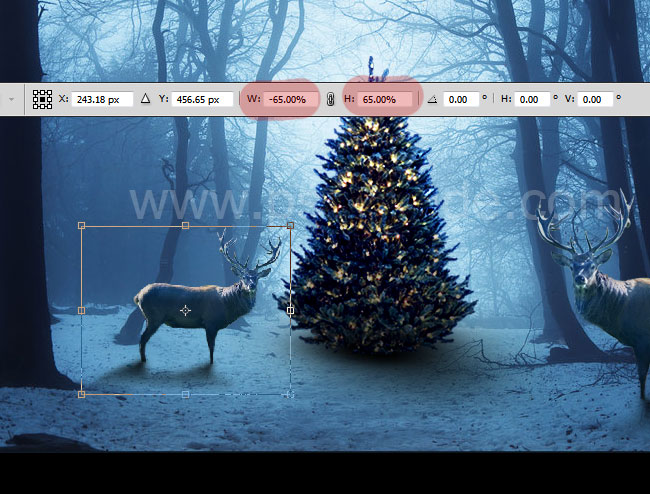
Place all the Reindeer Layers in a group. Duplicate the group and rasterize it. Flip Horizontal the duplicated Reindeer Layer, resize it and place it like shown in the image.
How to Create Falling Snow Effect in Photoshop
If you want to add falling snow effect you can add the falling snow texture and set the blend mode to Screen. You can use these textures snowfall 1 and snowfall 2 with Screen blend mode. Also you can download this snow brushes and add snow using the Brush Tool and color #ffffff.
Here you can finf more falling snow textures Photoshop overlays. Pick the snowing texture that you like best and simply change its blending mode to Screen or Lighten. You can add a Gaussian Blur or a Motion Blur filter to the snow texture if you want.
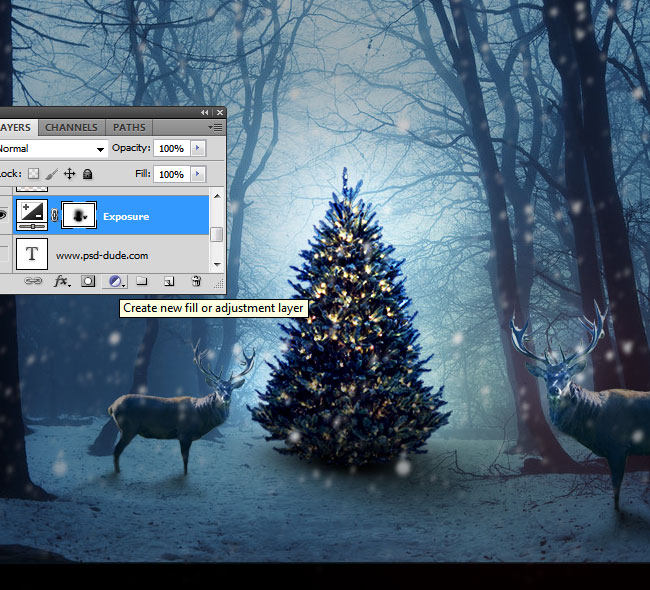
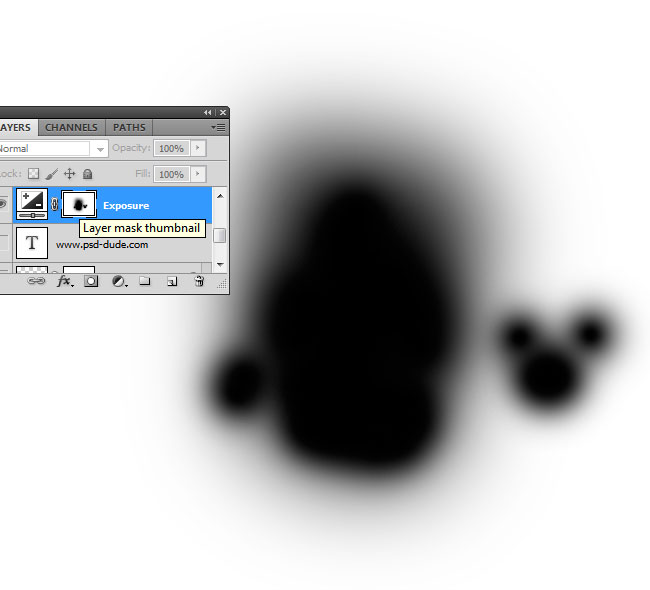
Add an Exposure adjustment layer like shown in the image. In the adjustment mask use the Brush Tool, color black to hide these areas.
If you are a Photoshop beginner you can learn more about adjustment layers and layer masks from these tutorials:
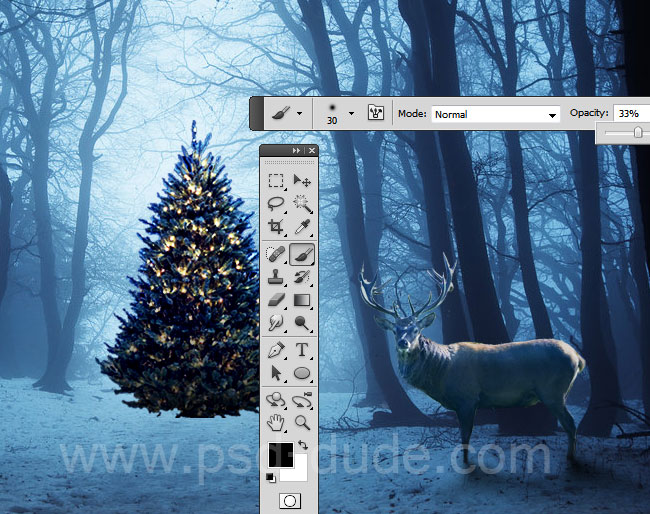
Let's lighten the Xmas tree. Create a new layer and use the Brush Tool with a soft round brush to paint over the tree and reindeers. Set the blend mode to Hard Light. For the brush use a bright orange color #ff8900 with 30% opacity.
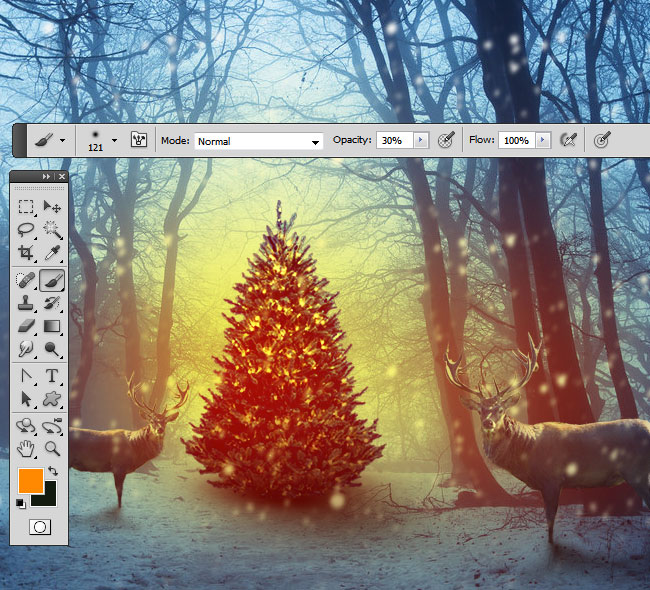
Add a new layer, set the blend mode to Hard Light again and paint over the areas marked in the screenshot.
If you want to add more light you can create a new layer, set the blend mode to Overlay and use the Brush Tool to paint. Make sure you use the color white for the brush tool.
I will now use one of these Rays of Light Brushes and add it around the Christmas Tree. You will have to rotate the brush to obtain the right direction. Use the color #ffe0a5 and set the blend mode to Overlay.

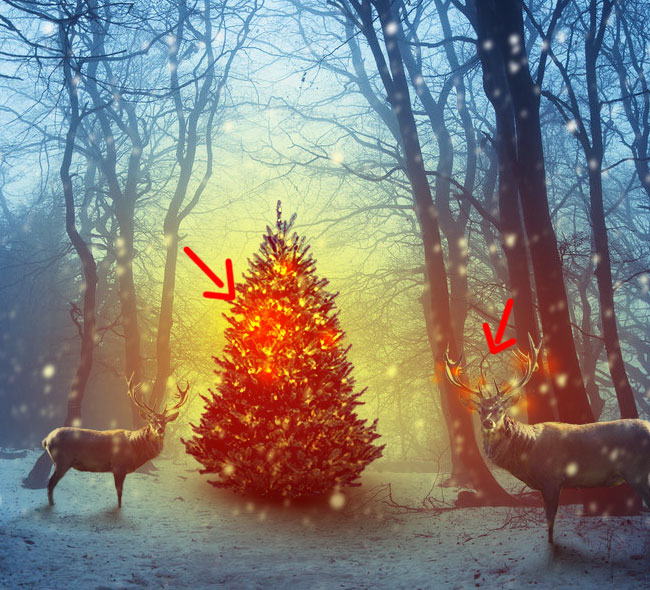
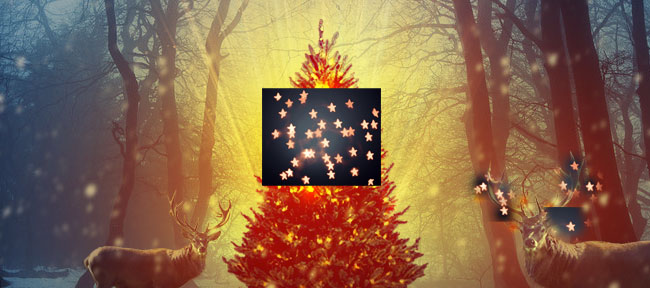
To make the X-mas tree more vibrant I will use this Orange Star Bokeh in a new layer. Add the stars around the Christmas tree and around the reindeer like shown in the preview.
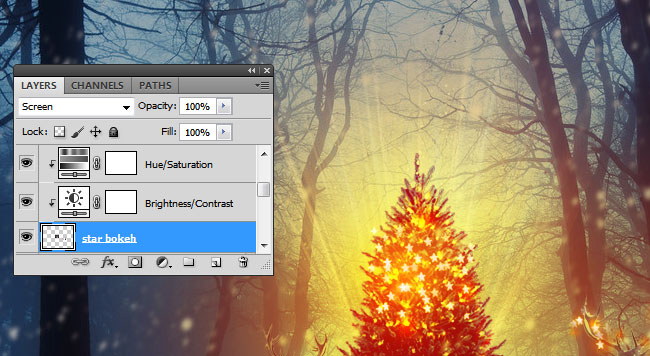
Set the blend mode to Screen and add a Hue/Saturation and a Brightness and Contrast adjustments just for the Star Bokeh Layer.
For the final touches I will add a vignette: create a new layer and fill it with any color you want. Set the Fill to 0% and add a Inner Glow layer style:
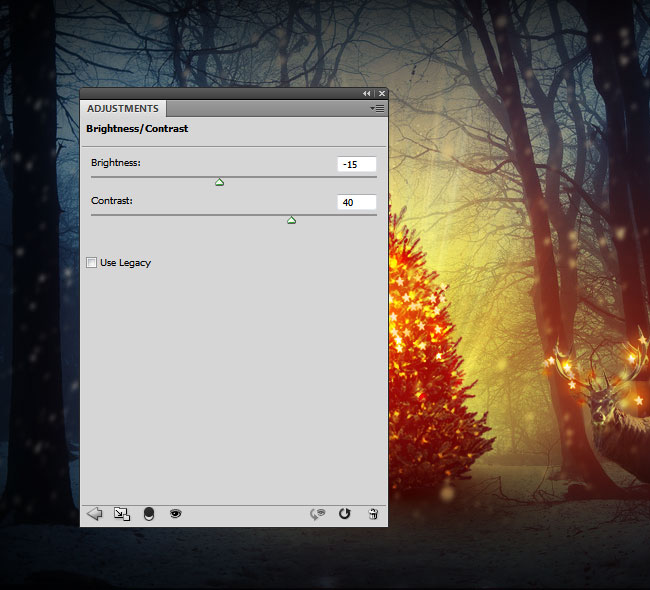
To add more contrast you can add another adjustment layer:
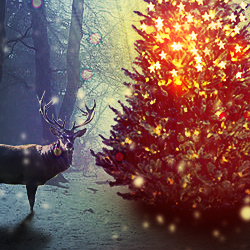
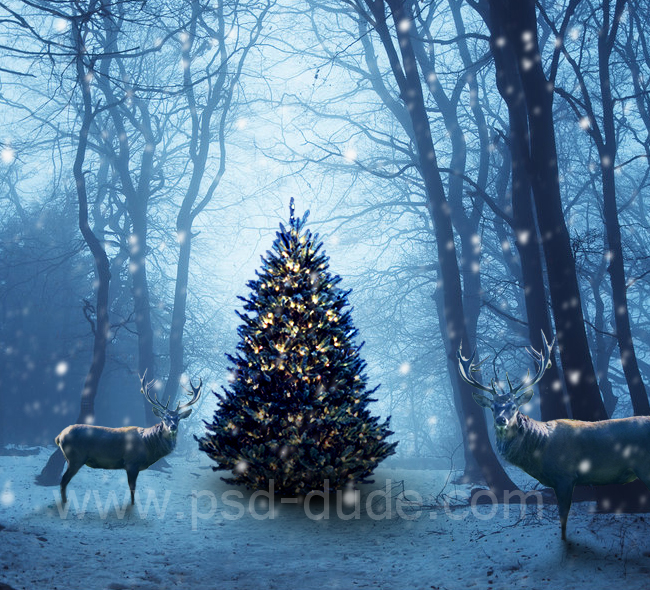
So here is the final result for the Magic Christmas Night Photoshop manipulation tutorial. I hope you all enjoyed our new Christmas tutorial.

Online Christmas Card Maker
Did you know you can use online tools like MockoFun to make Christmas cards? Combine Christmas vector shapes with text and create some amazing Christmas cards. MockoFun provides pre-made templates for making Christmas cards online in just a few minutes.
Check out this awesome list of over 50 Christmas fonts that you can use online or download for free to use in Photoshop. Combine Christmas fonts with text symbols like a star symbol for example.
Check out this tutorial on how to use the online Christmas Card Maker and all the awesome features that MockoFun has to offer.


6 comment(s) for "Magic Christmas Tree Photoshop Manipulation Tutorial"
Can you also add a few lines for that part as well?
Regards
Peter reply
I used a glowing style for the text effect. You can download it from here:
http://www.psd-dude.com/tutorials/download/zip.ashx?f=glow-style-by-psddude.asl reply