


Step 1 – Find the Stock Images
Open a new document with the size 700 / 900. Now I will show you the images used in this tutorial:
In this tutorial I will make use of a few stock images:
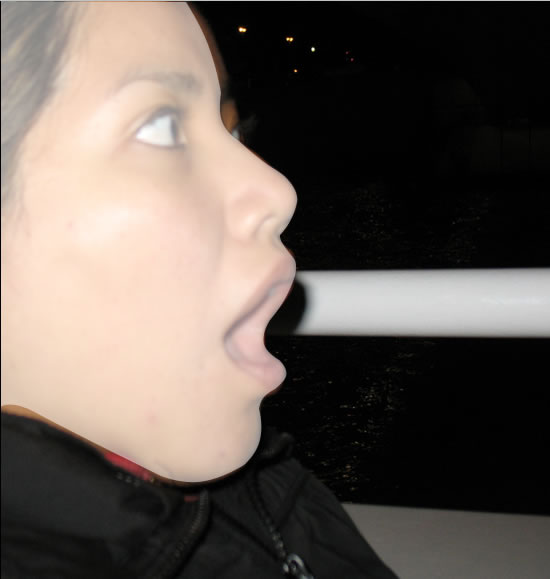
- photo of a woman
- mikehazelden
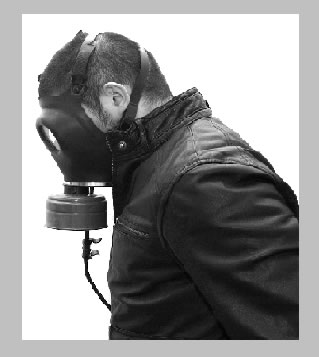
- the man with the gas mask
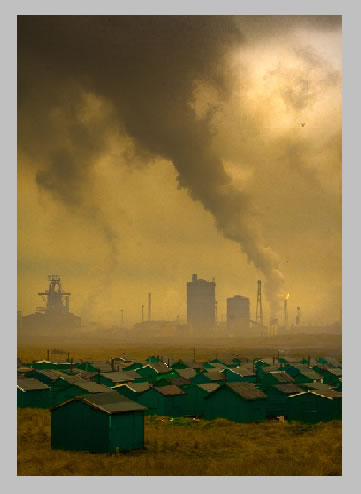
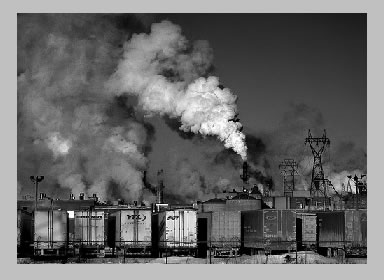
- the industrial city landscape for the main background photo
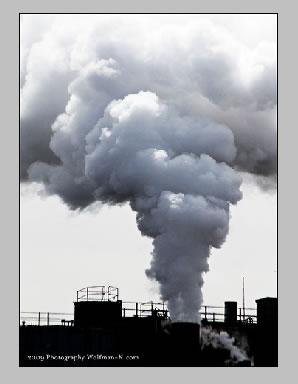
- Smoke 1
- Smoke 2
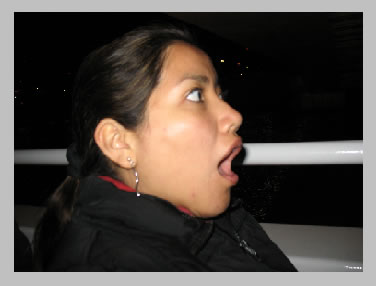
Step 2 – Work with the First Image - the Girl
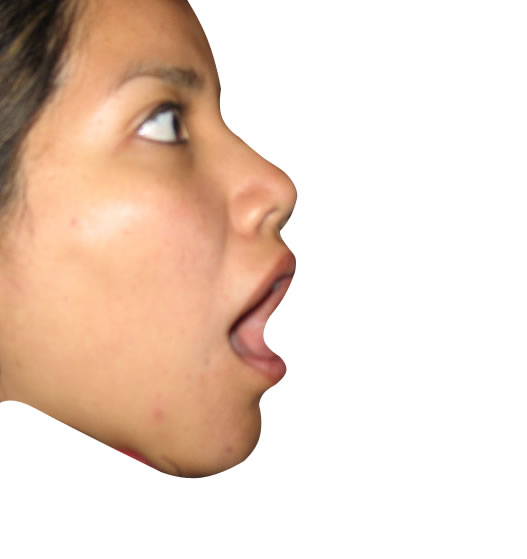
I will try and hopefully succeed to give a more dramatic look to the girl photo. So copy the girl photo into your psd file. There is no need to resize it. Go to Edit – Transform – Flip Horizontal and place it on the left side of the image. Call this layer Girl Layer
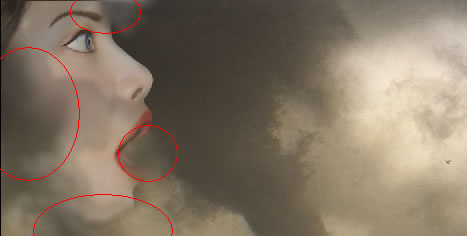
I will need only the face of the girl so with the Pen Tool start to draw the shape of the face. Change the opacity of this vector layer to 50 % to draw exactly the shape of the face. Call this layer Girl Shape Layer.
You will obtain something like this:
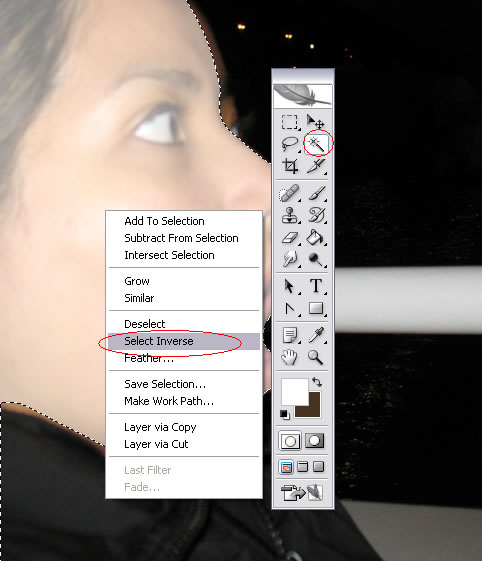
Step 3 – Remove the Girl Background
I will now use the girl shape to remove the background. Press CTRL and click the thumbnail of the Girl Shape Layer . Now return to Girl Layer and select the Magic Wand Tool. Right click on the selection and choose Select Inverse like in the image below. Press Delete and the background is removed.
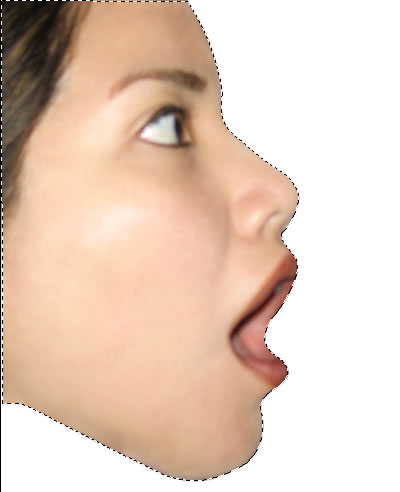
You will obtain something like this:
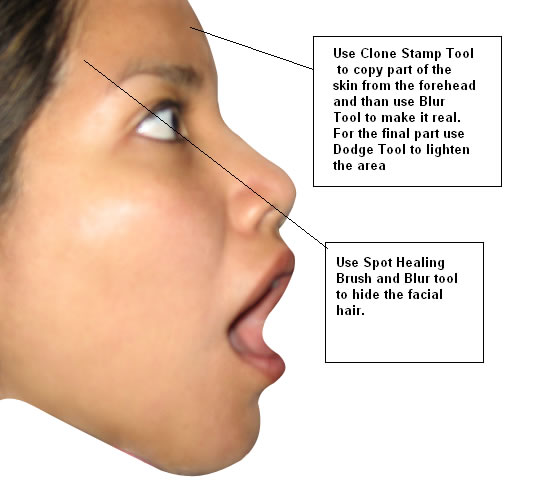
Step 4 – Remove Skin Imperfections
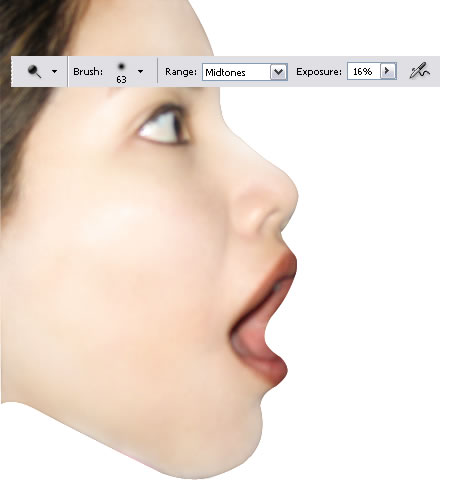
This is a really beautiful profile but I will have to delete with the Eraser Tool the parts of the face that were not cropped well. So I will use in this part many of the tools that are used in the retouching process: Spoat Healing Brush Tool , Clone Stamp Tool , Dodge Tool , Smudge Tool , Blur Tool and Eraser Tool.

Here are the settings for the tools used:
Spot Healing Brush Tool

Clone Stamp

Blur Tool

Dodge Tool

Eraser Tool

There is no need to worry we will adjust the face later if it is not good enough.
Step 5 – Beautiful Skin Tone
Press CTRL and click the Girl Shape Layer. Create a new layer and call it White Effect. Set the blending mode of this layer to Soft Light 50%. With the Brush Tool paint the selection. Be careful to avoid the eyes, hair, eyebrows and mouth area.

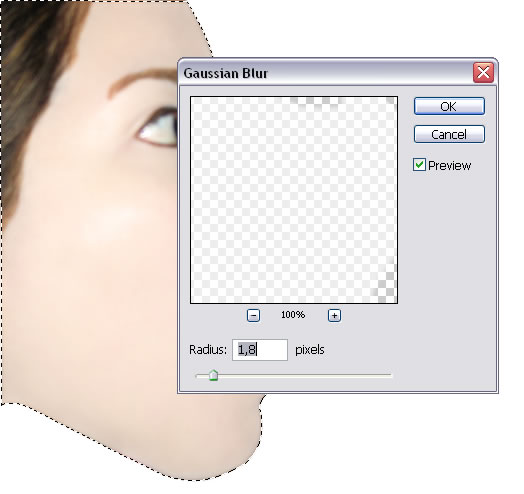
Go to Filter – Blur – Gaussian Blur
Now return to Girl Layer and with the Dodge Tool lighten the skin.
Step 6 – Replace Face Features
Now I want to replace the face features; add another skin color, add eyes, mouth color, etc.
For this step I will use mainly the Pen Tool. Go to Layer – New – Group and create a new group called Face Features. In this group I will put all the layers created in this step.
As you can see the face features are not very visible. I want to obtain a nice doll porcelain look. So take the Pen Tool and create the following shapes:

-
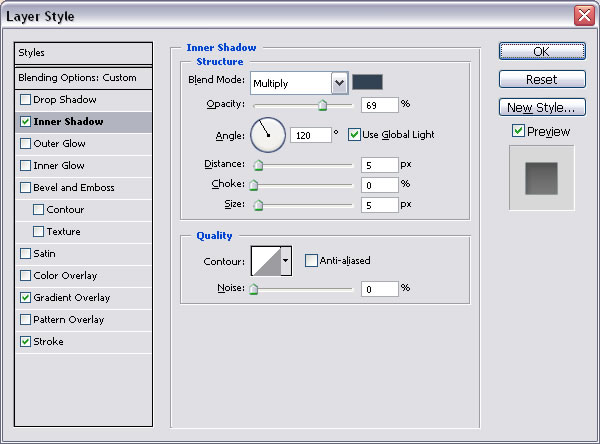
draw a blue rectangle, color #819eab and place it in the eye area like in the image below; change the opacity of this layer to 65%; go to the Blending Options of this layer and add “Inner Shadow” , color for the shadow # 314255.
-
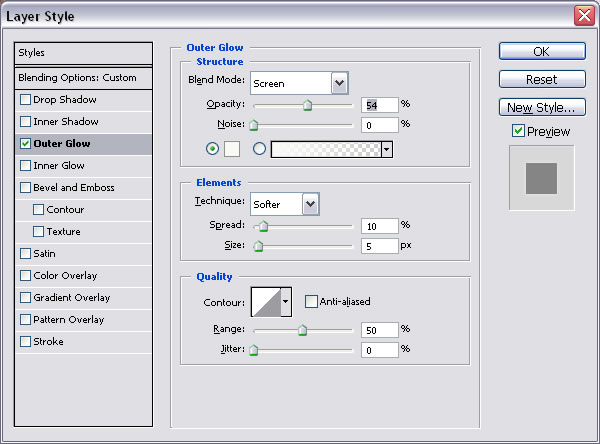
draw another rectangle this time smaller , color # 100a04; change the opacity of this layer to 65%; go to the Blending Options of this layer and add “Outer Glow” , color for the glow # f9f9f6.
-
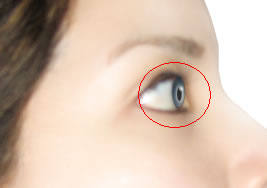
create a new layer and add a little white point with the Brush Tool; change the opacity of this layer to 60%

You can see in the image below the exact area for the above layers.
-
with the Pen Tool create a new shape, color #4b3621

-
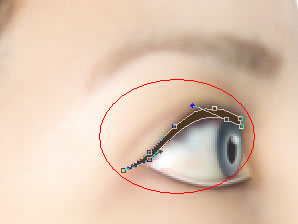
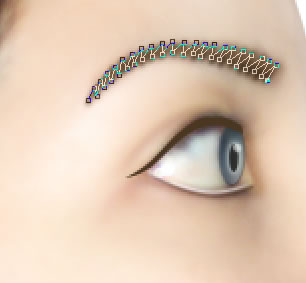
with the Pen Tool , this time select Path , draw a simple line like in the image; now select the Brush Tool and make sure that the size is 2 and opacity 100%; set the foreground color to #4b3621 , than create a new layer. And in this new layer right click and choose Stroke Path… Now press delete 2 times until the vector shape is deleted. Change the opacity of this layer to 55 %.

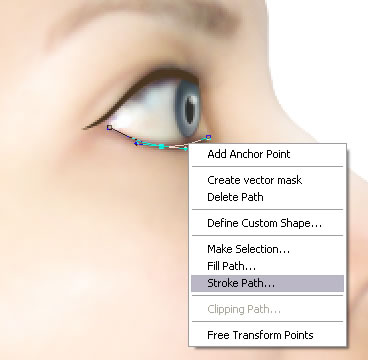
The result is a little brown line on the bottom area of the eye.
-
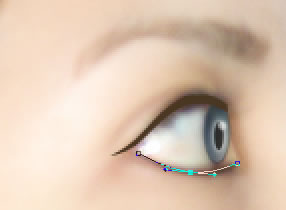
Reapeat the step above, the only difference is that the foreground color is WHITE and the opacity 83%. Move this white line up like in the image below:
-
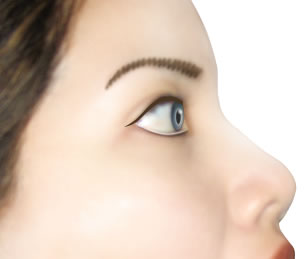
Create a nice contour for the eyebrows; draw with the Pen Tool a shape like in the image; make sure that the Paths option is selected as in the steps above. The foreground color is #4b3621 and the brush size is 3. Go to Filter – Blur – Gaussian Blur , radius 1.
-
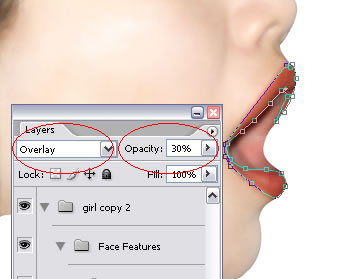
Now let’s take care of the mouth; draw the mouth contour with the Pen Tool, color # c84d2d. Change the Blending Mode of this layer to Overlay, opacity 30%.
-
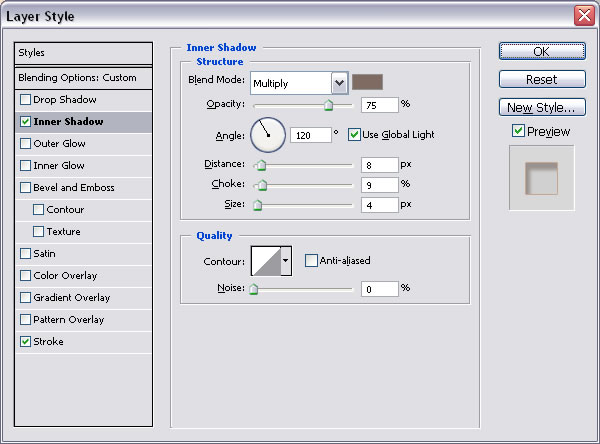
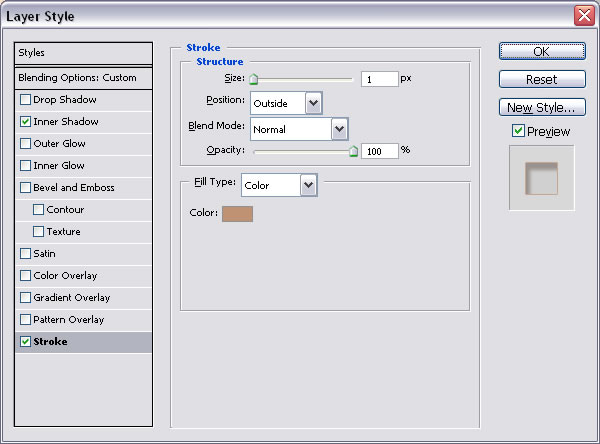
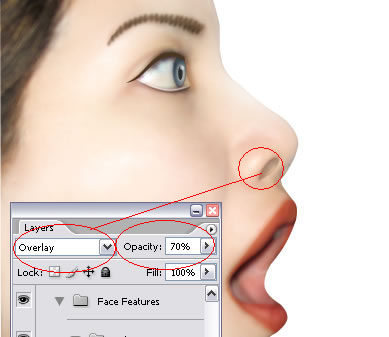
draw the nose contour with the Pen Tool, color # d5a186. Change the Blending Mode of this layer to Overlay, opacity 70%. Add Inner Shadow and Stroke from the Blending Options Window.
-
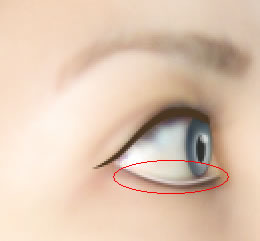
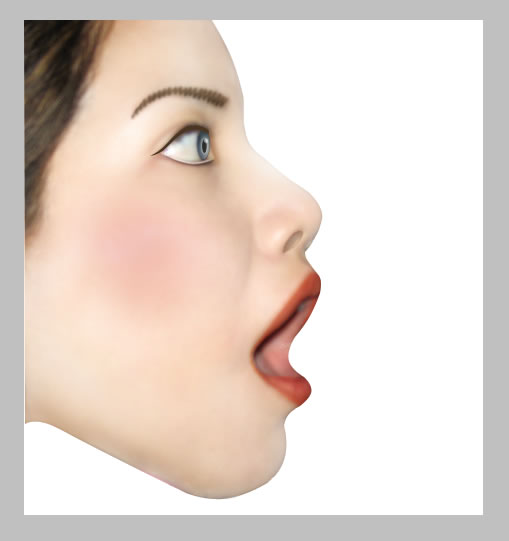
With the Brush Tool , color # d02b1d paint in the new layer the cheek of the girl.

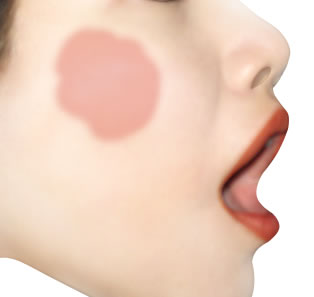
Go to Filter – Blur - Gaussian Blur , radius 26. You can see in the image the result we have so far:
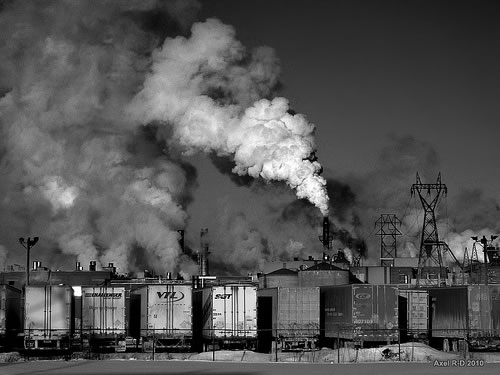
Step 7 – Add the Background Image
Now comes the hard part adding the background and blending all together ; I am not an expert. I am just learning exercising.
The background photo is this industrial city landscape.
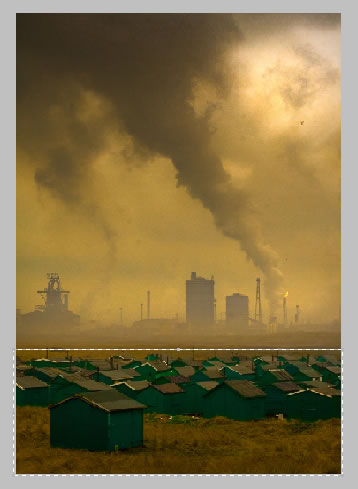
Copy the image into your psd file and select the bottom are with the houses and delete it. Move the image down. Change the opacity of this layer to 40%.
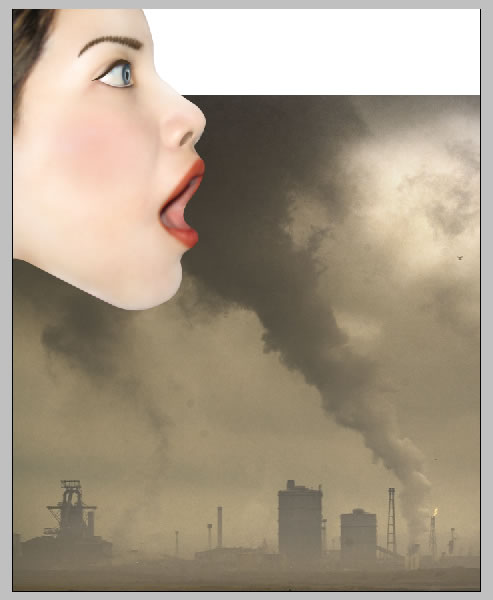
Duplicate the Background Layer. Go to the Blending Mode of this new layer and change it to Luminosity 100%. You should now have something like this:
Step 8 – Create a Place for Every Item
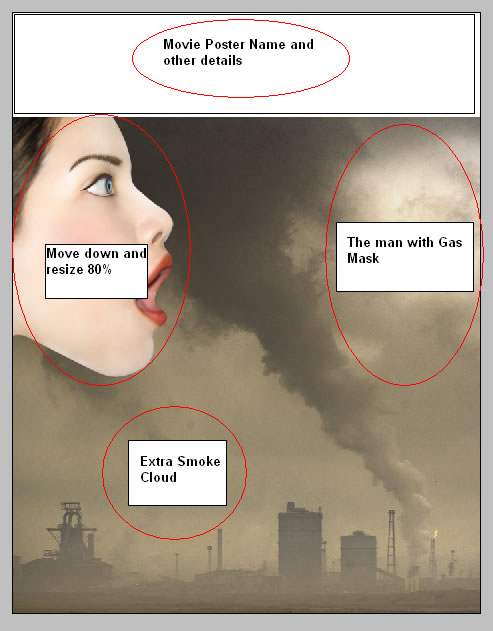
As you can see the girl’s face is to high and we have a white empty space at the top of the poster. So I will create a new layer to show you where to place the items(photo elements). As you can see our poster has a shape now…the only thisng that we have to do is to blend all together.
Step 9 – Blend the Girl with the Background
I have forgot to tell you to select all the layers of the Girl and put them into a new gropu called Girl Group. So do it now! Now duplicate this group and call it Girl Group Copy. The reason I do that is to have an untouched copy of the girl layers if something goes wrong. Hide the Girl Group Copy.
Right click on the Girl Group and choose Merge Group. The result is an image with all the girl layers merged. Call the new layer Girl Layer.
Go to Edit – Transform – Scale 80%

The first stept in the blending process is to lower the opacity of Girl Layer to 65%
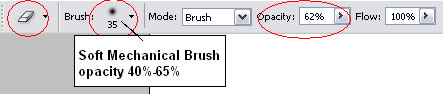
This is the part where we can easily make mistakes . Fortunately we have a copy. So take the Eraser Tool. Make sure that you have Soft Brush Selected. Than with different sizes and opacities delete parts of the Girl like in the picture.
The idea is to create the impresion that the girl is behind the smoke and that a part is inhaled.
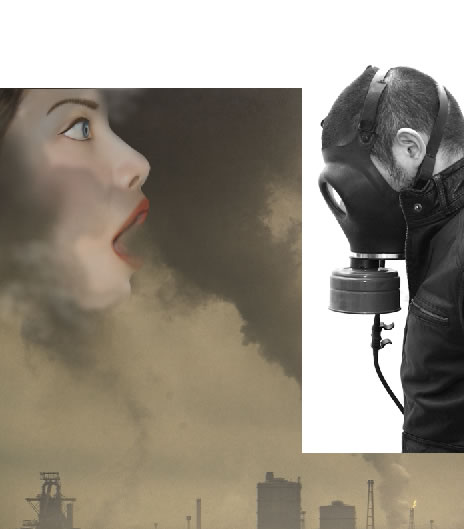
Step 10 – Blend the Gas Mask Man with the Background
Bring the Man with the Gas Mask into the scene. Resize the image to 60% and place it like in the image. Change the opacity to 50% and start blending with the same Eraser Tool.
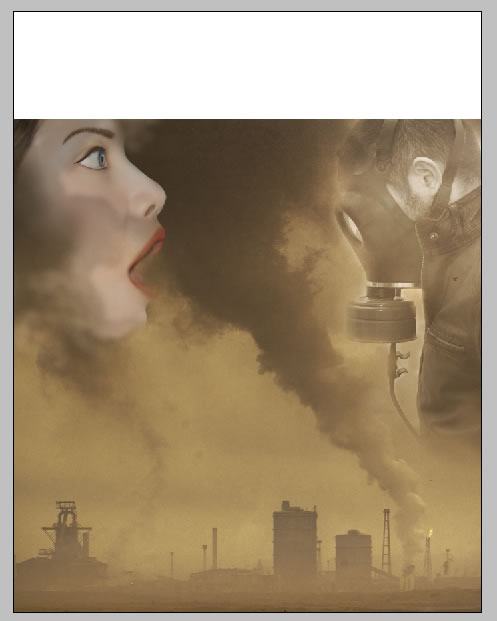
So take the Eraser Tool. Make sure that you have Soft Brush Selected. Than with different sizes and opacities delete the white background of the man like in the picture.
Create a new rectangle , color #8f7d67 that covers all the other images. Change the Blending Mode of this layer to Overlay 100%. Call this layer Filter. The image should look like this:
Step 11 – Add Contrast and Light
As it is now the image looks to flat for my taste so I will add it a little contrast and depth. Create a new layer above all the others. Go to Image – Apply Image :

Change the Blending Mode to Overlay 100%. Call this layer Overlay Layer and hide the Filter Layer.
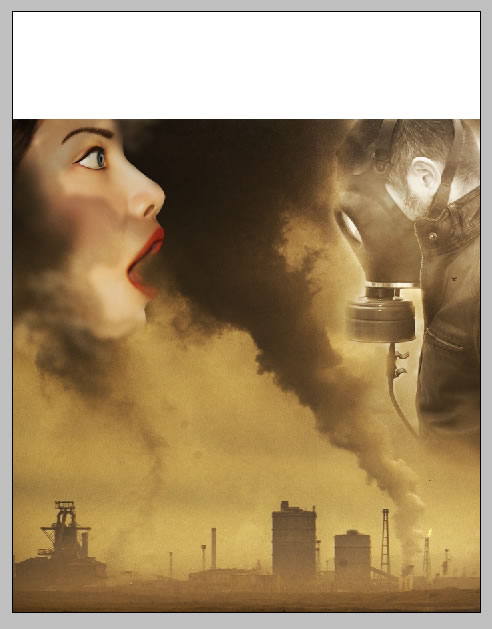
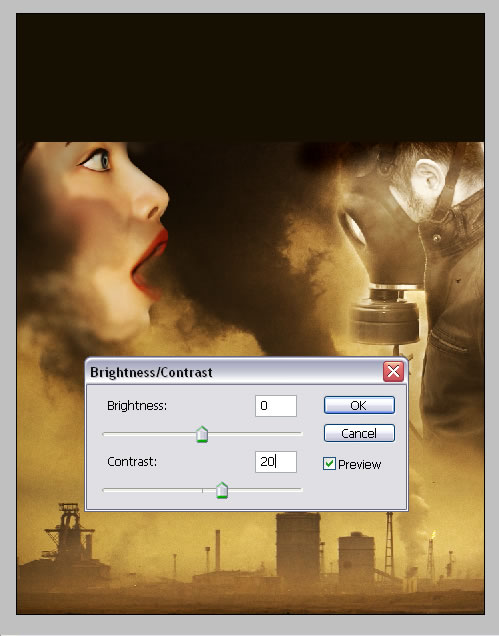
Go to Image – Adjustments – Brightness/Contrast and bring the contrast to 20. Now draw a black rectangle above all the other layers. You shoul obtain this image:
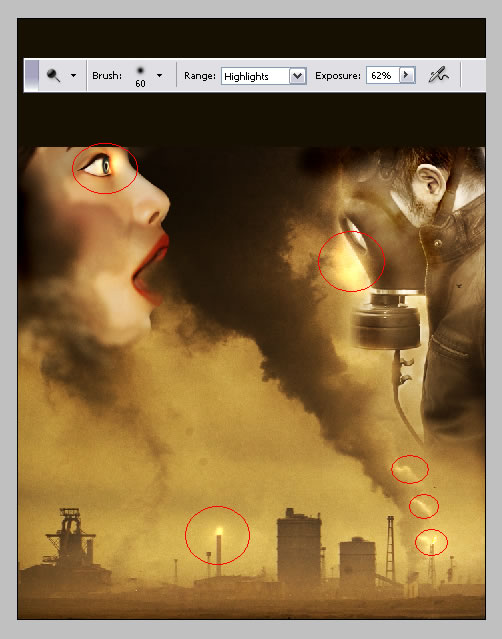
Take the Dodge Tool , size between 13 and 60 , range Highlights, exposure 60-65%; lighten the areas from the image below. You can also use Burn Tool to darken some parts…don’t be afraid to experiment.
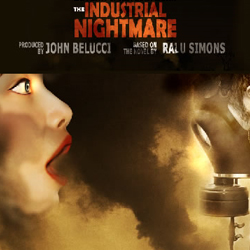
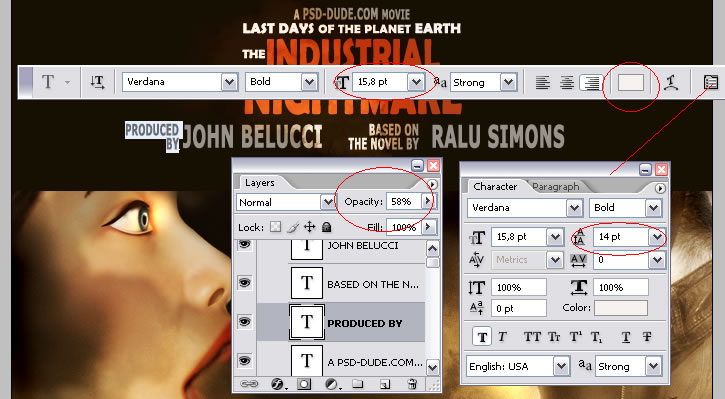
Step 12 – Add the Text : Name of the Movie and Other Details
The final detail is adding the name of the movie, producer, etc. You can find in the images atached the settings for each group of letters:
INDUSTRIAL NIGHTMARE , color # b33e15
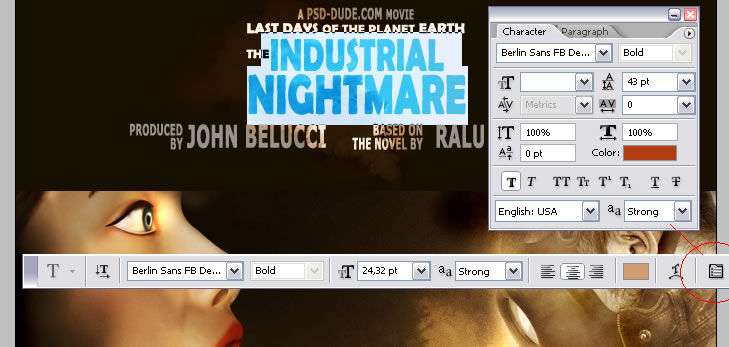
Last Days of the Planet Earth , colo #f7f2f0
A PSD-DUDE.COM MOVIE , color #f7f2f0
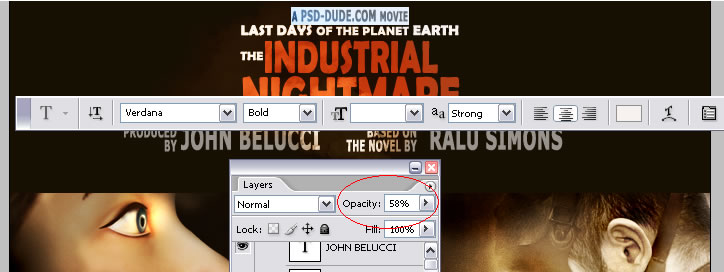
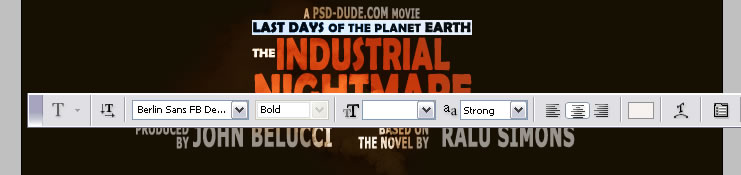
PRODUCED BY and BASED ON THE NOVEL BY , color #f7f2f0
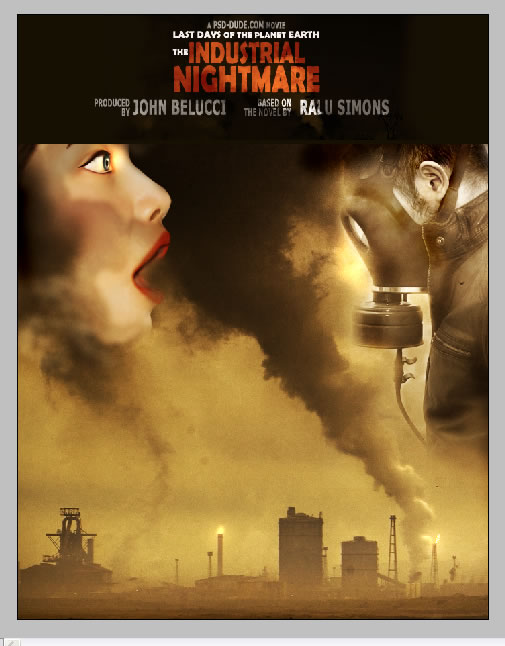
The final touch is to copy this smoke clouds image. Put this image over the text layers and change the Blending Mode to Overlay 100%. Delete the part that exceeds the text black area and this is it!
Final Result! I hope this tutorial was useful for you!
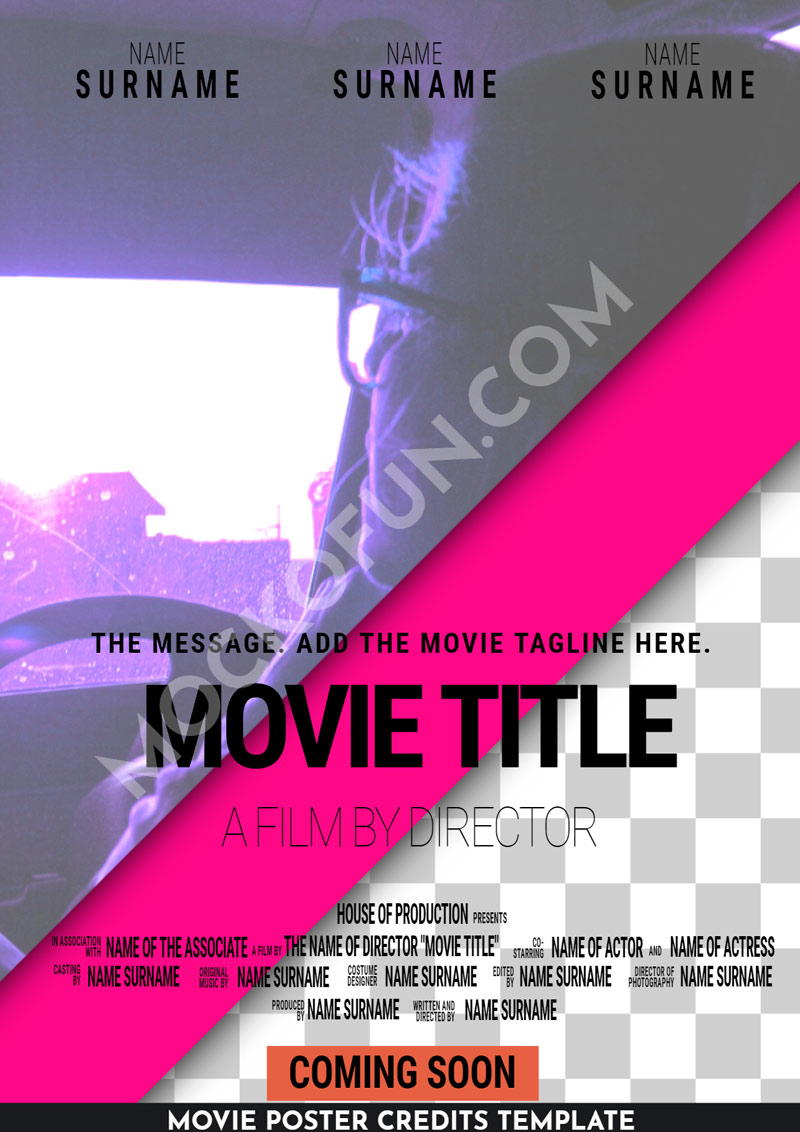
If you are an indie movie producer, or just want to give a proffessional look to your movie posters, the movie credits need to follow certain rules. Check out this movie poster credits PNG template that can be easily customized online: background image and color, text and font for the movie title, cast and other information.
Movie Poster Credits PNG Template Online

12 comment(s) for "Industrial Nightmare Movie Poster"