


To create the graffiti art with pop-up effect in just a few steps, first we have to download the graffiti Photoshop action.
Install the Photoshop Files
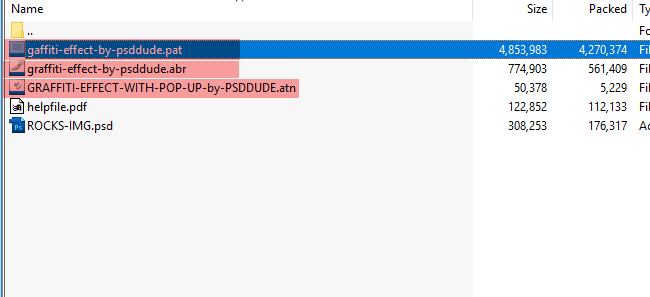
Inside the ZIP file you have 3 files that you have to install in Photoshop: ABR file, PAT file and ATN file.
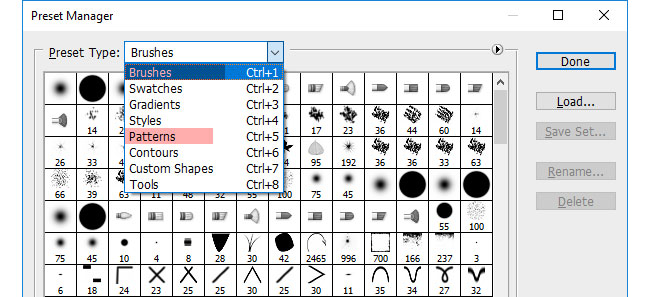
Go to Edit > Preset Manager and choose the Preset Type: Brushes / Patterns and load first the ABR brushes file and after the PAT patterns file.
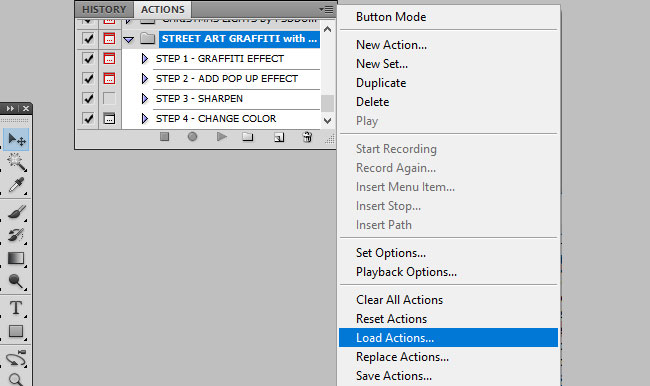
To install the ATN action file go to Window > Actions and choose Load Actions from the top right corner menu.
Make sure you have the Brush Tool set to Normal and that Opacity and Flow are both set to 100% .
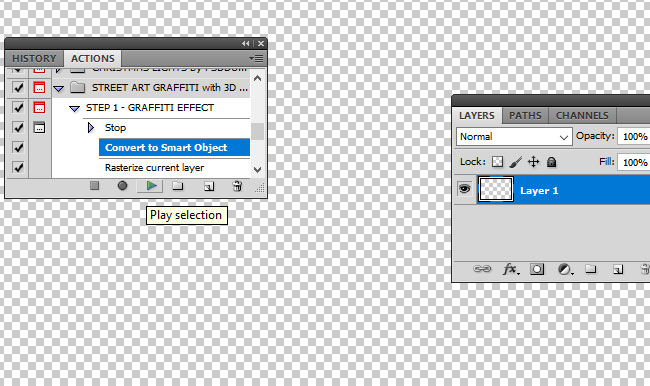
Now we are ready to use the action properly. Simply play the "STEP 1 - GRAFFITI EFFECT" action. The action stops with this message:
- 1. Please open a new PSD file, 72 dpi, RGB color mode
- 2. Your canvas becomes the background wall
- 3. RESUME PLAY after that
Create the Graffiti Background Brick Wall
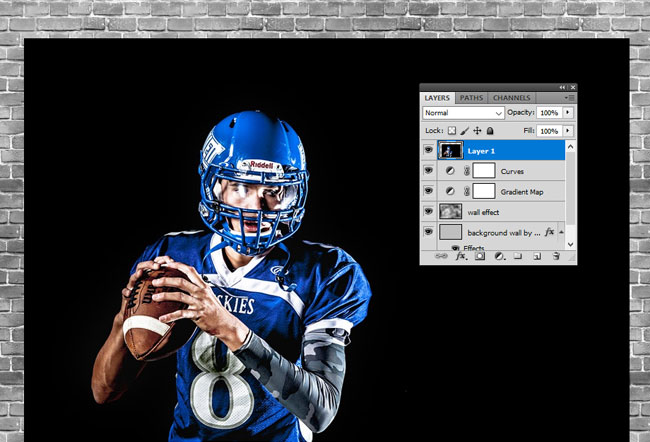
So let's create a new PSD file of 1000x800px size. This is the background brick wall. Resume play the action.
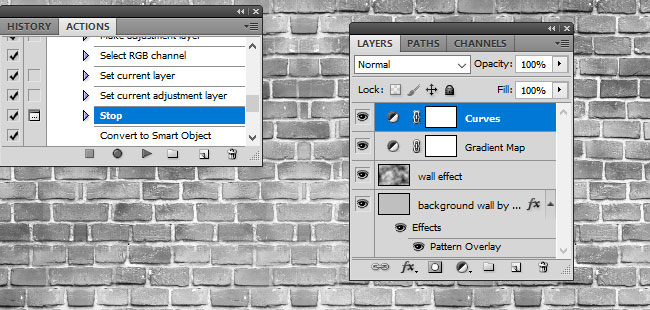
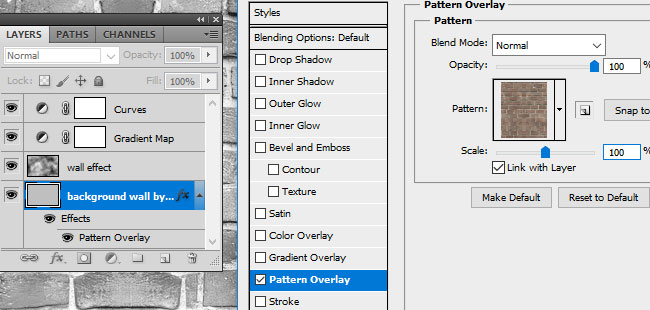
Before adding your image you can change the Pattern Overlay of the Background Wall layer. By default is set to 50% but if you have a bigger size image you can set it to 100%. This step is OPTIONAL.
If you change the Pattern Overlay you have to select the Curves adjustment again (just click on the layer name). Add your image and position it where you want it to be placed.
Resume play the action from where it stopped.
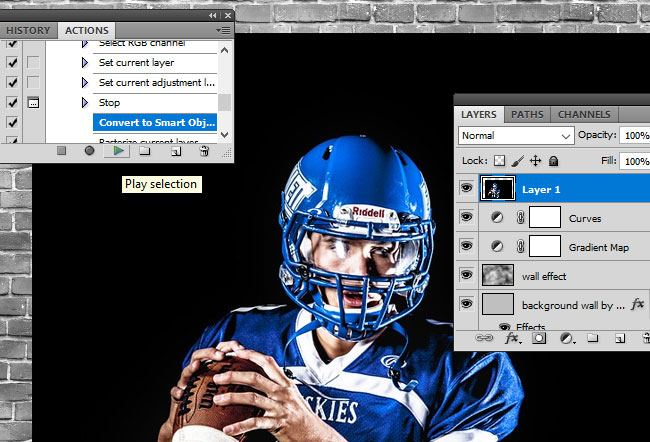
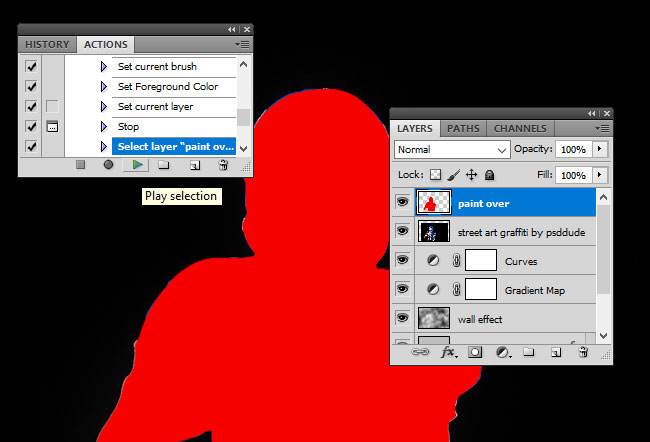
Create Graffiti Effect in Photoshop
Paint over the area that you want to turn to graffiti. Use the Brush Tool and make sure you paint right over the image to obtain a good result. It is always better to paint 1px-2px inside the object to avoid having background areas inside the painted area.
When you are ok with the result, resume play the action from where it stopped.
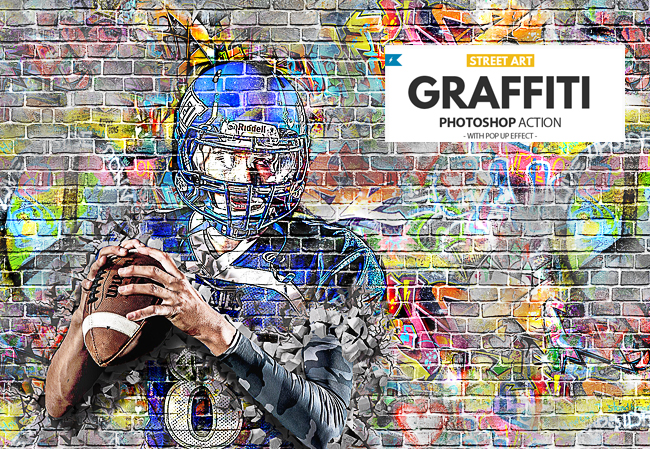
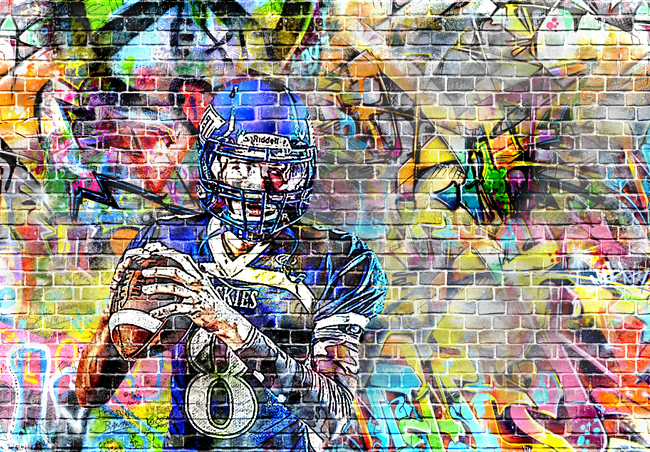
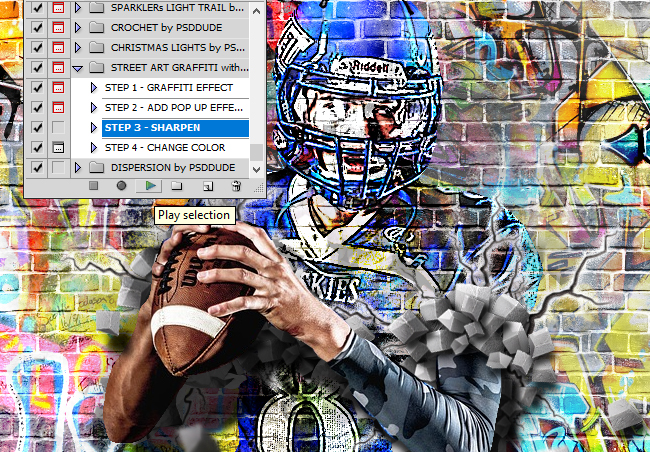
After ending Step 1 of the action, your result should look something like this. If you don't want the pop-up effect and this is the final result you have to play the "STEP 3 - SHARPEN" action.
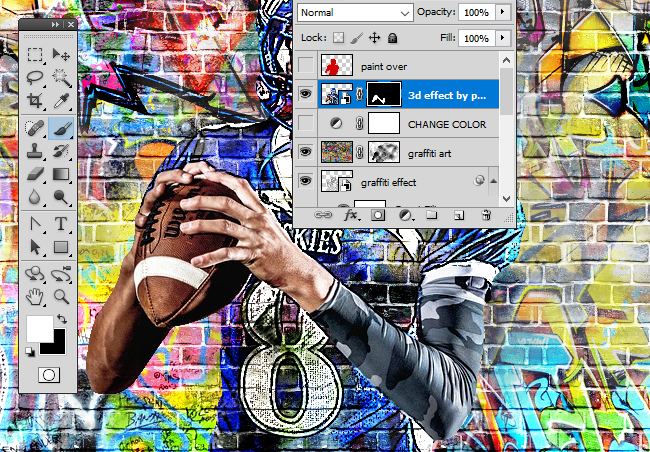
Create Graffiti with Pop-up Effect in Photoshop
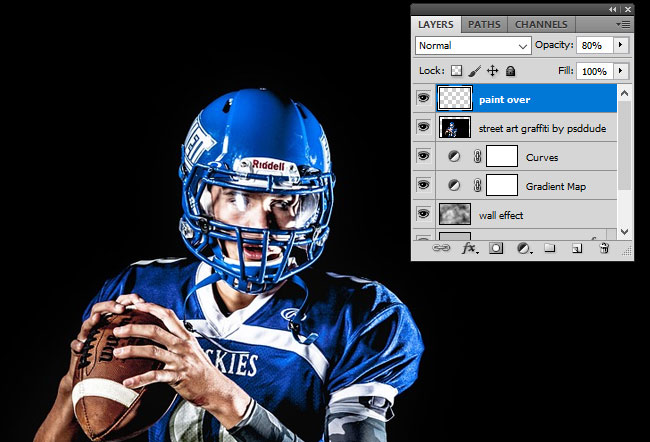
If you want to add the graffiti pop-up effect you have to play the "STEP 2 - ADD POP UP EFFECT" action.

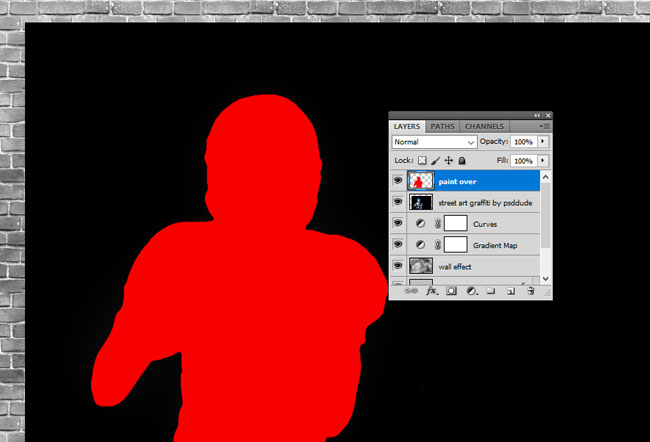
You have to paint over the area that you want to become 3D. It is important what parts you paint. In our example, the part of the body that is not in the same plan(that pop-up) with the rest, are the hands.
Use the Brush Tool and make sure you paint right over the image to obtain a good result. It is always better to paint 1px-2px inside the object to avoid having other areas inside the painted area. Make sure you paint with white color inside the layer mask and not the layer.
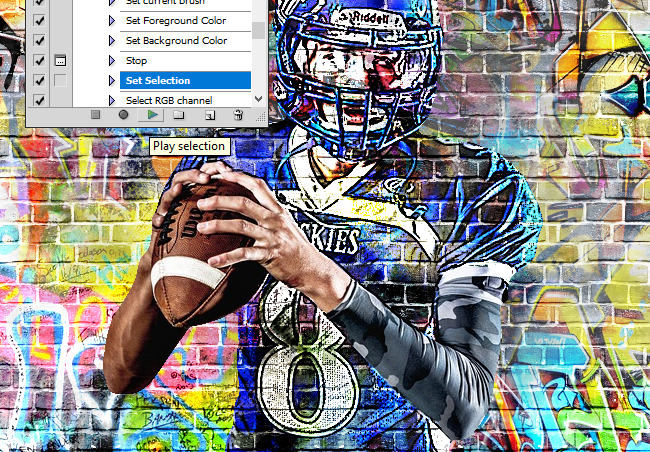
When you are sure about the result, resume play the action from where it stopped.
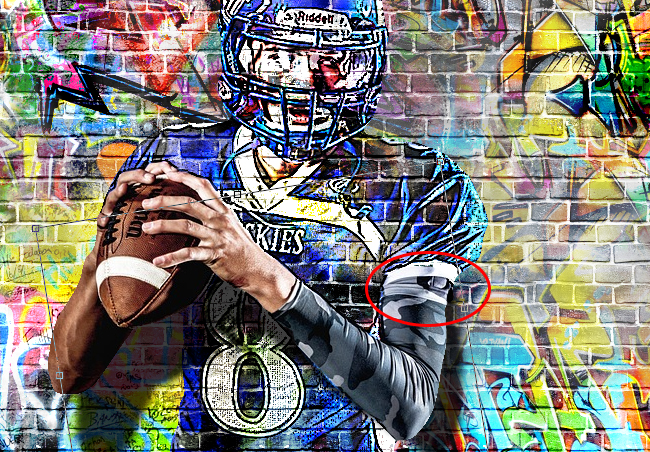
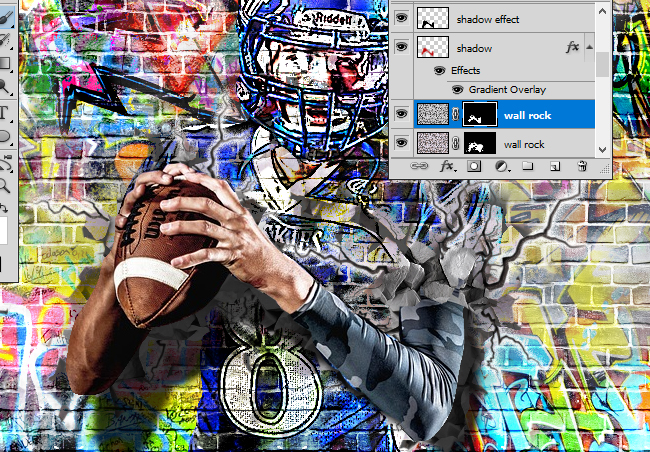
The action stops for you to reposition the shadow. You can resize it, move it, scale, etc. It is really important to make the shadow look realistic. For example where the arm touches the wall the shadow has a small distance and it gets larger where the arm is further away from the wall.
The action stops asking you to use the "rock" brush to add some rocks where you want. Make sure you paint with white color inside the layer mask and not the layer. Resize the brush if needed. Add rocks only where the arm touches the wall. Don't worry about this step, the final touches will be made later on.
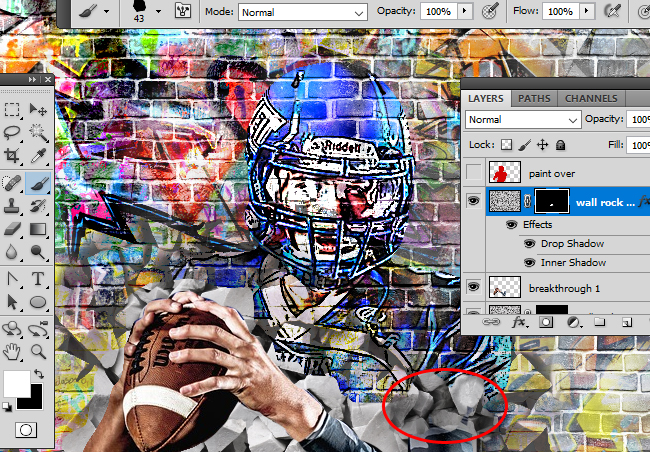
Resume play the action from where it stopped.
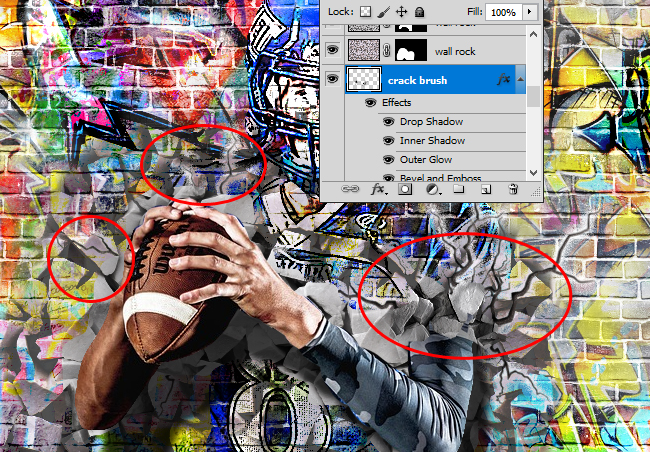
Now use the crack brushes to add some cracks. There are 2 crack brushes included in the list. Again add cracks where the object touches the wall and pops-up, in our case the arm.
Graffiti Effect Customization
The most important part is the customization. You have to make the graffiti look as realistic as possible by adjusting different layers, so please take the time to do it.
The rocks has to be only where the man breaks down the wall. So we have to erase the other rocks. Select the first Wall Rock layer mask. Use the Brush Tool, rock brush and color black, to hide some rocks.
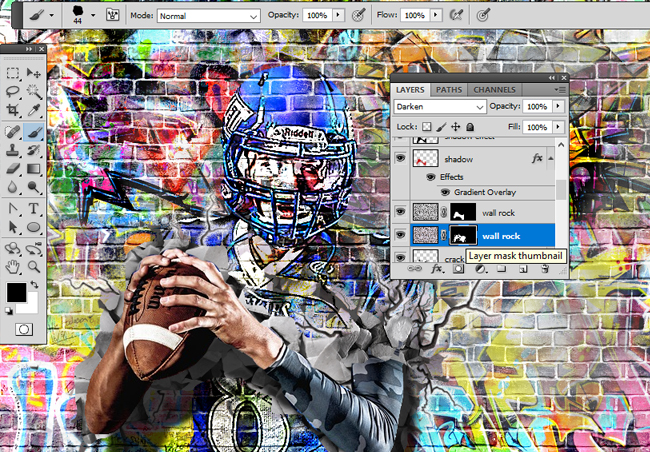
Select the second Wall Rock layer mask. Use the Brush Tool, rock brush and color black, to hide some rocks.
Add Falling Rocks
Inside the ZIP file you have a PSD file called ROCKS-IMG.psd. Inside this file you have "rocks formation" and "individual rocks". All you have to do is to copy these layers into your PSD file. Place them over the existing rocks to create a realistic effect. Scale, rotate or resize them to obtain a good result.
You can change the layer style of these layers and also add Motion Blur filter to create the motion effect. You can add rocks above the man arm or below the man arm to create depth effect.

Adjust the Graffiti Wall
Click on the Graffiti Art layer mask, and use the Brush Tool, grunge brush and color white if you want to reveal some areas and coloor black if you want to hide some areas.

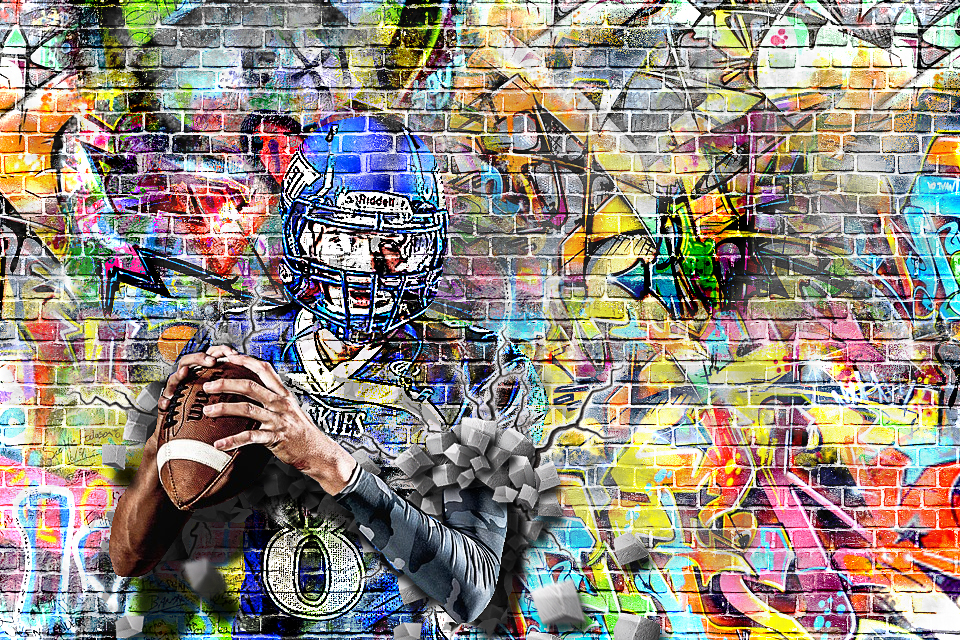
When you are sure that this is the final result play the "STEP 3 - SHARPEN" action. This step ends the effect.

1 comment(s) for "Graffiti Effect with Pop Up Photoshop Action Tutorial"