


Part 2
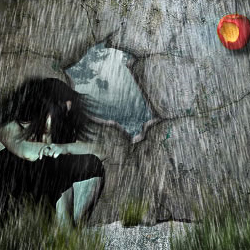
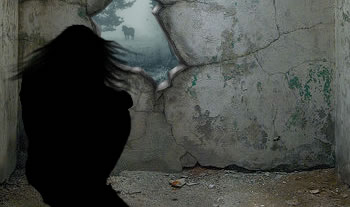
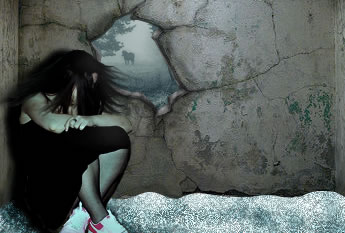
Being cold and snowing outside I need to give motion to the girl's hair.
To simulate wind effect I used Smudge Tool , size 3, strength 85%.
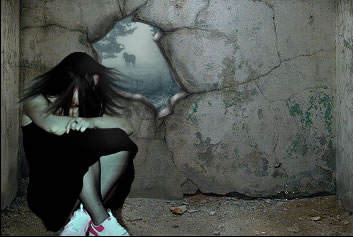
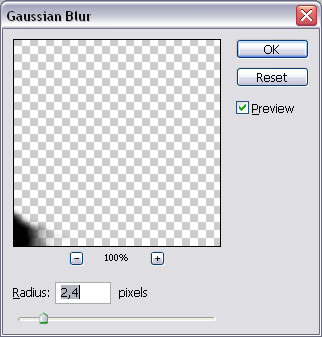
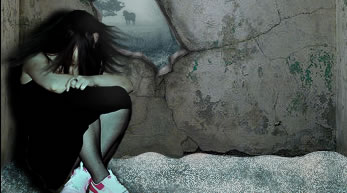
Delete with the Eraser Tool part of the dress and the shadow
Duplicate Eve layer, call it Shadow.
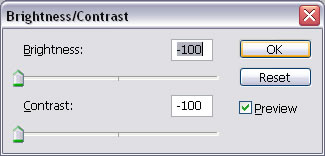
Go to Image - Adjustments - Brightness/Contrast to make it black.
Place Shadow layer behind Eve layer and move it to the left and down.
Go to Filter - Blur - Gaussian Blur
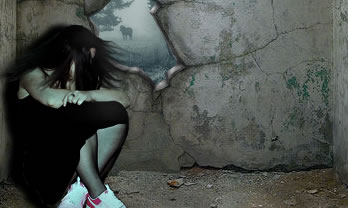
Step 6 - Add snow to the floor
Draw a shape with the Pen Tool, color #769b9c.
Call this layer Snow.
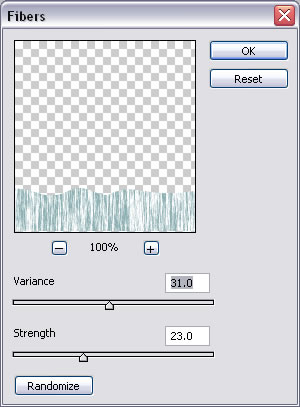
Set the Foreground color white.
Go to Filter - Render - Fibers
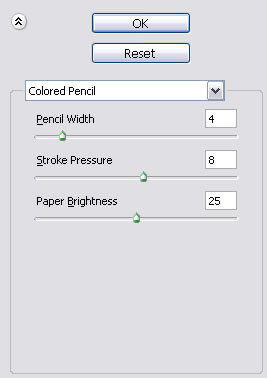
Go to Filter - Artistic - Colored Pencil
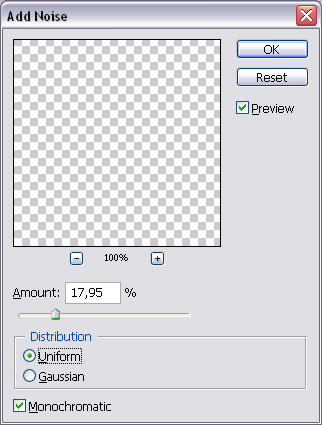
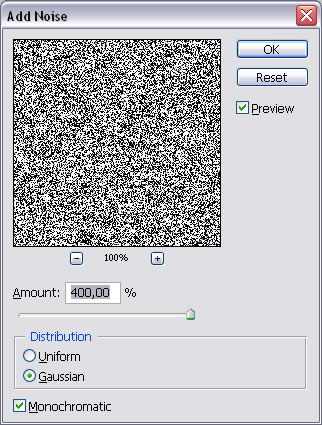
Go to Filter - Noise - Add Noise
Use Burn Tool and Dodge Tool to create shape. Set the layer opacity to 67%.
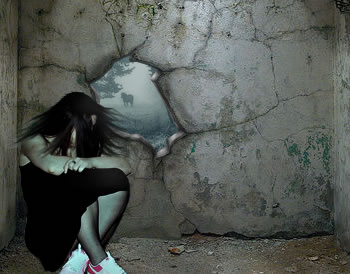
Step 7 - Add grass
I downloaded grass brushes from this link
http://graphics-illustrations.com/downloads/
Make a new layer named Grass and with Brush Tool, size 55 paint grass.
Play with different green tones.
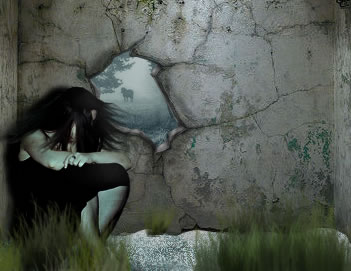
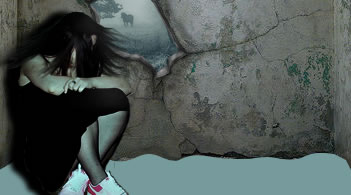
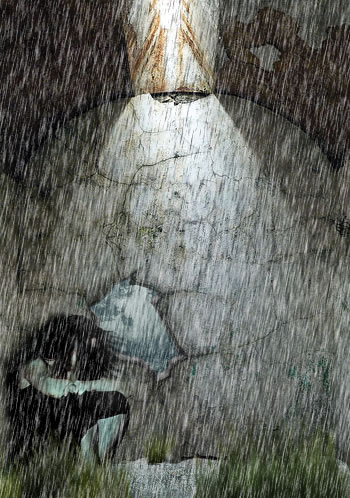
Step 8 - Add snow
Draw a white rectangle with the Rectangle Tool; it must cover the entire image.
Call this layer Snowing Left.
Go to Filter - Noise - Add Noise
Go to Filter - Blur - Motion blur
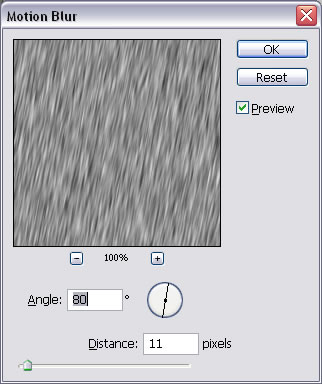
If you set distance low it will look more like snow, if you set distance high
it will look more like rain.
Set Snowing layer opacity to 70 % and the Blending Mode from normal to Hard Light.
Duplicate this layer and Edit - Transform - Flip Horizontal now we have snowing effect
in two directions (right - left). Call this layer Snowing Right.
You will have to delete half from each layer.
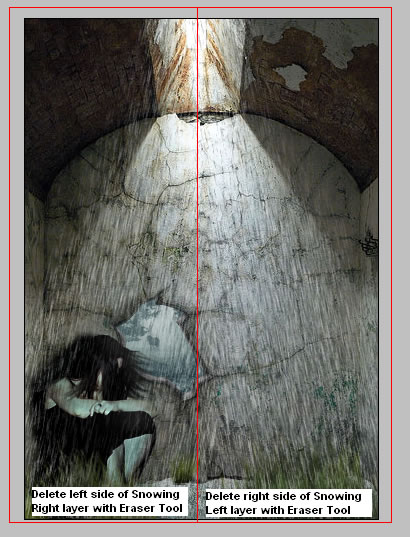
Merge the two layers and make sure that the Blending Mode is still Hard Light.
With Eraser Tool opacity 25% and size 40 gently delete parts of the Snowing layer so that
It looks like the snow is coming from the roof.
Step 9 - Add wires
With Brush Tool size 2, color #171713, opacity 80%, draw three lines.
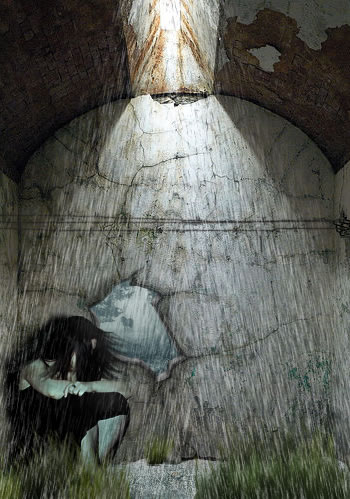
Go to Blending Options and Drop Shadow.

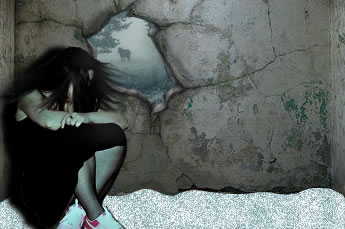
5 comment(s) for "EVE dreams - the original sin"
Buen trabajo amigo! reply