


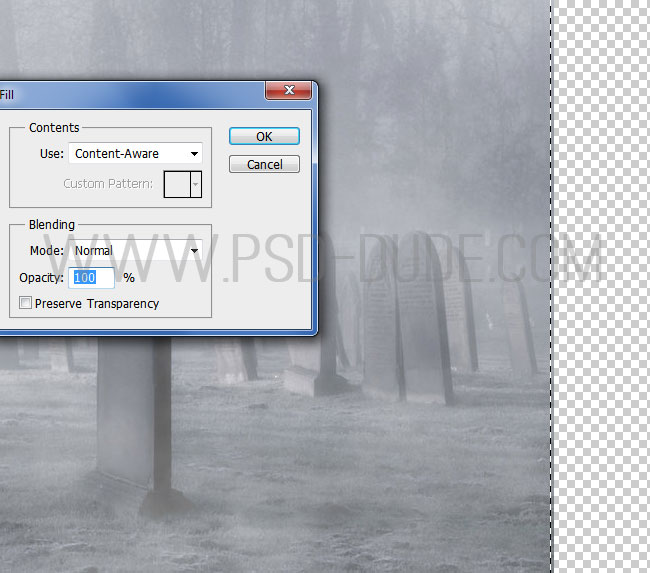
Create a new PSD document and add this spooky Cemetery background . If the image is too narrow you can use the Edit>Fill>Content-Aware option to fill the empty gap.
- Fill Content-Aware
- Content Aware Fill feature in Photoshop CS5. What Content Aware Fill does is to replace unwanted areas of an image in a smart way. It can reduce the amount of time you spend working with the Clone Stamp and other fixing tools.Read more...
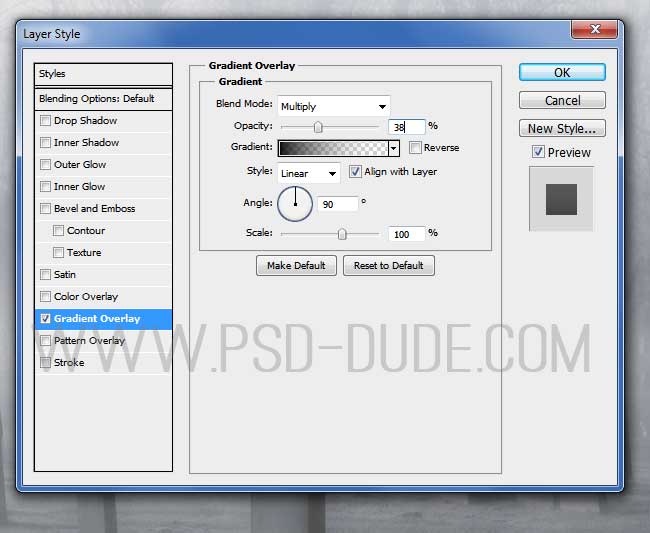
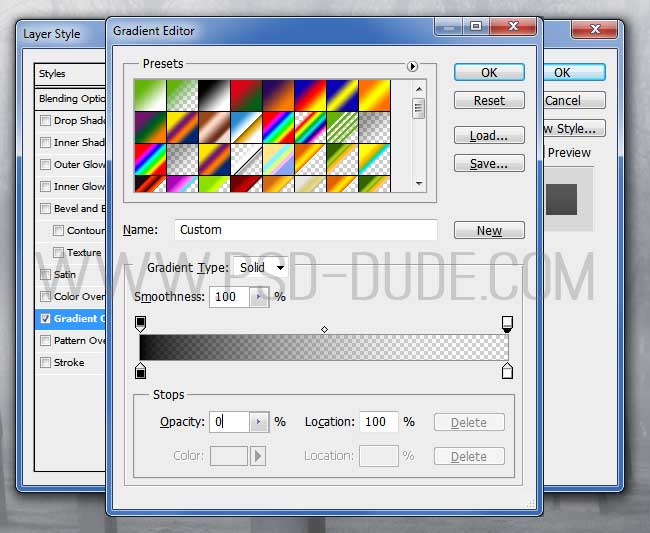
Add a Gradient Overlay to the premade background layer.
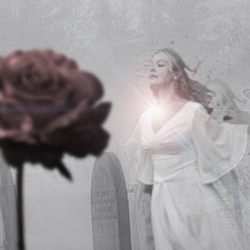
Copy this image of a Haunted Woman in a new layer. Use the Pen Tool to remove the background. Or you can use one of the Photoshop Selection Tools.
- Photoshop Selection Tools
- Photoshop has so many ways to cut out backgrounds and isolate objects, it sometimes seems like it was the sole purpose the program was created. This article is detailing 50+ ways in which you can delete, erase, mask, hide and remove backgrounds in Photoshop. Read more...
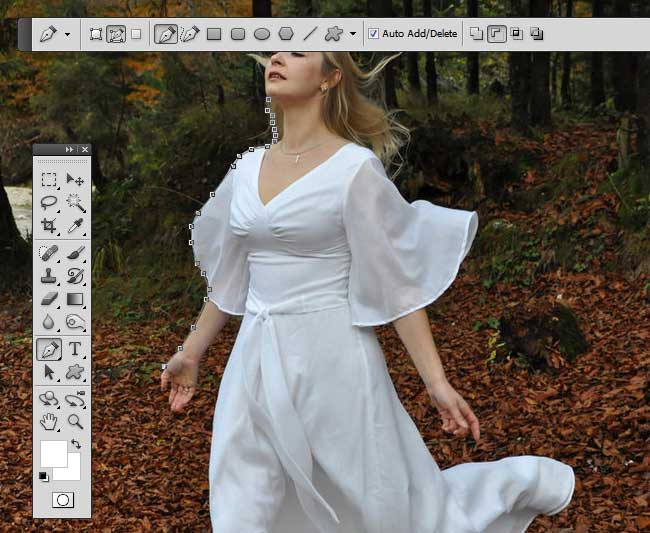
It doesn't matter if the cut is not perfect. Resize the image and place it like shown in the image.
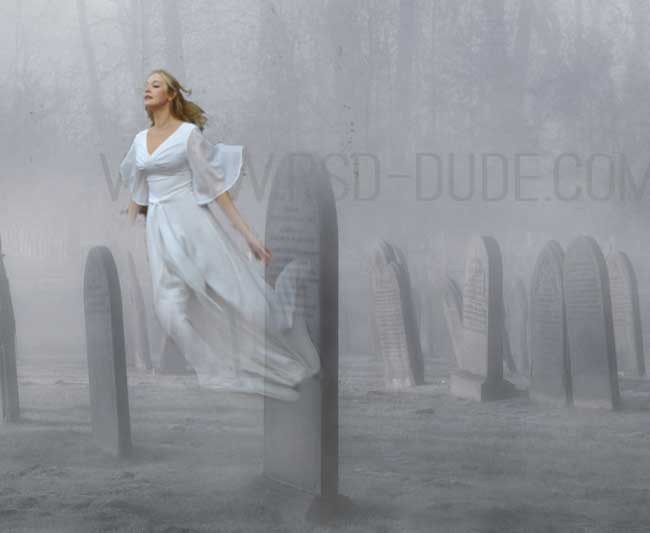
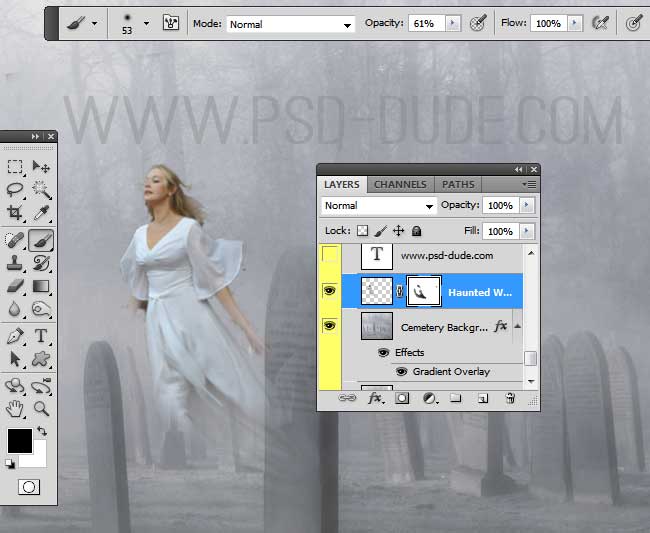
Create a layer mask for the Haunted Woman layer. Use the Brush Tool, soft round brush, color black and different opacity levels to paint inside the mask. The idea is to hide parts of the woman's body and to create an erie ghost effect.

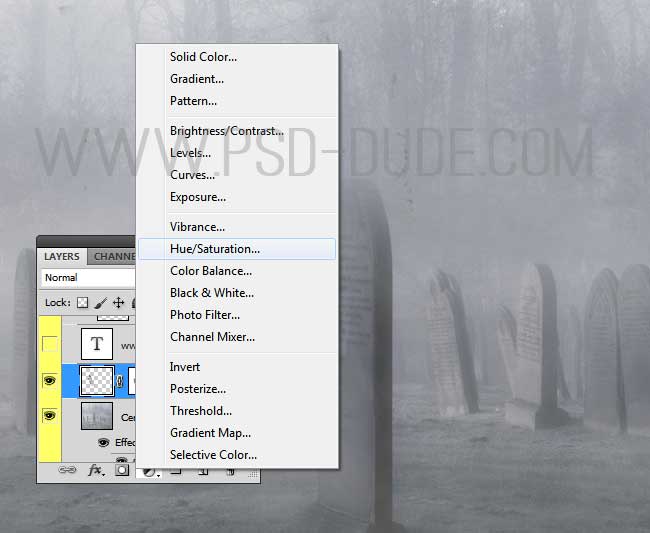
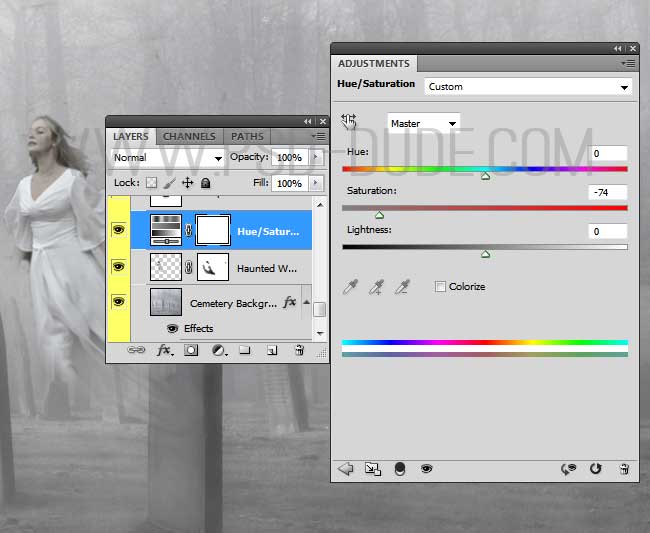
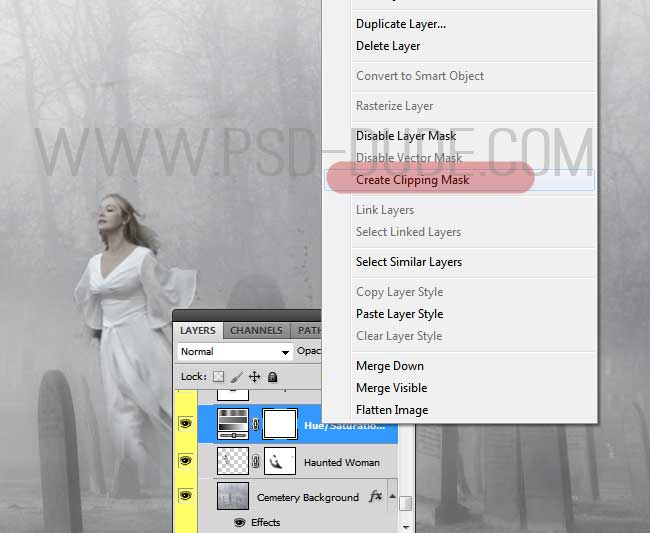
Add a Hue/Saturation adjustment layer just for the Haunted Woman layer using a Clipping Mask.
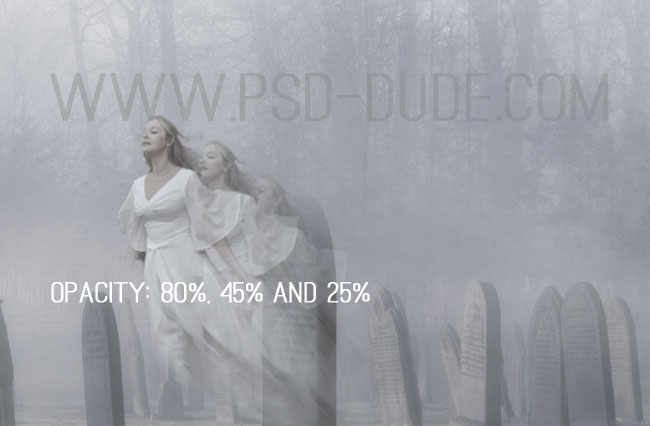
Select the Haunted Woman layer and the Hue/Saturation adjustment layer and press CTRL+E to merge the two layers. Name the resulted layer Haunted Woman. Make two copies of this layer by pressing CTRL+J. Place the two copies behind the original and move them to the right like shown in the preview.
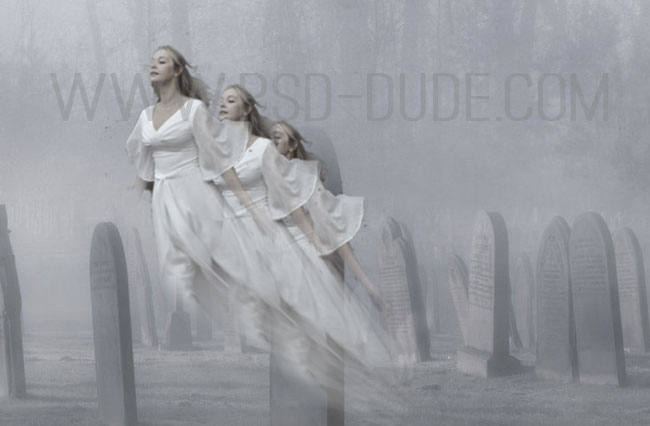
Lower the opacity of the three layers to 80%, 45% and 25% to create a transparent ghosty effect.
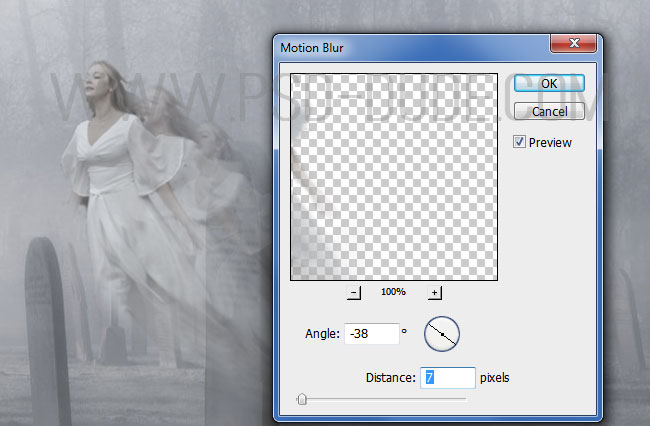
You can also add a soft Motion Blur to the three images.
Add a bokeh texture in a new layer and set the blend mode to Lighten or Screen. Add a Hue/Saturation adjustment for all the existing layers.

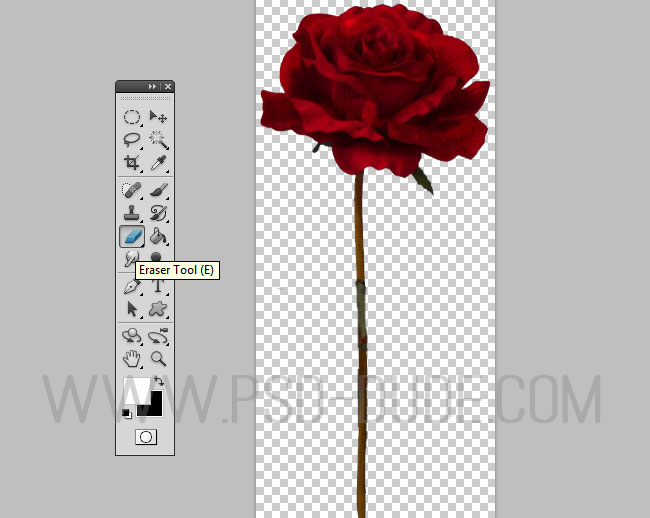
In a new layer add this rose PNG that has the background removed saving you a lot of time. Call this layer Red Rose. Use the Brush Tool to remove the leaves.
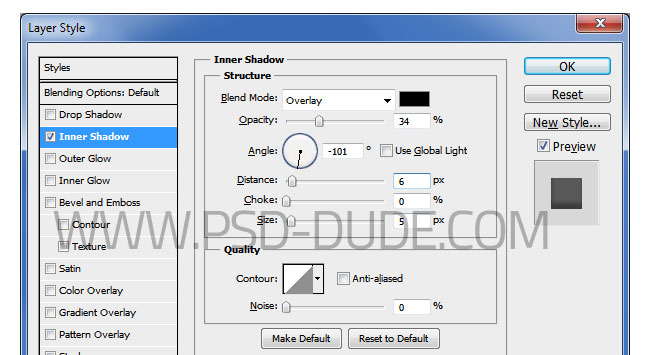
Add an Inner Shadow layer style to the Red Rose layer.

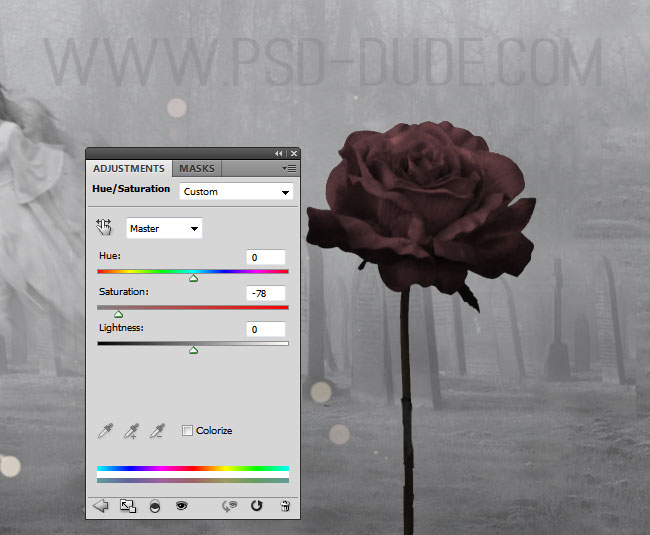
Add a Hue/Saturation adjustment layer just for the Red Rose layer. Right click on the ajustment and choose Create Clipping Mask.
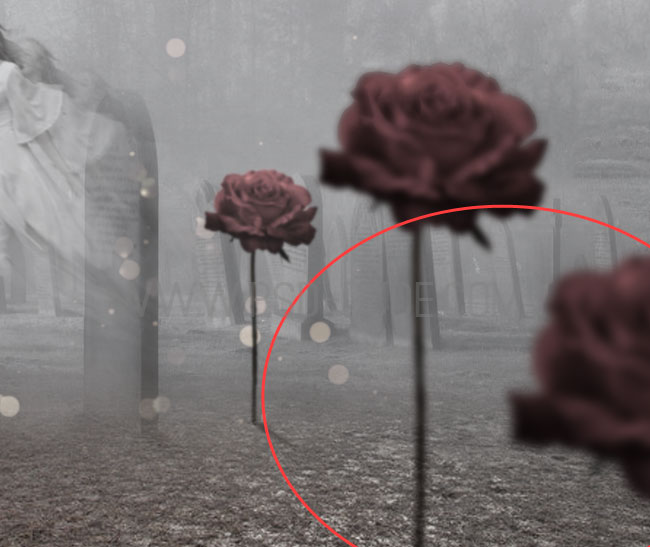
Select the Red Rose layer and the adjustment layer, right click and choose Converto to Smart Object. Rename the smart object Red Rose. Duplicate the roses and add arrange them like shown in the screenshot. Resize the roses, flip vertical etc.
Add these layer styles to the two upside down roses. Reduce the layers opacity to 70% and add a Gradient Overlay.

Add this Gradient Overlay layer style to the two roses in the back.


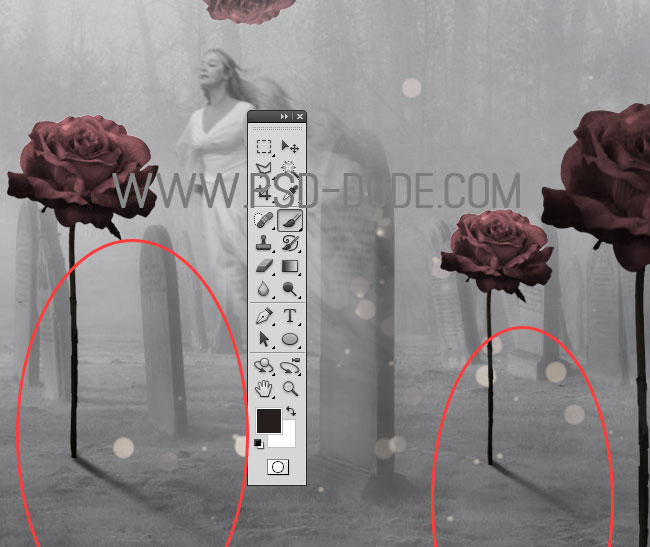
Create a new layer and use the Brush Tool and color #1d1915 to paint a shadow for the roses. Use the Gaussian Blur filter to soften the shadow effect. Also use the Eraser Tool, soft round brush and different opacity levels to create a realistic shadow effect.
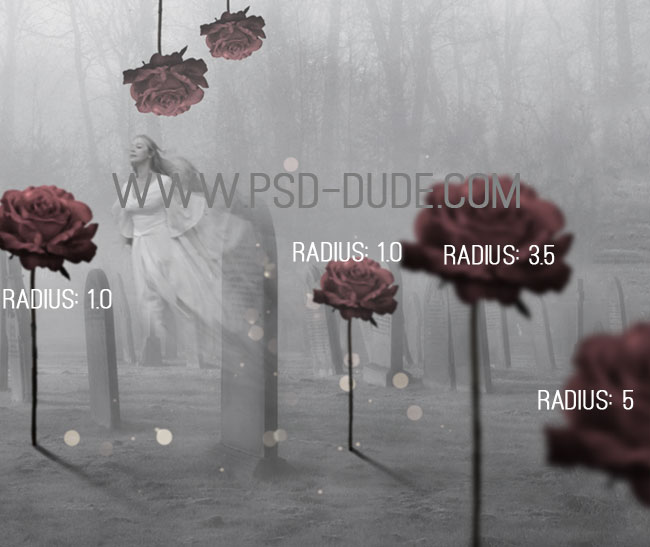
Use the Gaussian Blur filter for the Rose Layers with these settings:
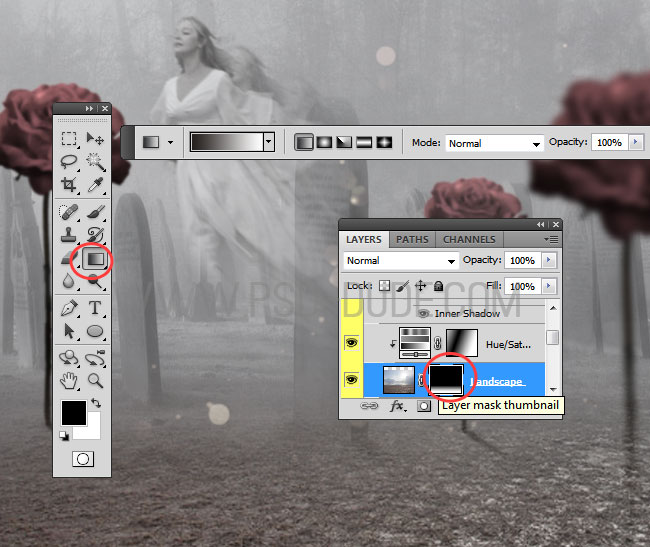
Create a new layer and add this Landscape background image above all the other layers. Add a Hue/Saturation adjustment layer only for tgis layer(right click - Create Clipping Mask). Set the adjustment opacity to 55%

Add a layer mask to this layer and use the Gradient Tool to create the mask.
Select the two roses from the right side of the image and move them above the Landscape background layer.
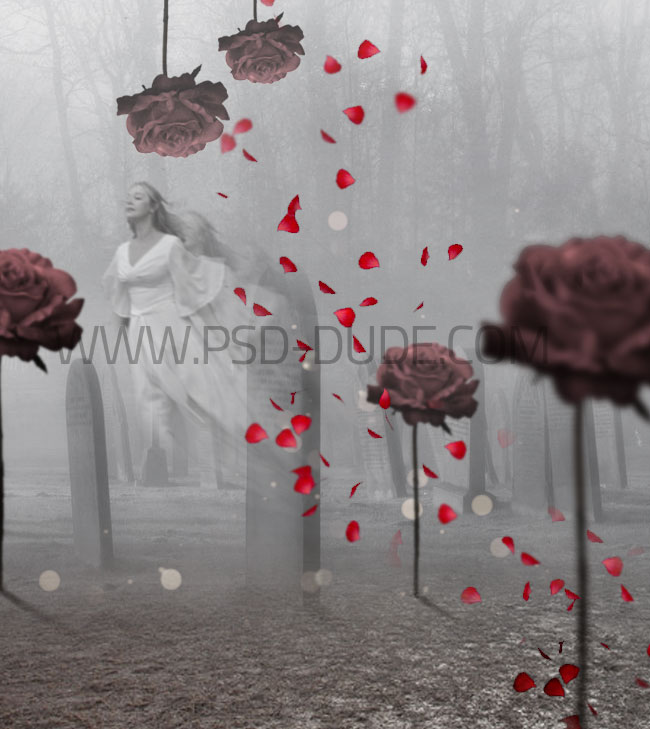
Place this roses petals stock image in a new layer and use the Eraser Tool to create a nice shape for the falling petals.
Add an Inner Shadow layer style. Also add a Brightness/Contrast and a Hue/Saturation adjustments just for the Petals Layer using a Clipping Mask.

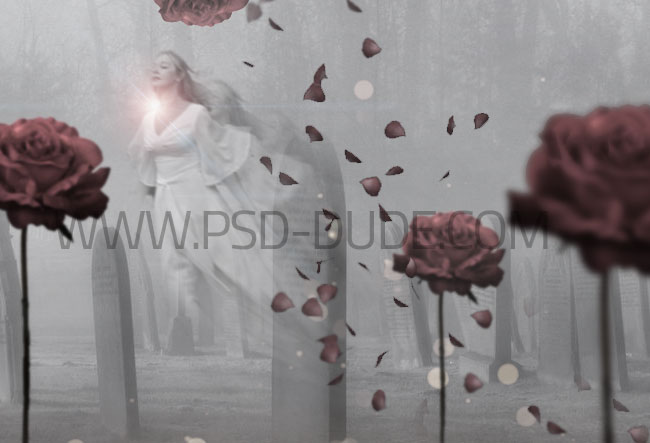
Create a new layer and add a lens flare texture with a Screen or Lighten blend mode.
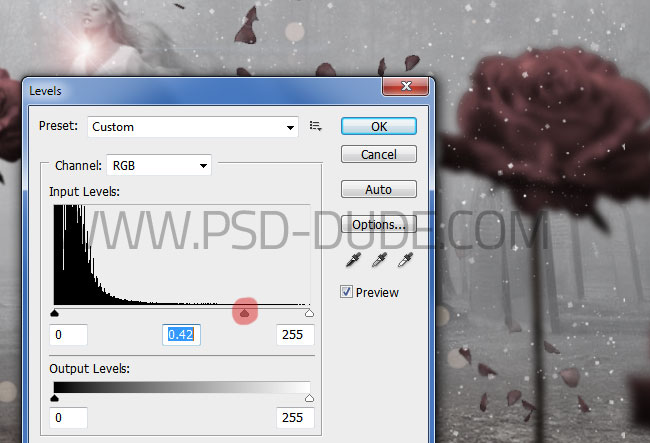
If you want you can add a falling snow texture with Screen blend mode. Use the Levels to adjust the snowflakes frequency. Also you can use the Motion Blur filter(Angle -50 and Distance 5px).
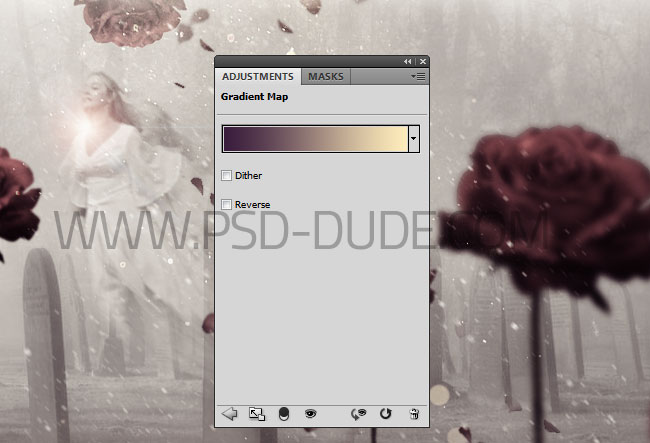
For the final touches, create a new layer and add a Gradient Map adjustment with Soft Light blend mode. For the gradient use these color tones: #391c3c and #ffedbb
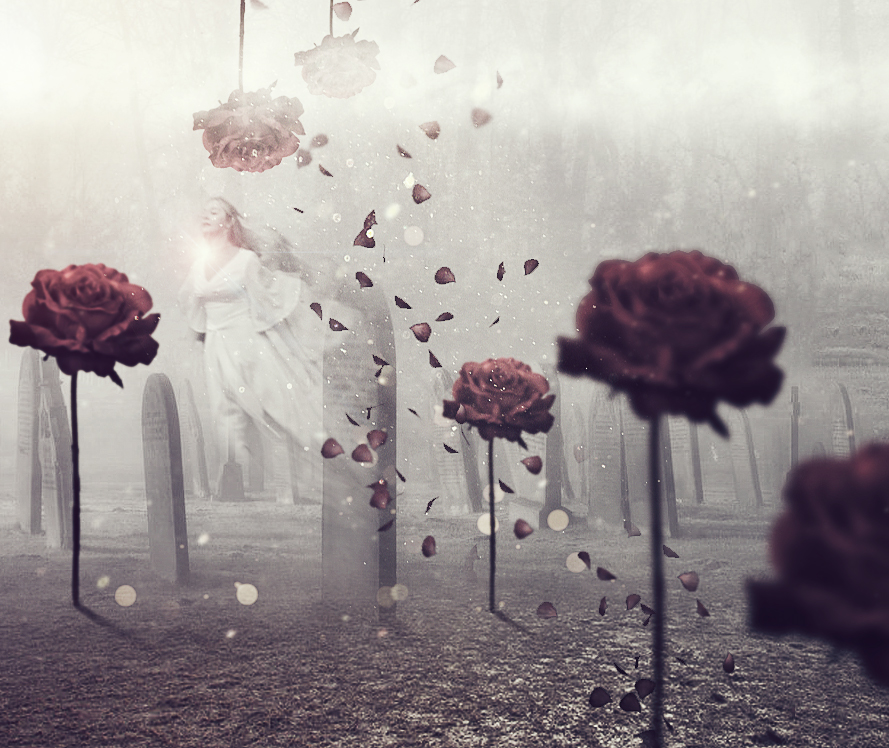
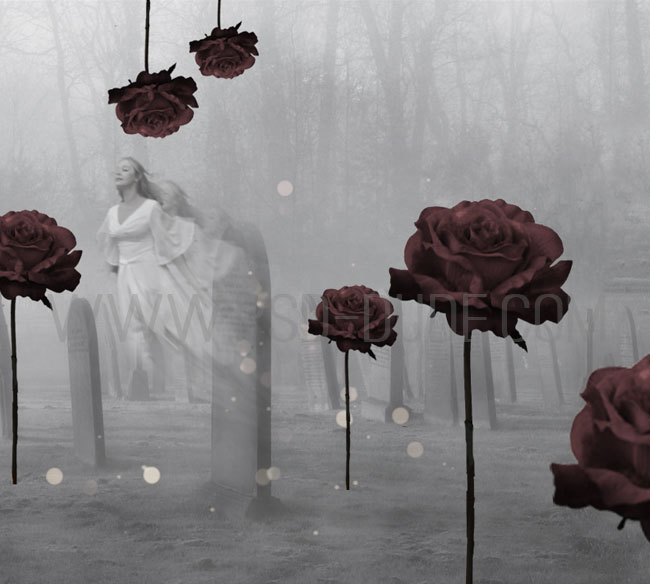
To make the image more clear you can use this tutorial on how to Sharpen Images with Photoshop High Pass Filter . So here is the final image, hope you like it!

4 comment(s) for "Emotional Cemetery Ghost Photoshop Manipulation Tutorial"
Can you advice, when Part 4 will be issued?
Thanks. reply