


Valentine Day Wallpaper Photoshop Tutorial
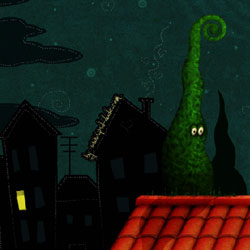
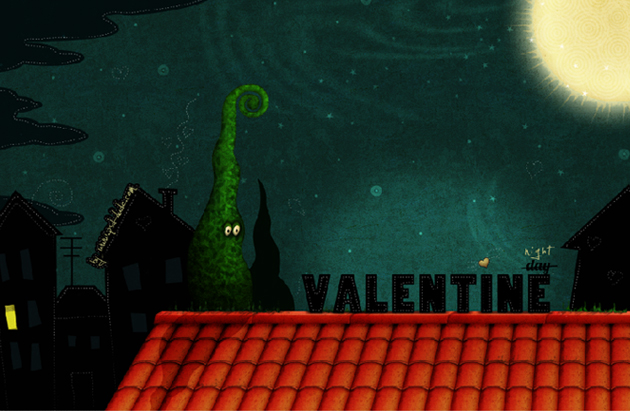
Here is a preview of the final result so that you know from the start what we'll be creating.
Night Sky
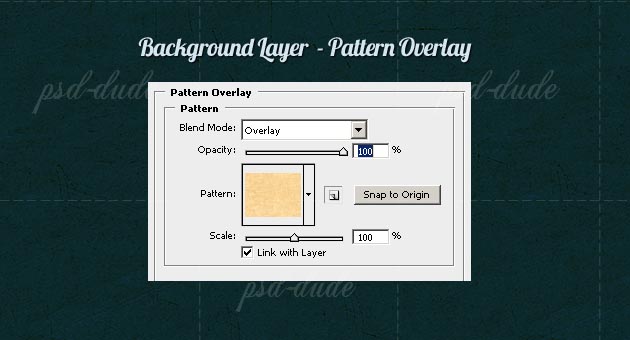
I wil start with the background, so create a new layer called Background Layer and fill it with a dark blue color #061822 ; open the layer style window and add a Pattern Overlay using these Seamless Paper Patterns . I've used Old Paper 2 from the list with an Overlay blend mode.
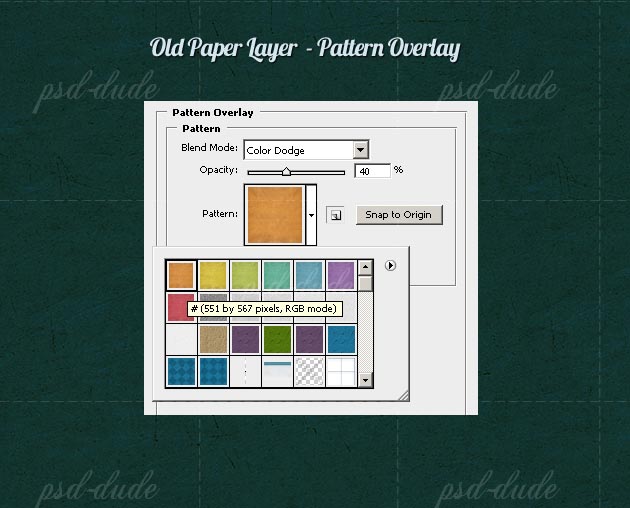
Create a new layer, called Old Paper. Reduce Fill to 0% and add Pattern Overlay again using another Old Paper Pattern ; make sure you set the Blend Mode of the pattern to Color Dodge, opacity 40% like in the image:
Sky Clouds
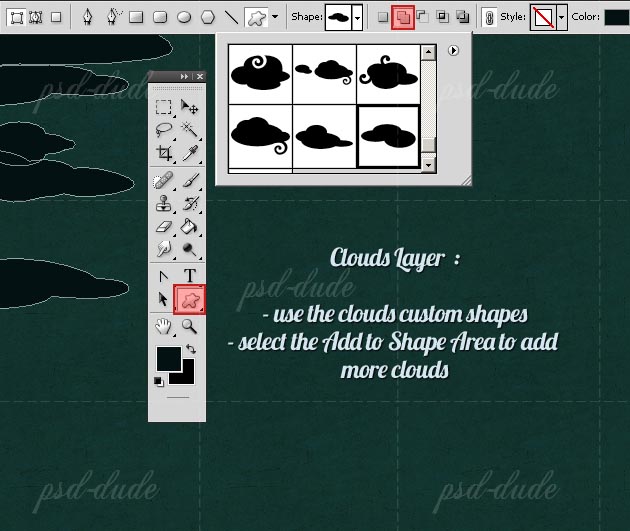
Use my Cartoon Cloud Shapes and add them on the sky using a darker color #031112 than the one used for the sky. All the clouds must be added in the same Clouds Layer, so make sure that after you add the first cloud, you have the Add to Shape Area button selected.
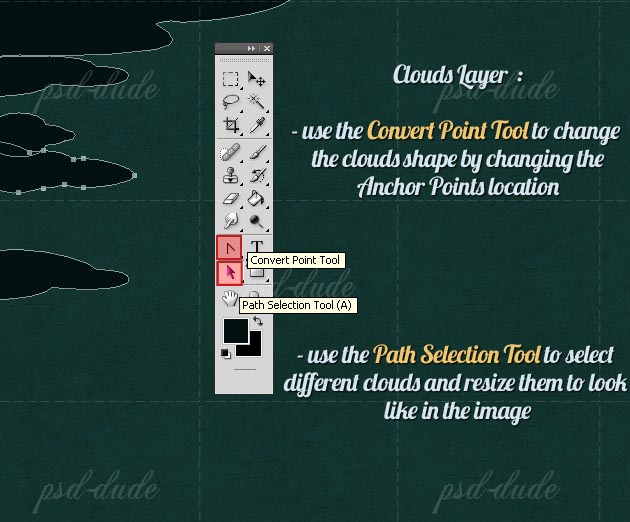
You wil have to change the shape of the clouds so that they look similar to the image below. Use the Path Selection Tool to select a cloud and you can resize, rotate, etc. If you want to modify further more the cloud shape use the Convert Point Tool to move the Anchor Points of your shape.
After you are sure that the clouds have the desired shape, pick the Path Selection Tool and press the Combine button. Now all your clouds are unified in on single shape.
Shapes of Houses
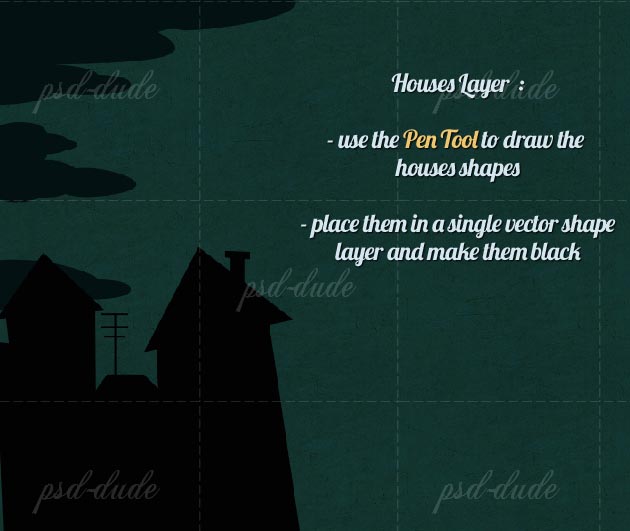
I will now add 4 silhouette house vectors made with the Pen Tool. I know that there are already on the internet free building shapes but I prefer to make them from scratch. That way they will fit with my design.
For a faster result you can use my House Photoshop Shapes and adjust them like you did with the clouds. Use the color black for the house shapes and press the Add to Shape Area to make them in the same layer.
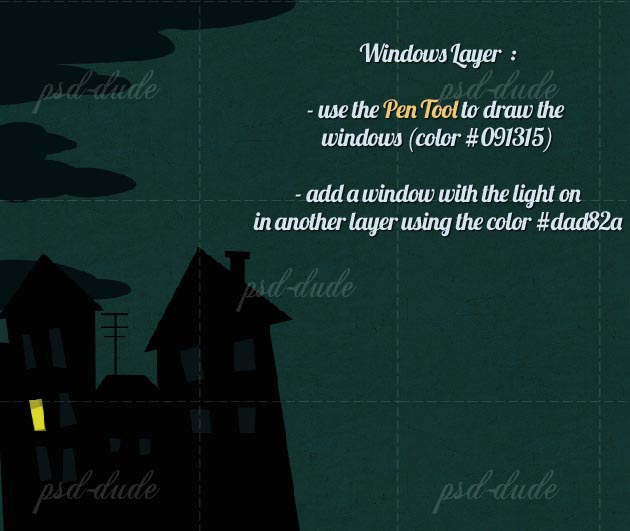
In a new layer with the same Pen Tool draw some windows; it doesn't matter the shape, the important thing is to look like cartoons. Pick the color #091315 for the windows. Add one window where the light is on and make it #dad82a yellow.
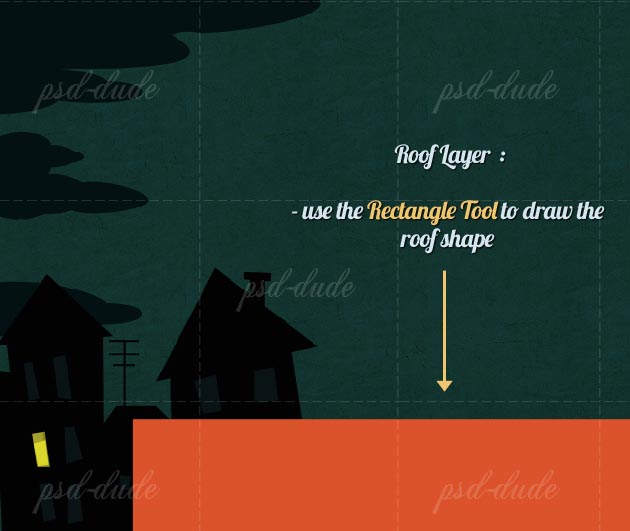
Cartoon House Roof
I will now draw a cartoon roof house that has more details is not just a silhouette like in the previous step. For that I will use these Roof Patterns. Simply draw a rectangle with the Rectangle Tool.
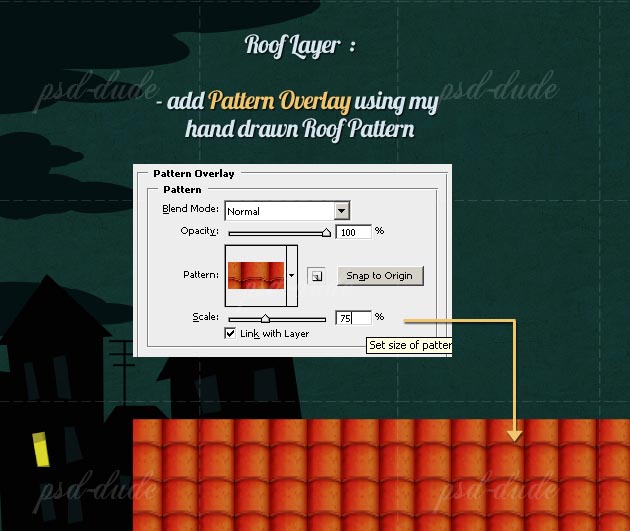
Open the Layer Style Window and add the Pattern Overlay using the Roof-A pattern. Use a 75% scale for this pattern.
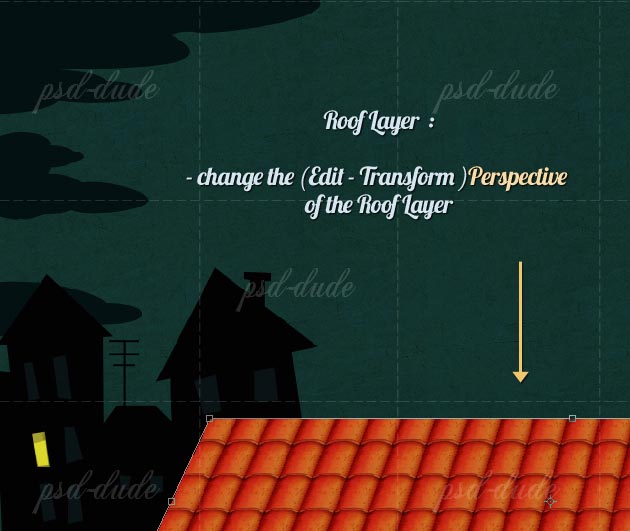
I want to change the perspective of this roof but first I have to rasterize the image. So create a new blank layer above the Roof Layer and merge them. Go to Edit, Transform, Perspective and make the Roof look like in the image.
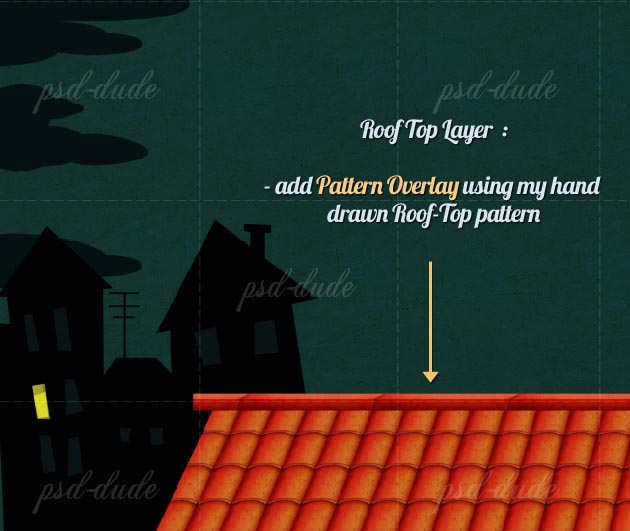
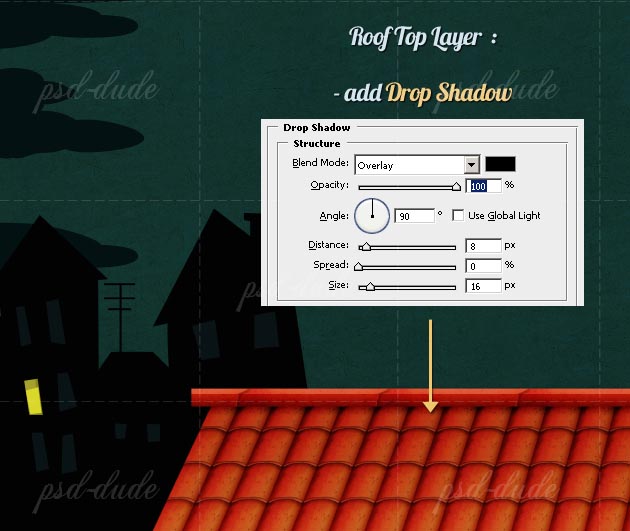
Now we'll add a Roof Top like we did in the previous step. Create a new Rectangle Layer, reduce the Fill to 0%. Use the Roof-Top pattern from the Roof Patterns set, and leave the scale 100%.
Add also a Drop Shadow effect to the Roof Top Layer, with the following settings:
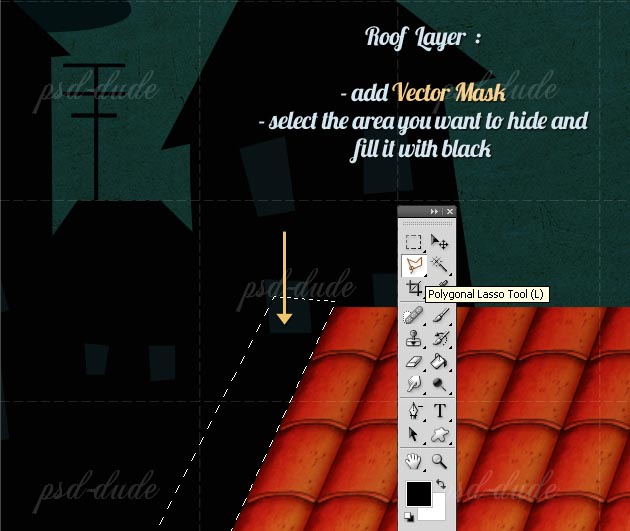
Now I will Add Mask to both Roof layers. Use the Polygonal Lasso Tool, set the Foreground Color black, and fill that area inside the Mask to hide the unwanted areas.
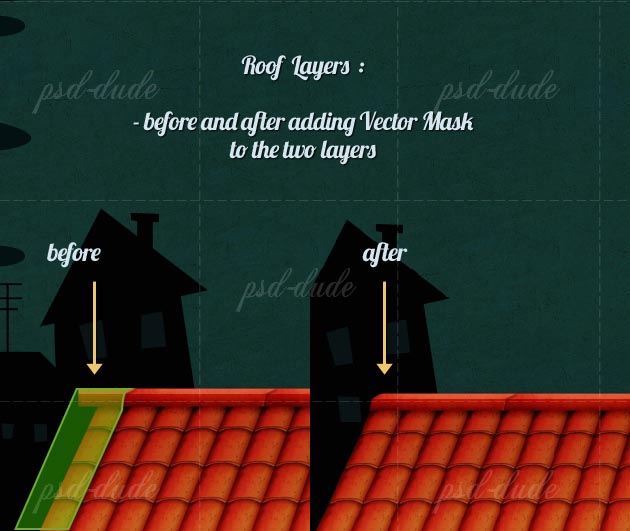
Add a similar Layer Mask to the Roof Top layer. So here is a before and after adding Layer Masks image:
Tree Shape
Create a new layer but make sure you place it behind the Roof Layers. To help you work better put all the Roof layers in a Group. In this new layer I will draw a cartoon tree using the Pen Tool. I have made a set of Tree Shapes but they are not what I need for this tutorial. Draw a tree shape like in the image using #133d19 color. Add a Gradient Overlay like in the image:

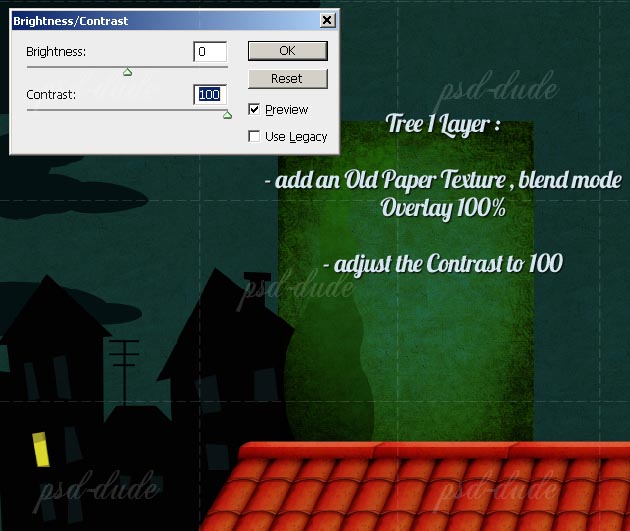
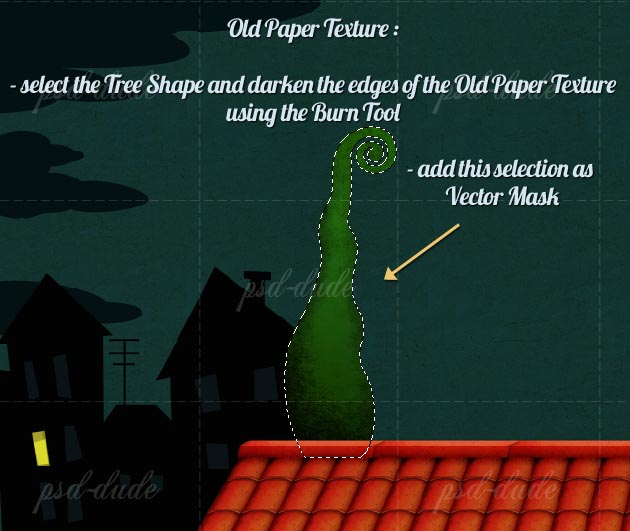
To look more like the Roof, I have to add it an Old Paper Texture; copy this texture and place it above the Tree Layer. Set the Blending Mode of this layer to Overlay 100%. You will have to adjust the Contrast of the Old Paper Texture like in the image. Repeat the process two times if necessary.
Select the Tree Shape and use the Burn Tool to darken the Old Paper Texture around the edges. Add this selection as Layer Mask for the Old Paper Layer.
Leaf Seamless Pattern
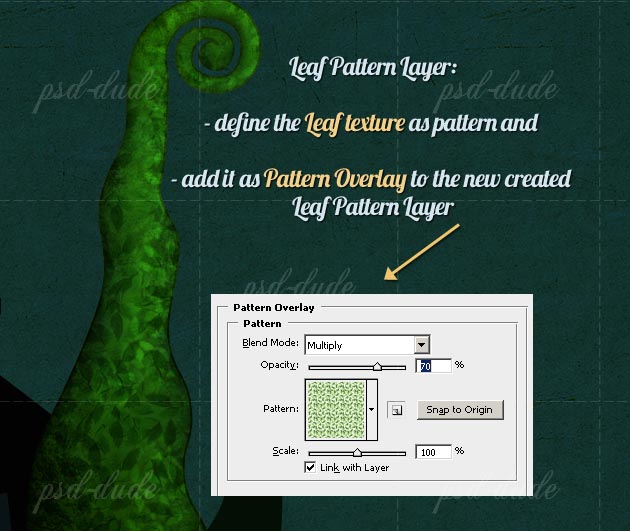
I will use this leaf image as pattern for the tree. Copy the image in Photoshop, resize it to about 400px and Define Pattern (Edit Menu). Create a new layer and call it Leaf Pattern Layer. Fill it with white color. Reduce the Fill to 0% and add the Leaf Pattern that we'he just made. Set the Blend Mode of the Pattern Overlay to Multiply 70%. Use a Soft Round Brush and use the Eraser Tool to remove some parts from the Leaf Pattern Layer especially from the top area.
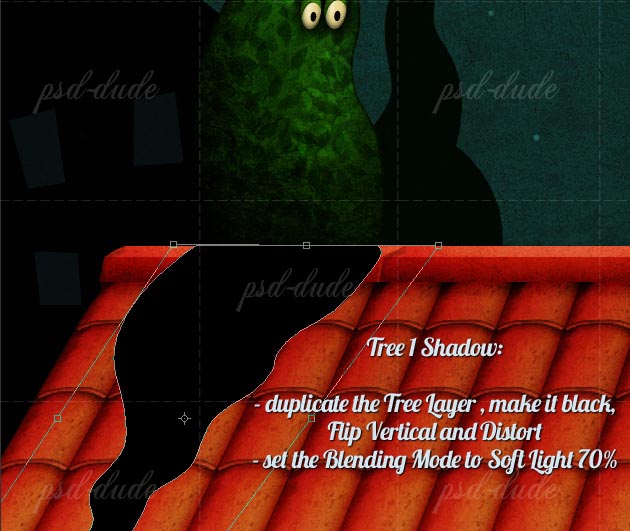
To fit with the rest of the image the tree must drop a shadow on the Roof. So duplicate the Tree Layer, place it above the Roof Group of Layers. Flip it Vertical and Distort it. Set the Blending Mode to Soft Light 70%.
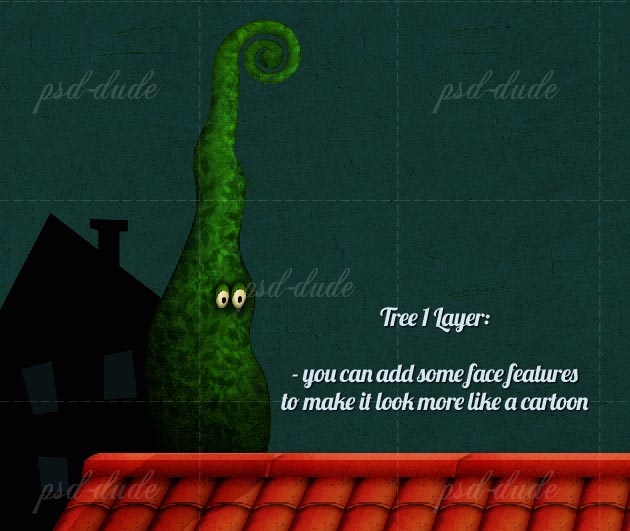
To make it look more like a cartoon I have added eyes to this tree. This is how it should look like so far:
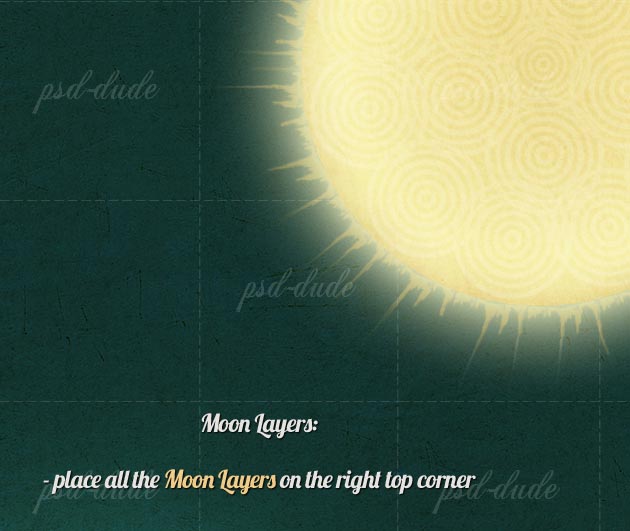
Moon Shape
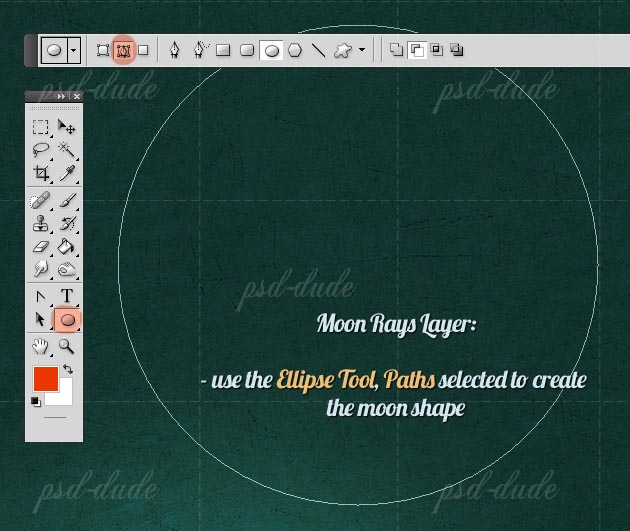
Create another layer and call it Moon Rays. Take the Ellipse Tool, select Paths and draw the moon round shape.
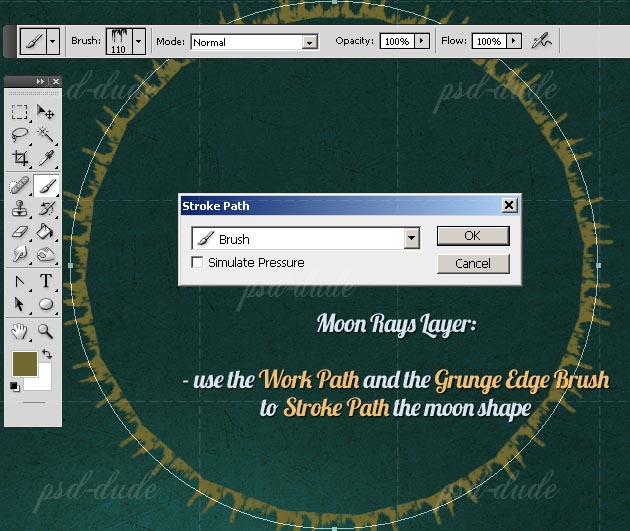
Use the Grunge Edge Brush found in the ZIP pack to Stroke Path the moon shape. Use the color #716930. After you're done remove the Work Path.
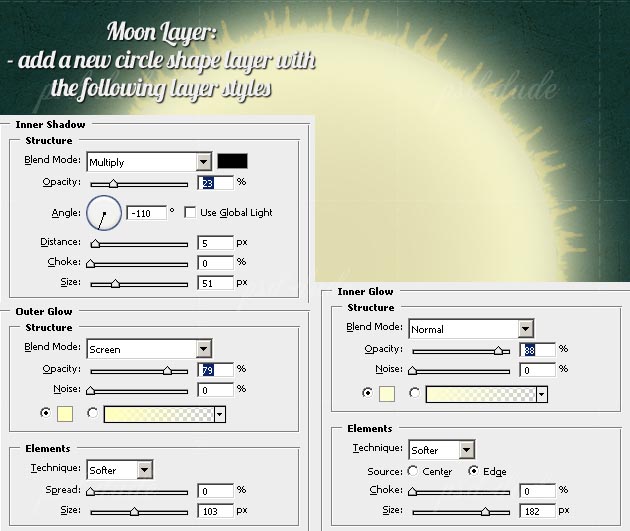
Add a new circle above this layer, call it Moon Layer. For the color choose #e0dcaf. Open the Layer Style Window and add Inner Shadow, Outer Glow and Inner Glow with the following settings:
Circle Pattern
In a new layer, use one of these Circle Brushes to create a Circle Pattern on the moon surface. Use white as color and change the Blending Mode to Lighten 20%.

Vintage Texture
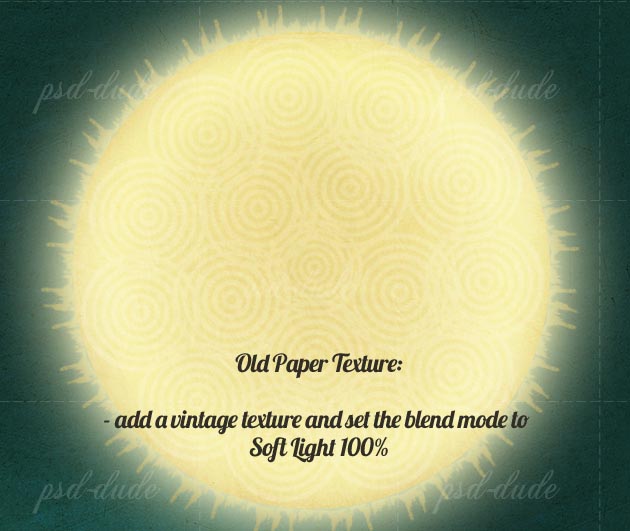
Add an Old Paper Texture and set the Blend Mode to Soft Light 100%. You can combine two textures to obtain a beautiful result.
Place the Moon Layers in a corner and as a final touch use the Smudge Tool to adjust the Moon Rays Layer.
Stitch Text Effect
Now simply right "Valentine" text using a free which comes with Photoshop, font Poplar Std. Use black as color.
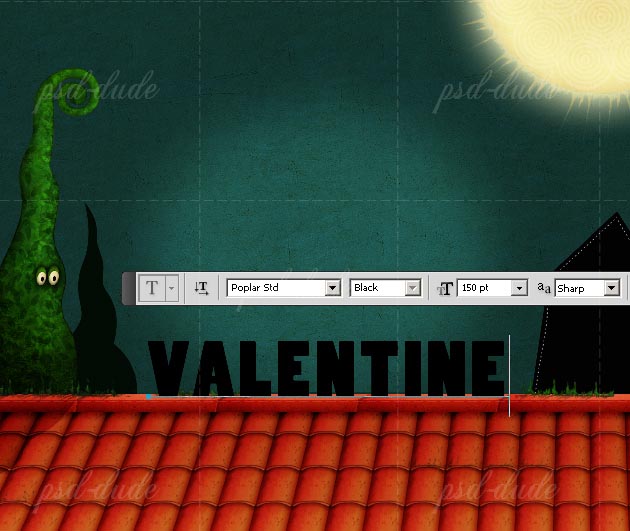
Don't forget to add a soft shadow where the text edge meets the roof of the house.
Now I want to add a stitching effect to this text. So, select the text shape, contract it by 5px (Select menu, Modify, Contract). Convert the Selection into Work Path.
Create another layer called Stitch Effect. Pick the Brush Tool and choose the Stitch Brush that you will find in the ZIP pack. Set the size for this brush to 5px, color white. Pick the Path Selection Tool and right click on the Work Path and choose Stroke Path. You should obtain a similar result:
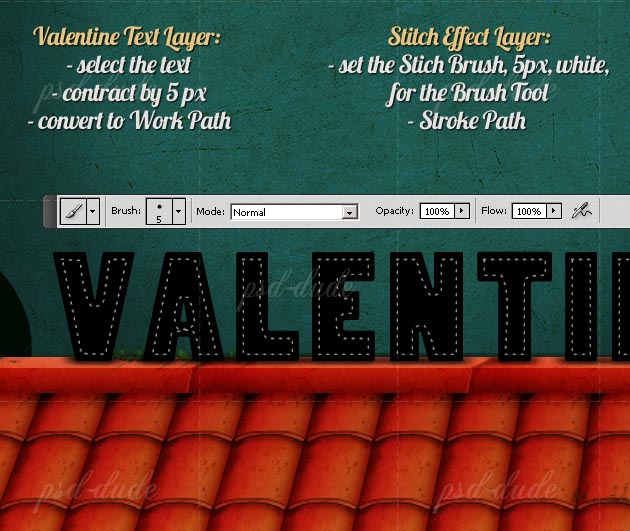
Add the same effect for the House Shapes and Clouds Shapes using the same technique (Work Path - Stroke Path).
Doodle Brushes
For the final touches I have used the same Stitch Brush to draw some doodle hearts. You can add little stars brushes and circles on the sky. Be creative and add other cute details to personalize the wallpaper. You will find the brushes that I have used(except the ones with a download link) in the ZIP pack.
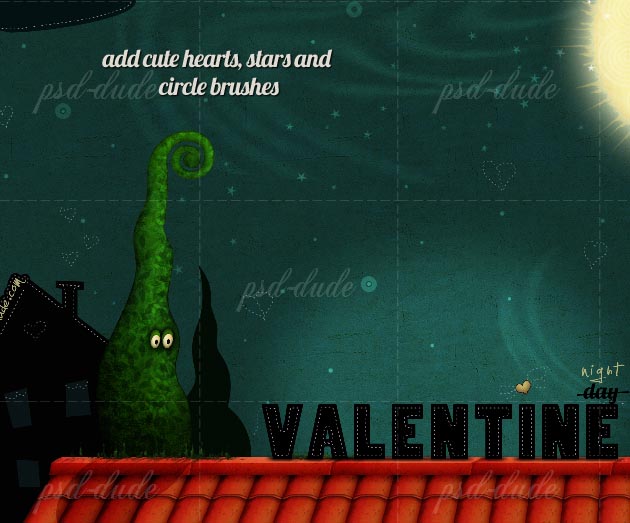
To blend all the elements together add another old paper texture above all the other layers. I have used one of the Seamless Paper Patterns ; to obtain only a bigger contrast not a change of color, don't forget to Desaturate the texture and to set the Blend Mode to Color Burn 25%. Here is my final result for the Valentine Night Wallpaper Photoshop Tutorial; I hope you have enjoyed reading this tutorial.

5 comment(s) for "Create a Valentine Night Wallpaper in Photoshop"
reply
By the way, thank you for uploading your result...looks great! reply