


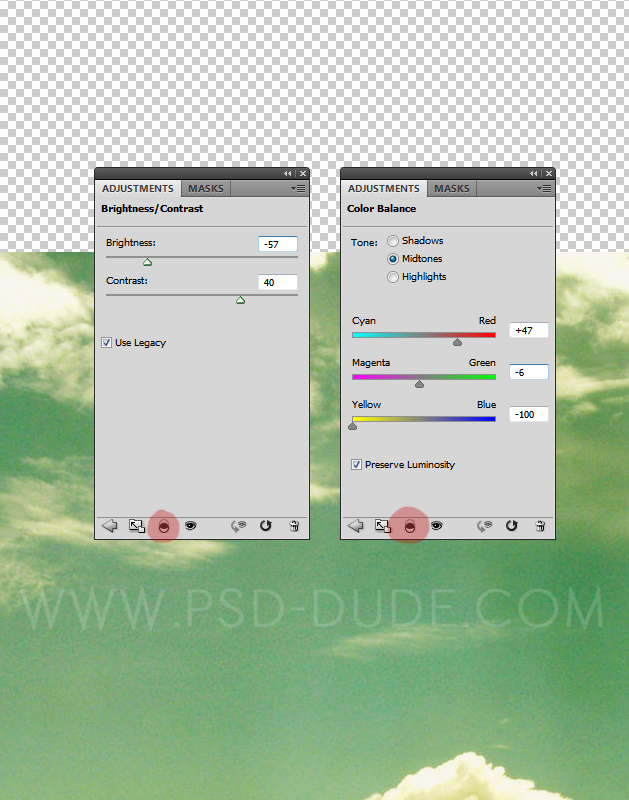
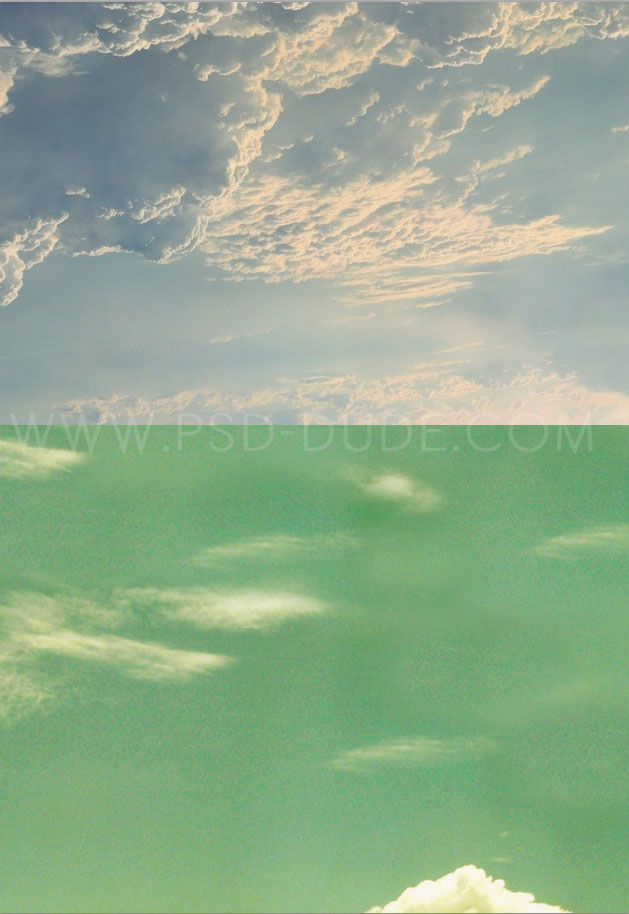
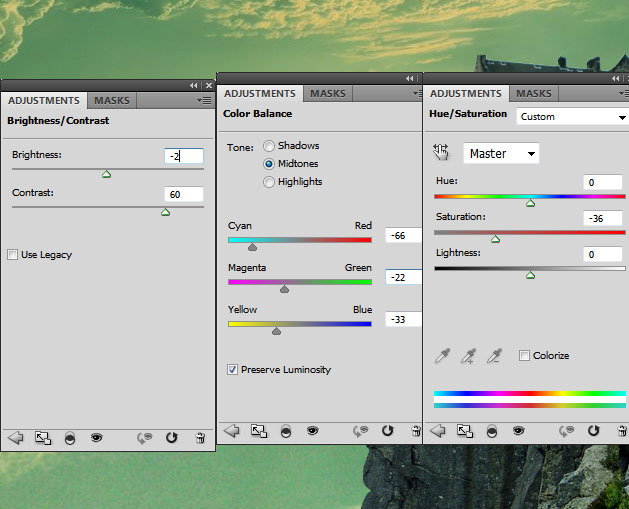
First we'll create the sky background with clouds made out of two different clouds textures. I will use this sky clouds texture for the lower part of the sky. Place the image like shown in the preview and apply two adjustment layers for Color Balance and Brightness/Contrast.
Make sure you set the adjsutments as clipping mask to afect only the sky clouds image.
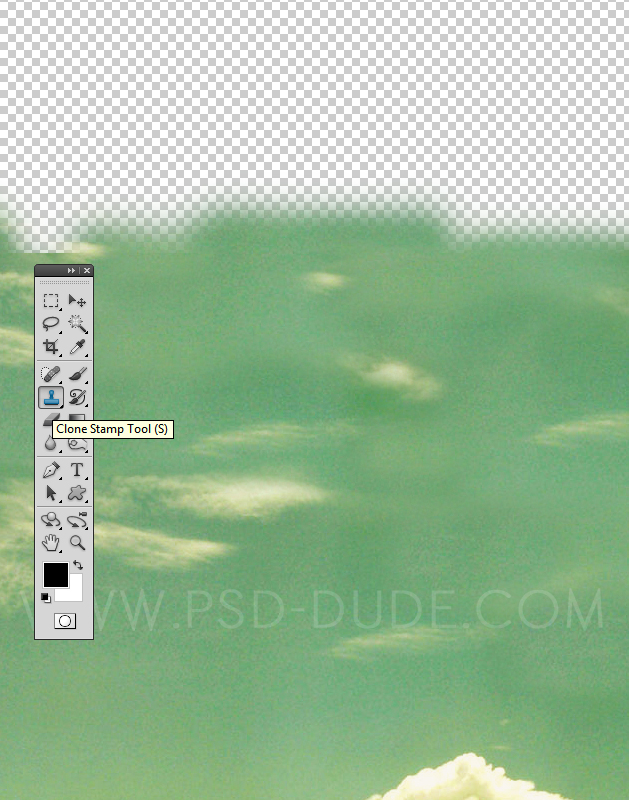
Pick the Clone Stamp Tool and adjsut the sky image to look similar to the preview, otherwise the manipulation will not look good. Press ALT and click to set the clone point and simply draw over the sky area to clone the surface.
For the top part of the sky use this clouds texture; you have to Flip Vertical the image and place it like shown in the image preview.
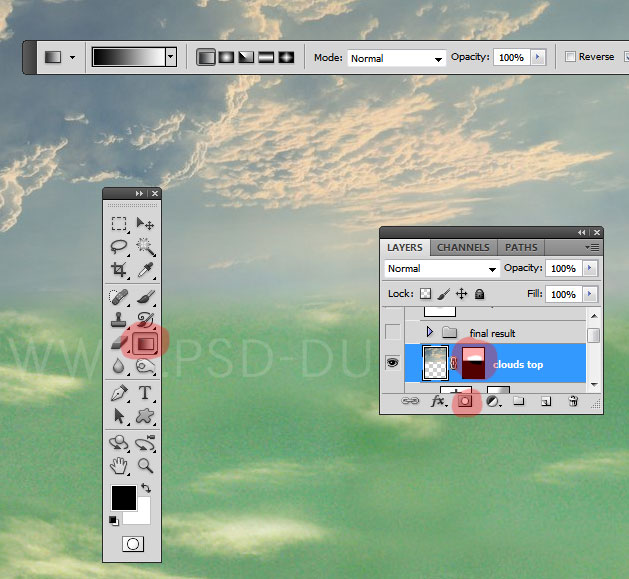
Now you have to add a layer mask to the Top Clouds layer. And inside the layer mask use the Gradient Tool with a simple black and white gradient to create a smooth seamless transition between the two images.
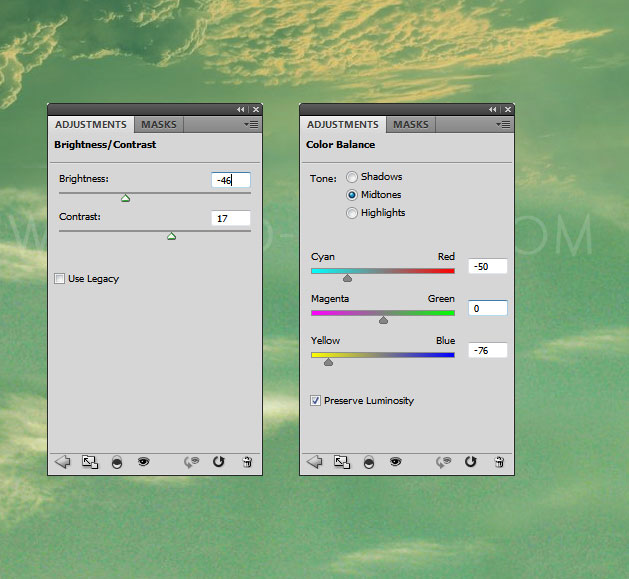
Again add two adjustment layers this time for the Top Clouds layer, to correct Color Balance and Brightness/Contrast.
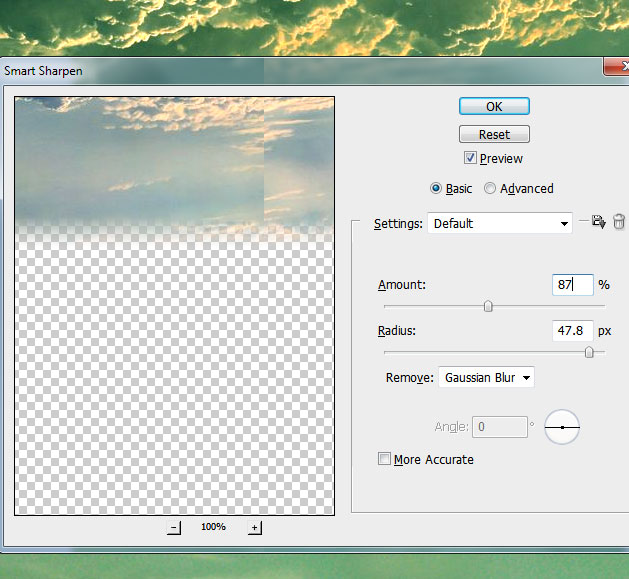
I converted the layer into a smart object for adding a smart filter. Go to Filter>Sharpen and choose the Smart Sharpen filter with these settings. In the smart filter mask simply add the same fade effect used in the previous steps, using the Gradient Tool

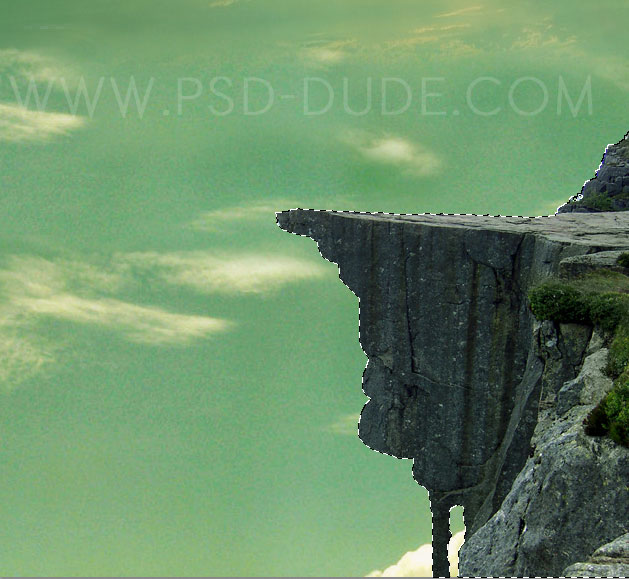
In this next step I will add a cliff rock on the right side. All you have to do is to use one of the Photoshop selection tools and to remove the background, keeping only the rock surface.
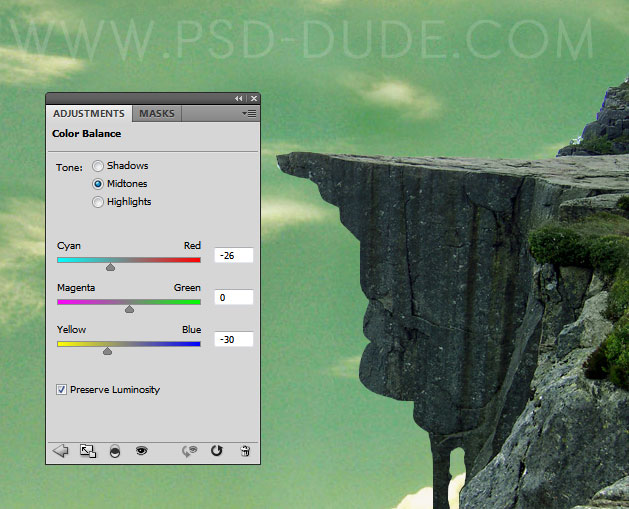
As you can see the color tones are different from the rest of the images so to blend thhem together we have to add a Color Balance adjustment.
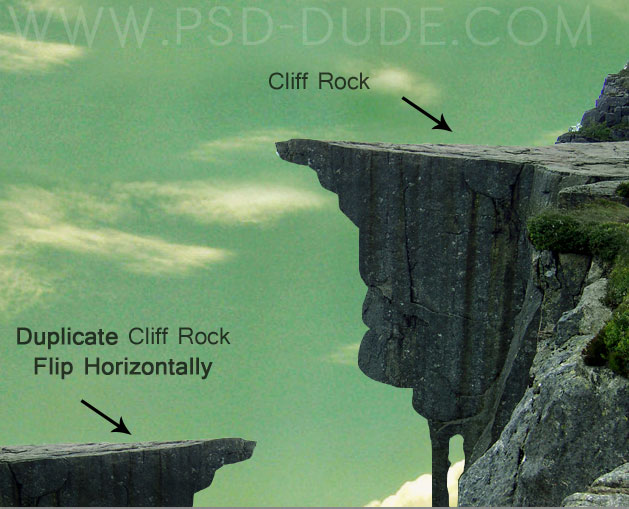
Duplicate the rock layer with its adjustment layer. Flip the second rock layer horizontally and place it like shown in the image.
Add this castle stock image on the cliff. Flip the image horizontally and remove the background. Use the Eraser Tool and a soft round brush to blend the castle with the cliff rock.
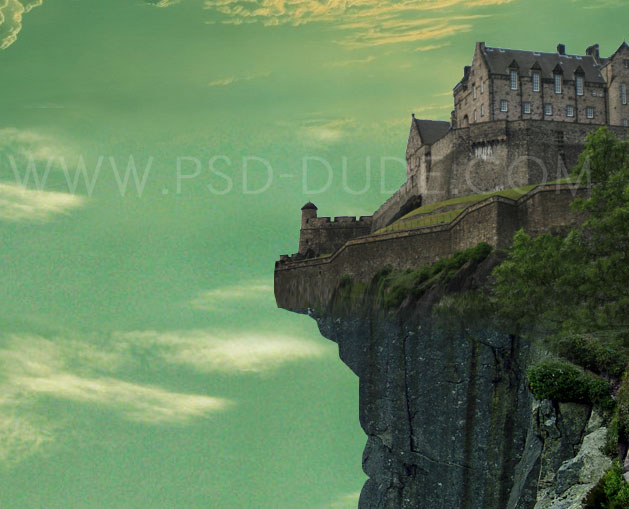
Again for fixing different color tones, lighting and saturation discrepancies, we have to add some adjustment layers.
To create a taller more imposing castle I duplicated the castle stock image along with its adjustments and place it beneath the original. Move the duplicate image and position it like in the image.

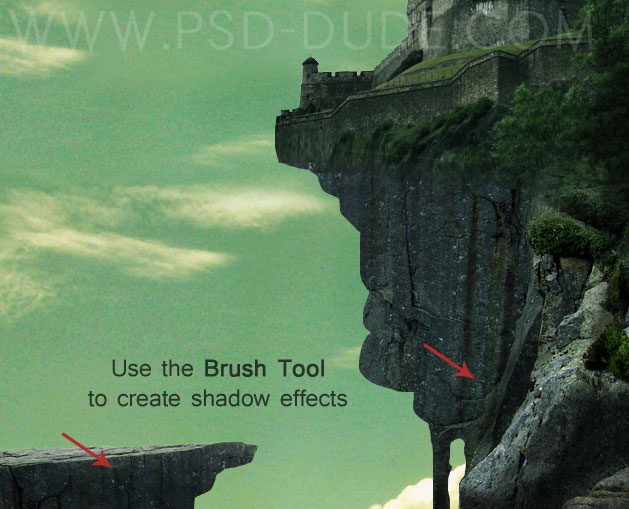
Create a new blank layer and set the blend mode to Multiply. Use the Brush Tool, color black, different opacity levels to create some shadow and light effects.
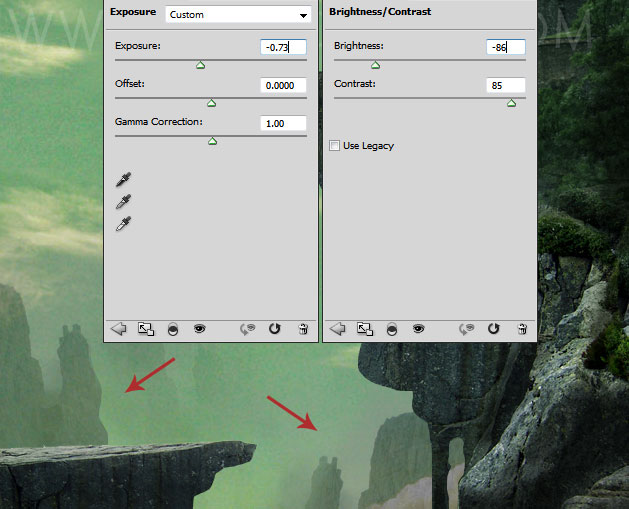
I will now add in the background some rocks and cliffs using this rocks stock image. You have to add some adjustments like in the previous cases. Also you will have to duplicate the image to create a rocky landscape. Set the opacity of the layers between 40-55% and also use the Eraser Tool, soft round brush, different opacity levels to blend all the layers together.
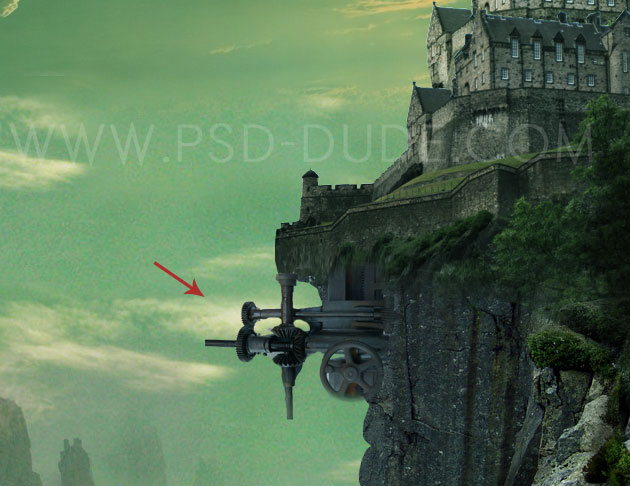
I will now add a steampunk detail on the rock using this industrial mechanism. All you have to do is to adjust the color of the image in Photoshop so that it blends with the rest of the stock images. Of course you have to crop the image and to remove the background. You can use the Eraser Tool to create a nice transition between the images.
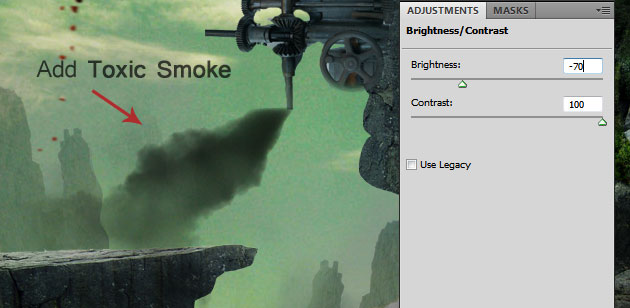
Download these black smoke PNG stock images. We'll use the smoke 4 image and place it near the industrial pipe like. It is like the steampunk rock mountain is heavy industrialized, realising a lot of toxic gases in the atmosphere; actually it looks very similar to the big cities we all live in.
Resize the smoke image, set the blend mode to Multiply, 85% opacity. Add also a Brightness/Contrast adjustment. I also added a layer mask and inside I used the Brush Tool, color black, opacity 30% and paint over the smoke to obtain a more diffuse effect. You can use of course a smoke brush instead of this stock image.
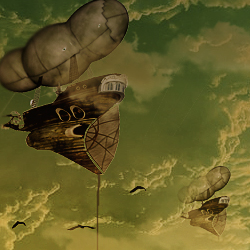
Now I am going to add a futuristic steampunk ship. Simply remove the white background and add a Brightness/Contrast adjustment.

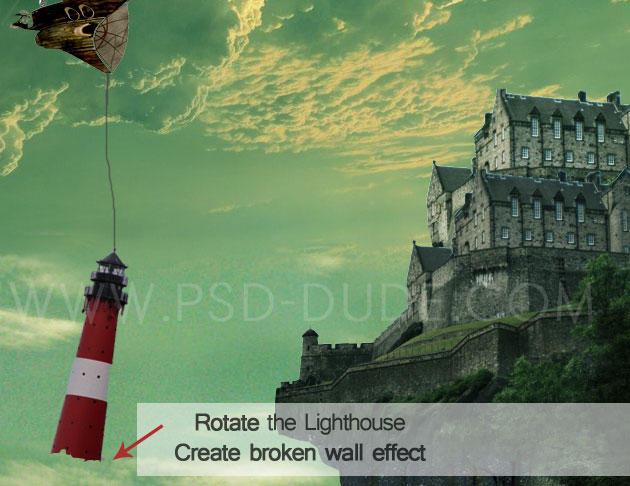
In a new layer I used the Brush Tool top create a simple thread using #4b5546 color. Use this lighthouse stock image and remove the background. We want to create the impression that the steampunk ship is transporting the lighthouse. For that you have to rotate the lighthouse frm its initial vertical position.
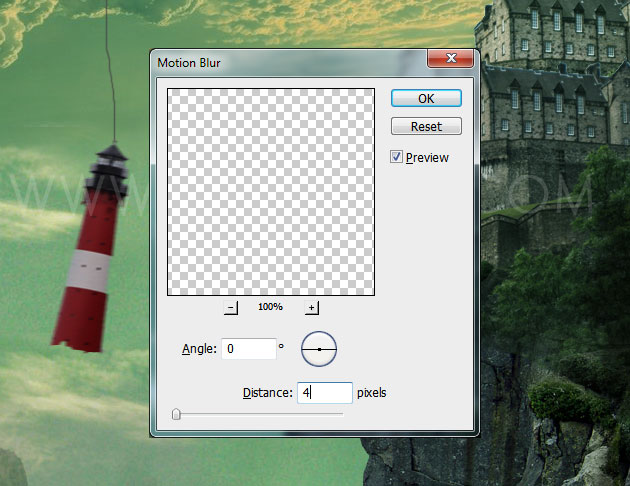
Add a Motion Blur filter to give to the lighthouse the motion illusion.
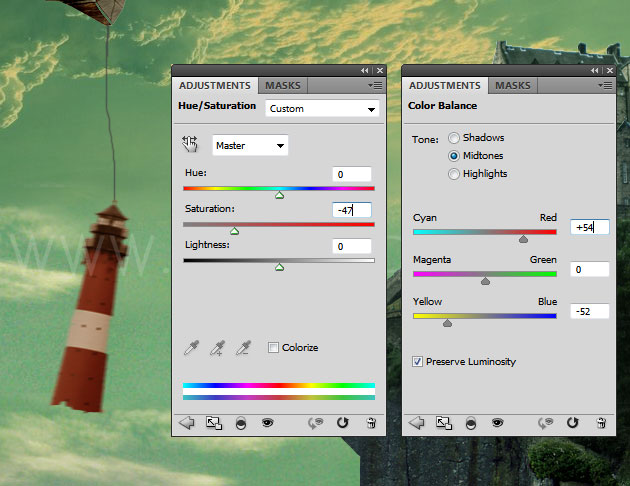
Add adjustments for color and saturation correction.
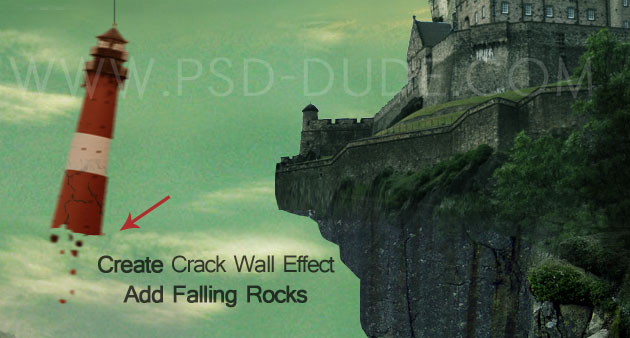
For creating a more realistic effect, I have added this cracks texture and changed the blend mode to Darken, 65% opacity level. Also you can create falling rocks effect by using the Lasso Tool to create the rocks and using the lighthouse texture.
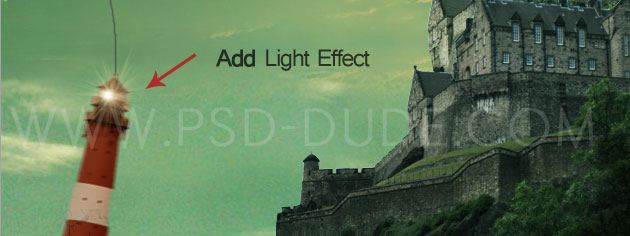
I will now add a light effect using a sparkle brush; you can also use the Brush Tool to make the light more brighter.
If you want to can duplicate the ship, resize it to a smaller size and move it to create something like a ship invasion. You might have to use the Eraser Tool to hide the ship between the clouds.
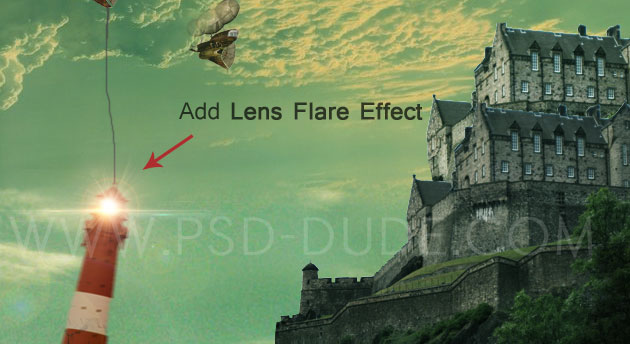
To make the light more brighter and to obtain a cool effect you can add a optical flare. Add lens flare in Photoshop using this quick tutorial; you can add the light effect in any position you want, you can even add multiple flares.
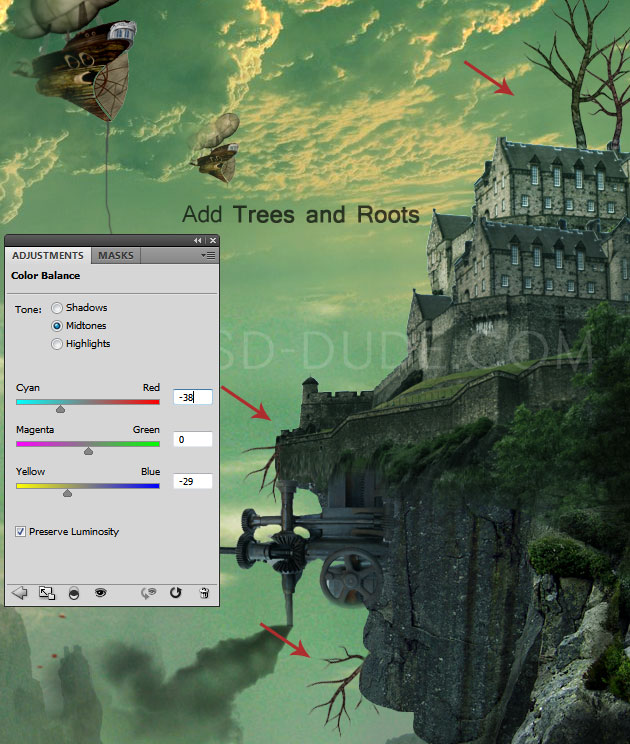
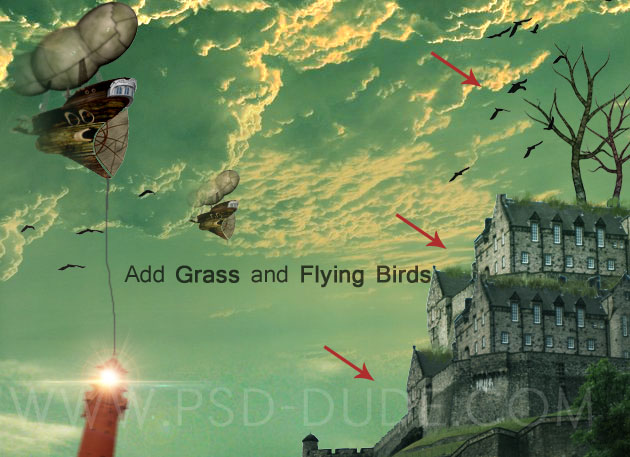
Now let's go back to the castle steampunk island to add some extra elements. For example use this dead tree PNG image and add it on top of the castle, behind the rocks like roots, etc. You can of course use some tree brush silhouettes. Don't forget to adjust the color of the tree by adding a Color Balance adjustment.
You can also add some grass on the castle roof using one of these grass brushes; that way you can create interesting grass or even foliage effects, it is up to you. I have also added some creepy flying bird silhouettes but you can add any interesting element that you might think of.
For the final touches of this steampunk photo manipulation I have created a new layer and set its blend mode to Overlay. Use the Brush Tool, soft round brush with different opacity levels, and with white create highlights and with black create shadows and dark areas. I also added another layer with Color blend mode. In this layer you can use again the Brush Tool and pick a orange color to paint on and around the lighthouse.
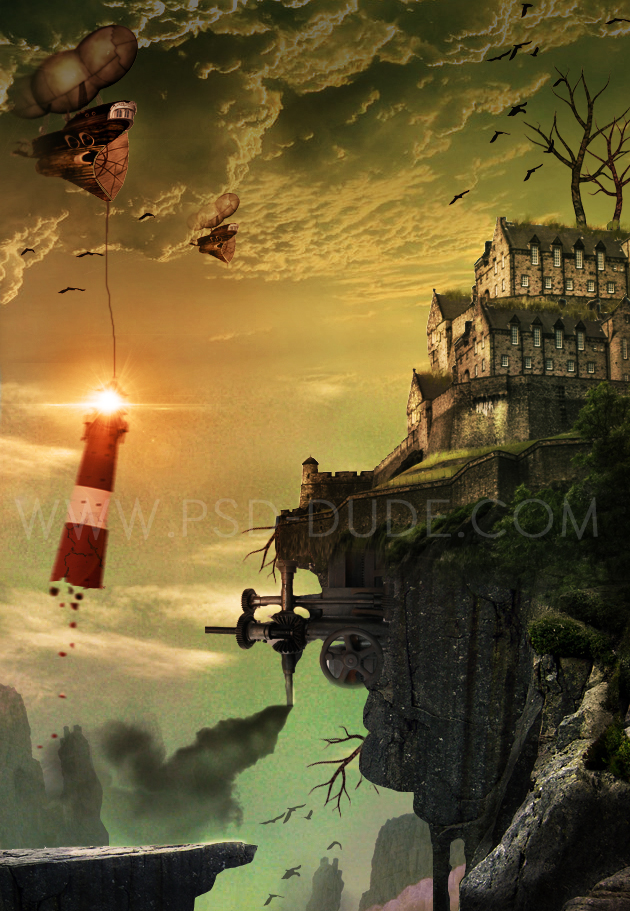
Use a Gradient Map if you want to create interesting color effects. Or you can simply use a Photo Filter adjustment. So here is the result for my first steampunk Photoshop manipulation. You can of course use your own imagination, you can use another steampunk boat sor ship, there are plenty of images available on the internet. I wanted to add a victorian steampunk man but the overall image looked too crowded. I really hope you enjoy this new fantasy surreal Photoshop manipulation and decide to give it a try.

5 comment(s) for "Create a Fantasy Steampunk Castle in Photoshop"
artwork made by Eva-rus10(http://www.photoshop-master.ru/)