


Part 3
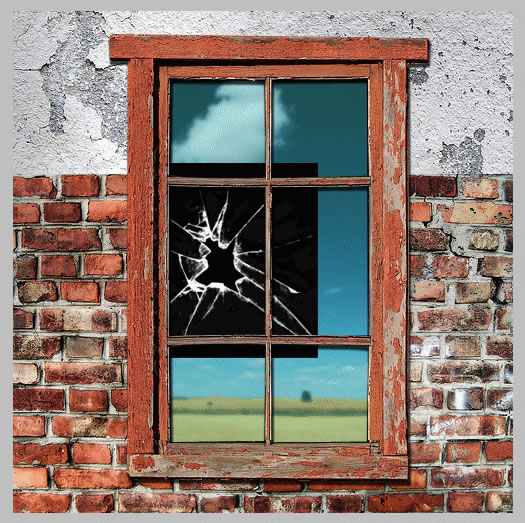
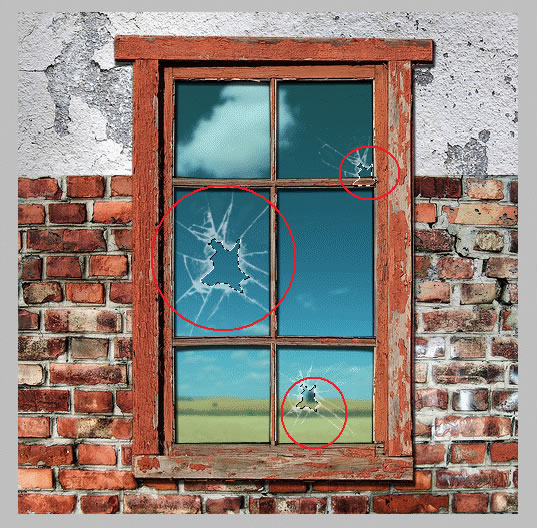
It is now time to add more broken spots so duplicated this layer and rotate it, scale it or whatever you like so you can add extra effect, something like this:
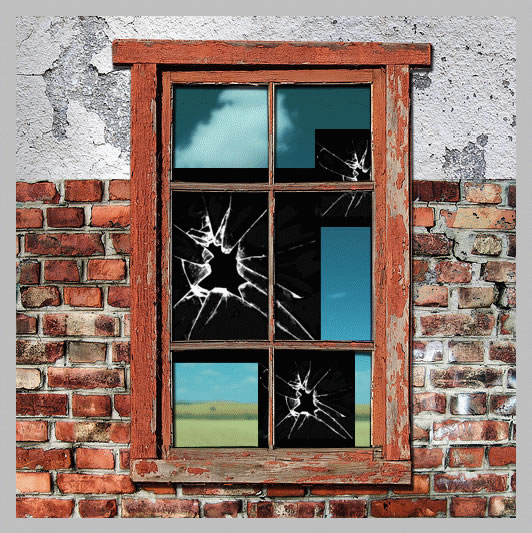
Now merge the three layers and change the blending mode to Screen 60%. The parts of the broken image that are not right simply delete it with the Eraser Tool.
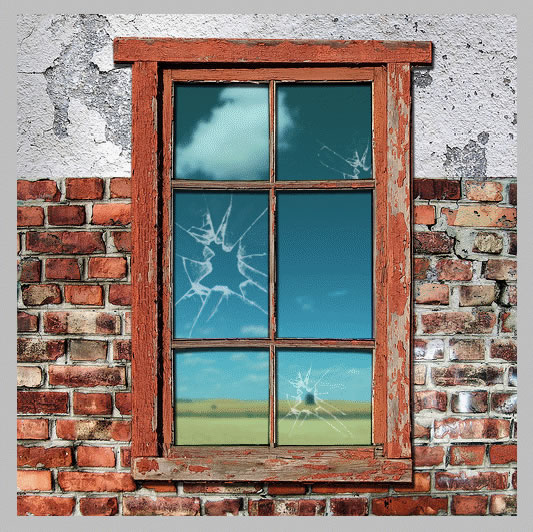
The final touch is to select with Magic Wand Tool the missing glass areas . Press SHIFT to make multiple selections and make sure the Contiguous option is checked. Than return to Glass Layer and press delete.

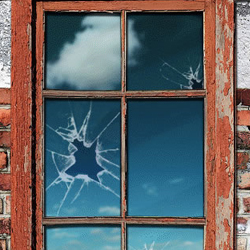
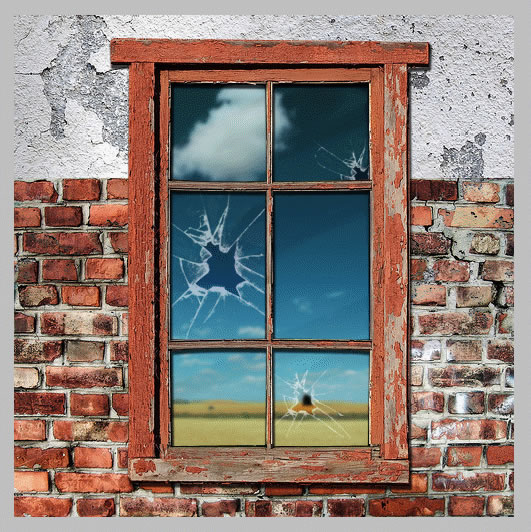
This is the final image! I really hope you have enjoyed this tutorial!

5 comment(s) for "A Simple Broken Glass Effect"
I think you are right. I will return to this tutorial (I did it about a year ago) and adjust the final result.
thanks for the suggestion reply
and I'm looking for tutorials to create a large banner. Hopefully if it turns out well enough I will show it on here! reply