


Part 2
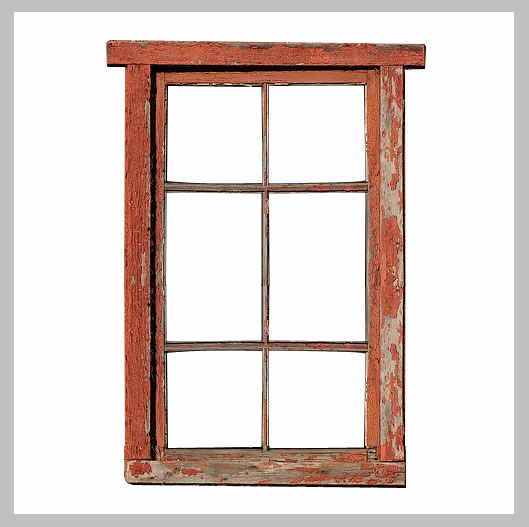
Merge all the window layers and call them Old Window Layer.
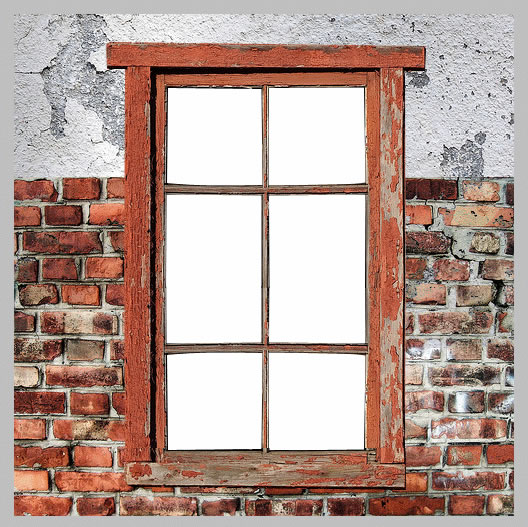
Step 4 - Add the Old Wall
Do you remember the two wall images Old Wall Layer and Brick Wall Layer? Now it is their time!
Place the two images behind Old Window Layer. Place the Old Wall layer above Brick Wall Layer and set the blending mode of this layer to Darken 100%. Duplicate Old Wall Layer , blending mode is now normal nor darken, and place it behind Brick Wall Layer. Now simply delete the window area from the third wall layers. Our image looks now like this:
Step 5 - Add the Landscape
It is time to show the landscape behind the window. Simply copy the landscape and place it behind all the layers. Because we will put the focus on the glass and wall it is ok to make the landscape a little blurry so go to Filter - Gaussian Blur

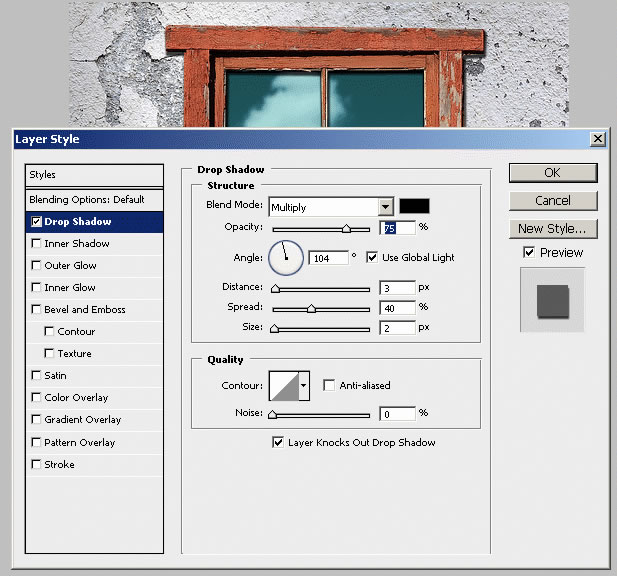
Step 6 - Add Glass to the Window
Because we've cropped the glass from the window we will try to create our own glass.
I have simply created a rectangle with the Rectangle Tool, color #5dffff and than I have changed the opacity of this layer to 30%. Cal this layer Glass Layer.
To make the glass more real add Drop Shadow to the Old Window Layer:
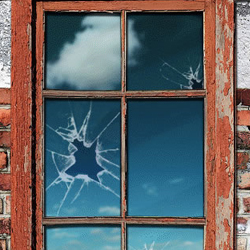
Step 7 - Add the Broken Window Effect
This is the final step , the broken glass effect. There are on the internet many broken glass free brushes. It is easy to integrate it into your image. I have chosen this image that I like very much, but you can use of course one of the brushes that I am going to presented to you later on.
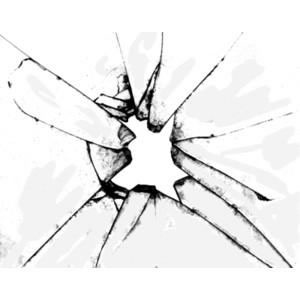
Resize the image to 65% and than place it like in the image below:
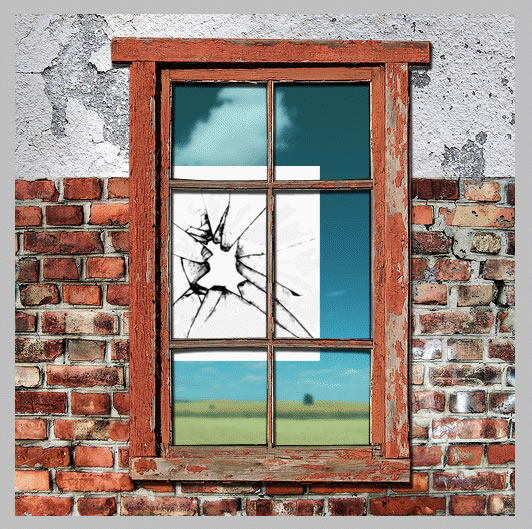
Now I have tied to blend my image (with layer's blending mode) so that it make part of the glass but because none of the blendings look right I have decided to invert my image. So go to Image - Adjustments - Invert or simply CTRL+I.

5 comment(s) for "A Simple Broken Glass Effect"
I think you are right. I will return to this tutorial (I did it about a year ago) and adjust the final result.
thanks for the suggestion reply
and I'm looking for tutorials to create a large banner. Hopefully if it turns out well enough I will show it on here! reply