


In this quick tutorial I will show you how to create a pencil wood inspired 3D text effect in Photoshop using wood texture and some simple tricks for the 3D effect.
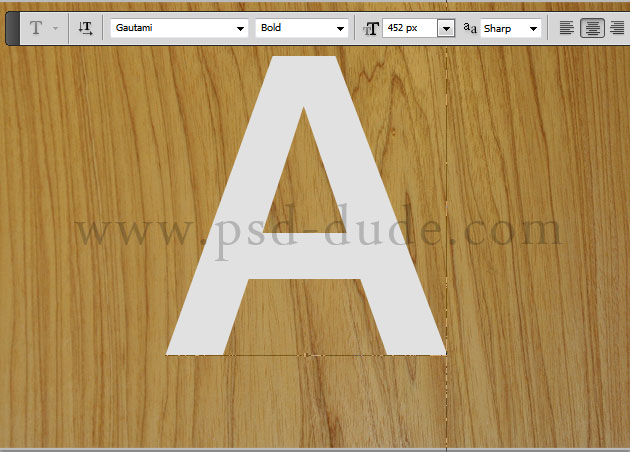
First we have to copy this wood grain texture into our Photoshop file. Call this layer Wood Texture. In a new layer write a text using the Gautami font type. If you don't have it you can use another one but you must find a simple and clean line font type. Call this layer Text Layer.
Tip for Beginners!:If you want to load a new font in Photoshop learn how to do it from this tutorial - Install Font in Photoshop
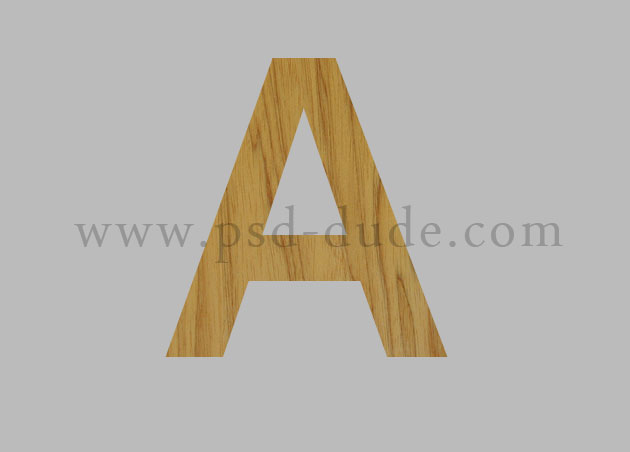
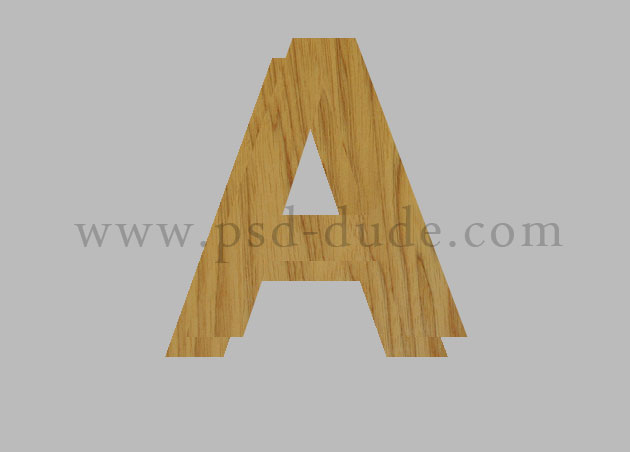
Press CTRL and click on the Text Layer thumbnail to make a selection. Return to the Wood Texture layer and press CTRL and J to make a layer via copy. Call this new texturized layer Wood Text.
If you don't have CS6 than the 3D effect can be obtained using a little trick. Duplicate the Wood Text layer 30 times (press CTRL+J) to speed up the process.
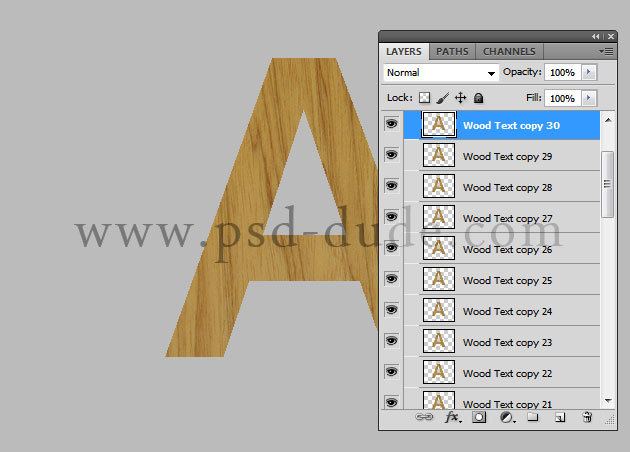
Move the Wood Text copy 30 two times up and two times right with the SHIFT key pressed.
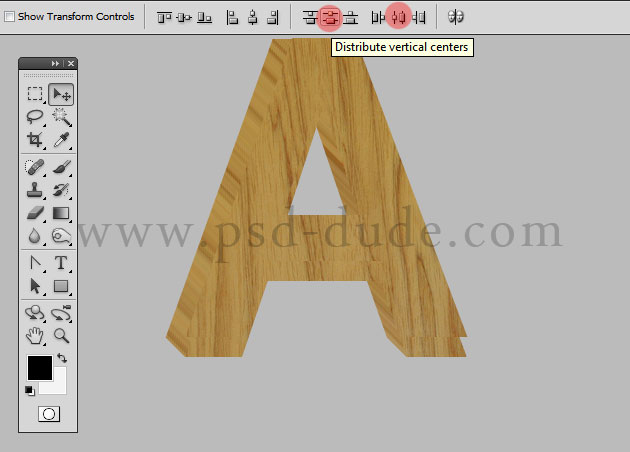
Pick the Move Tool and select all the Wood Text Layers. Press on the Distribute horizontal centers and the Distribute vertical centers buttons.
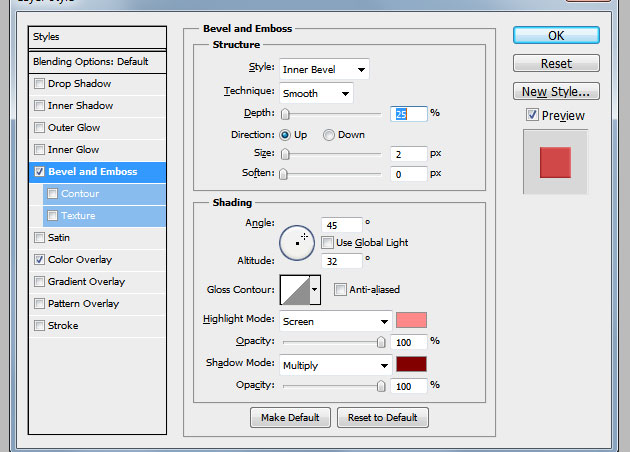
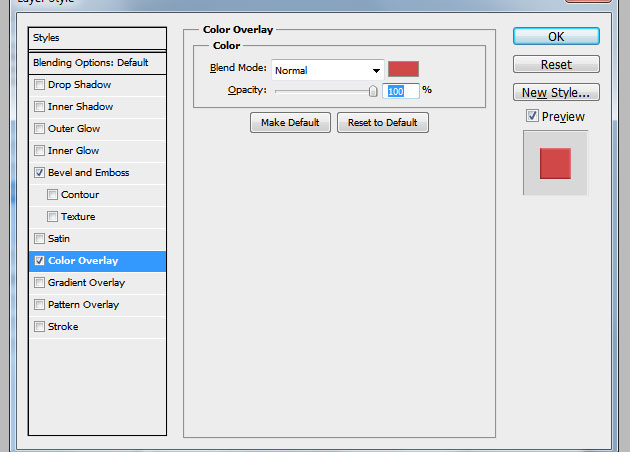
Select all the Wood Text Layers except the Wood Text copy 30 and merge them. Call this layer 3D Wood Layer and add the following layer styles to the Wood Text copy 30 layer.
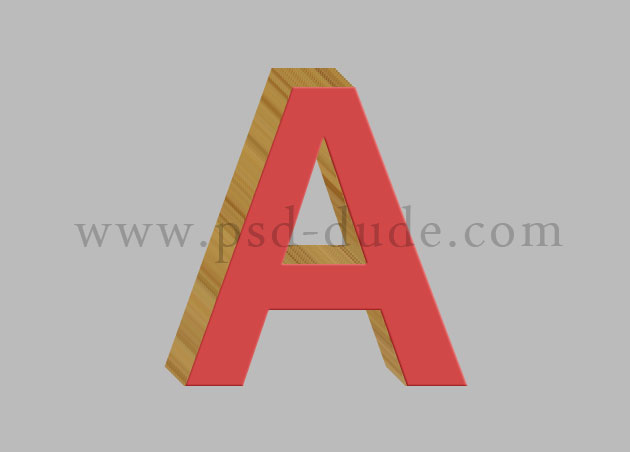
Your 3D wood text letter should now look like this.
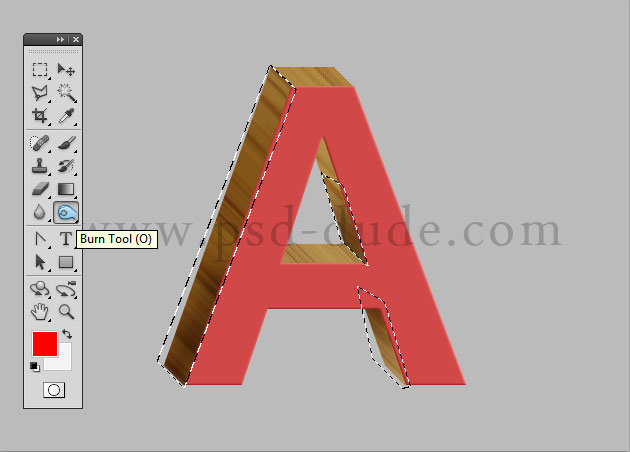
Return to the 3D Wood Layer and use the Polygonal Lasso Tool to make selections like in the image. Use the Burn Tool to add light/shadow effects.
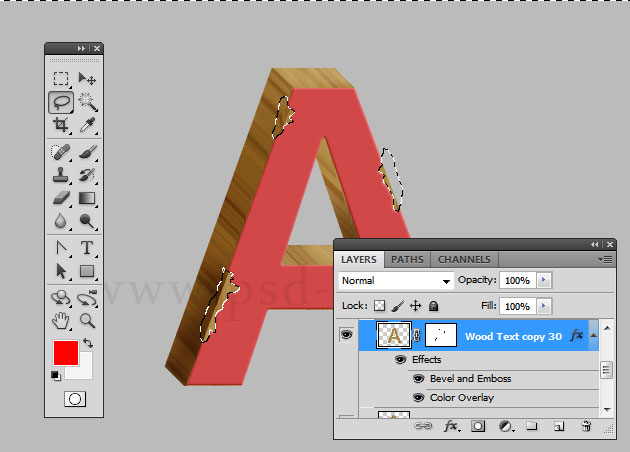
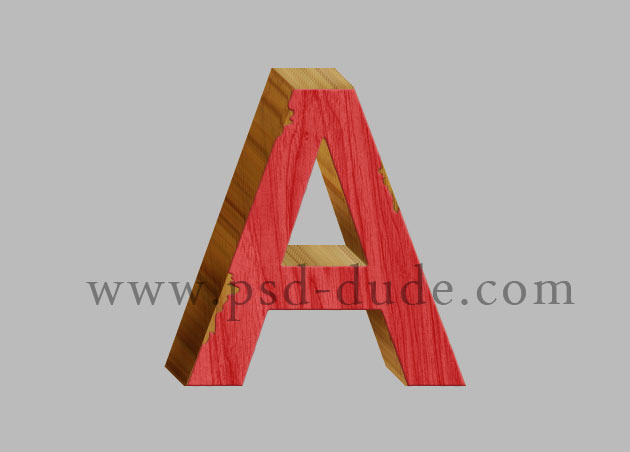
I will now use the Lasso Tool to make some irregular selections to create a peeled paint effect and apply the selections as layer mask for the Wood Text copy 30.
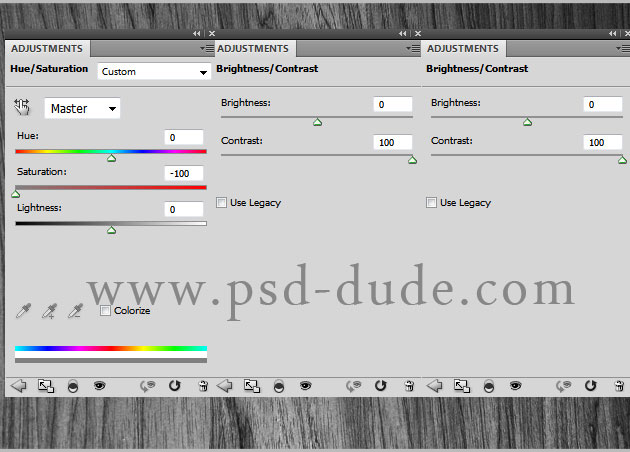
To make the wood effect look even better I have added the wood texture in front of all the other layers and apply some adjustment layers like shown in the image. First I will completly desaturate the texture.
Now mask the Wood Texture Front layer using the Wood Text copy 30 layer selection. Change the blend mode of the texture to Overlay. You should obtain a similar result.
To make the text look realistic we'll have to add a drop shadow effect and a 3D reflection that is a little different from the usual reflection made for the 2D objects. Here are some tutorials that show you how to create a 3D reflection in Photoshop. To make a #d reflection for this text you have to Flip Vertical the Wood Layers before creating the 3D effect. Follow all the steps and in the end merge the layers and add a simple mask effect like in this reflection tutorial for beginners.
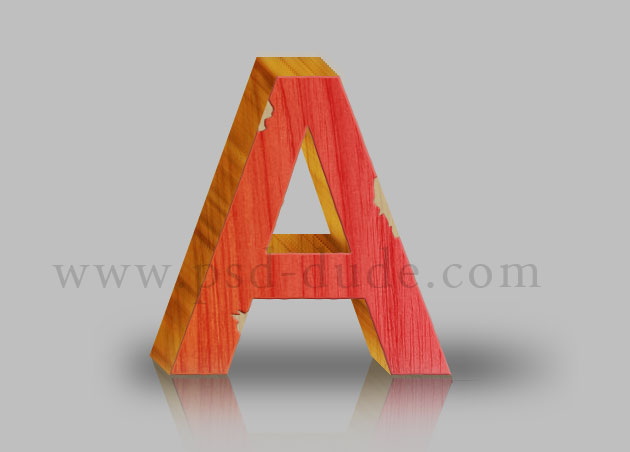
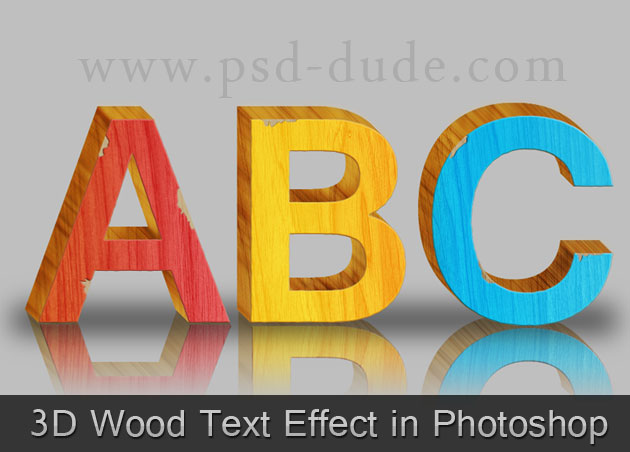
Here is the final result for the 3D wood text in Photoshop.
Premium Wood Photoshop Effects
If you want to try different wood Photoshop effects like painted wood or carved wood you can try these actions. You will obtain quick results, easy to edit and customize.
Painted Wood Photoshop Style Actions
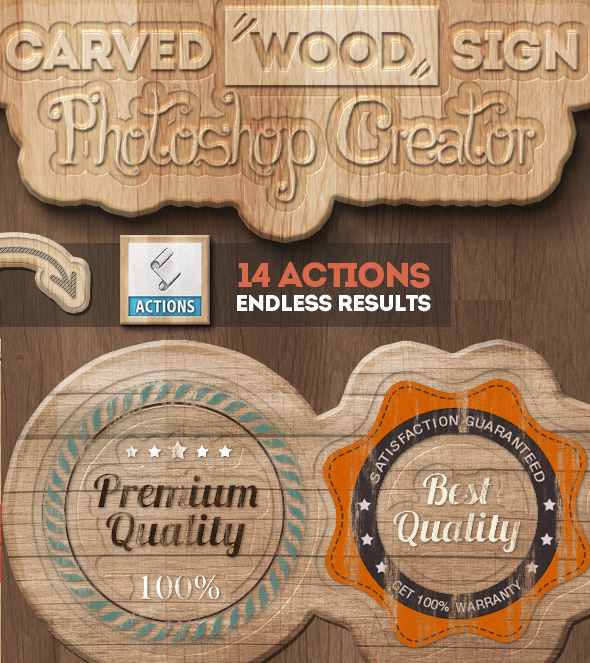
Carved Wood Sign Photoshop Creator
Wood Burn Effect Photoshop Action

10 comment(s) for "3D Wood Photoshop Text Effect"
made by vov@n555 (http://www.photoshop-master.ru/users.php?id=1096730)
http://psd.tutsplus.com/tutorials/text-effects-tutorials/how-to-create-wooden-3d-text/
Thanks! reply